How To Make Creme Brulee | Stove-Top & Thermomix Methods
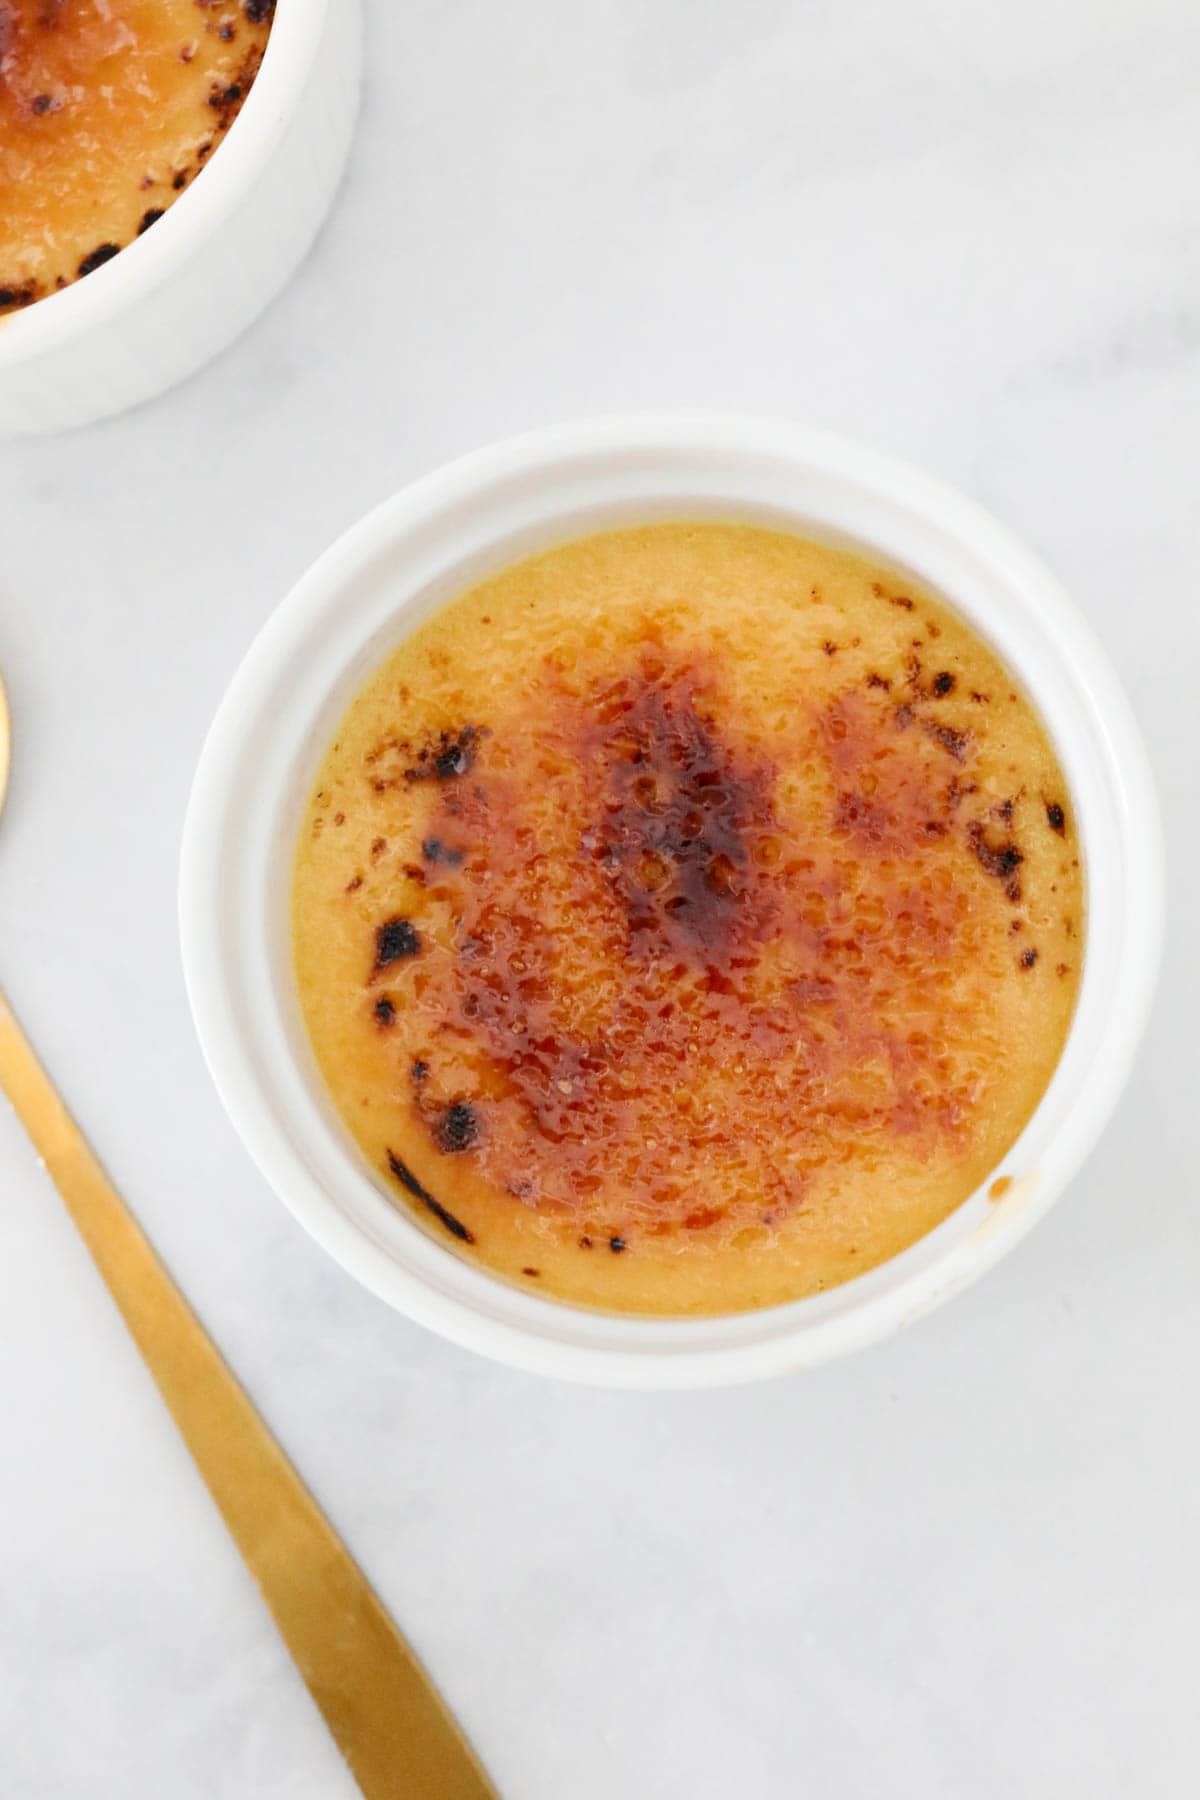
This luscious Crème Brûlée, with its silky rich custard base and crunchy caramelised sugar topping, is made with just 4 simple ingredients.
Make it on the stovetop or in the Thermomix, and enjoy this fuss-free dessert for a special occasion or any day of the week!
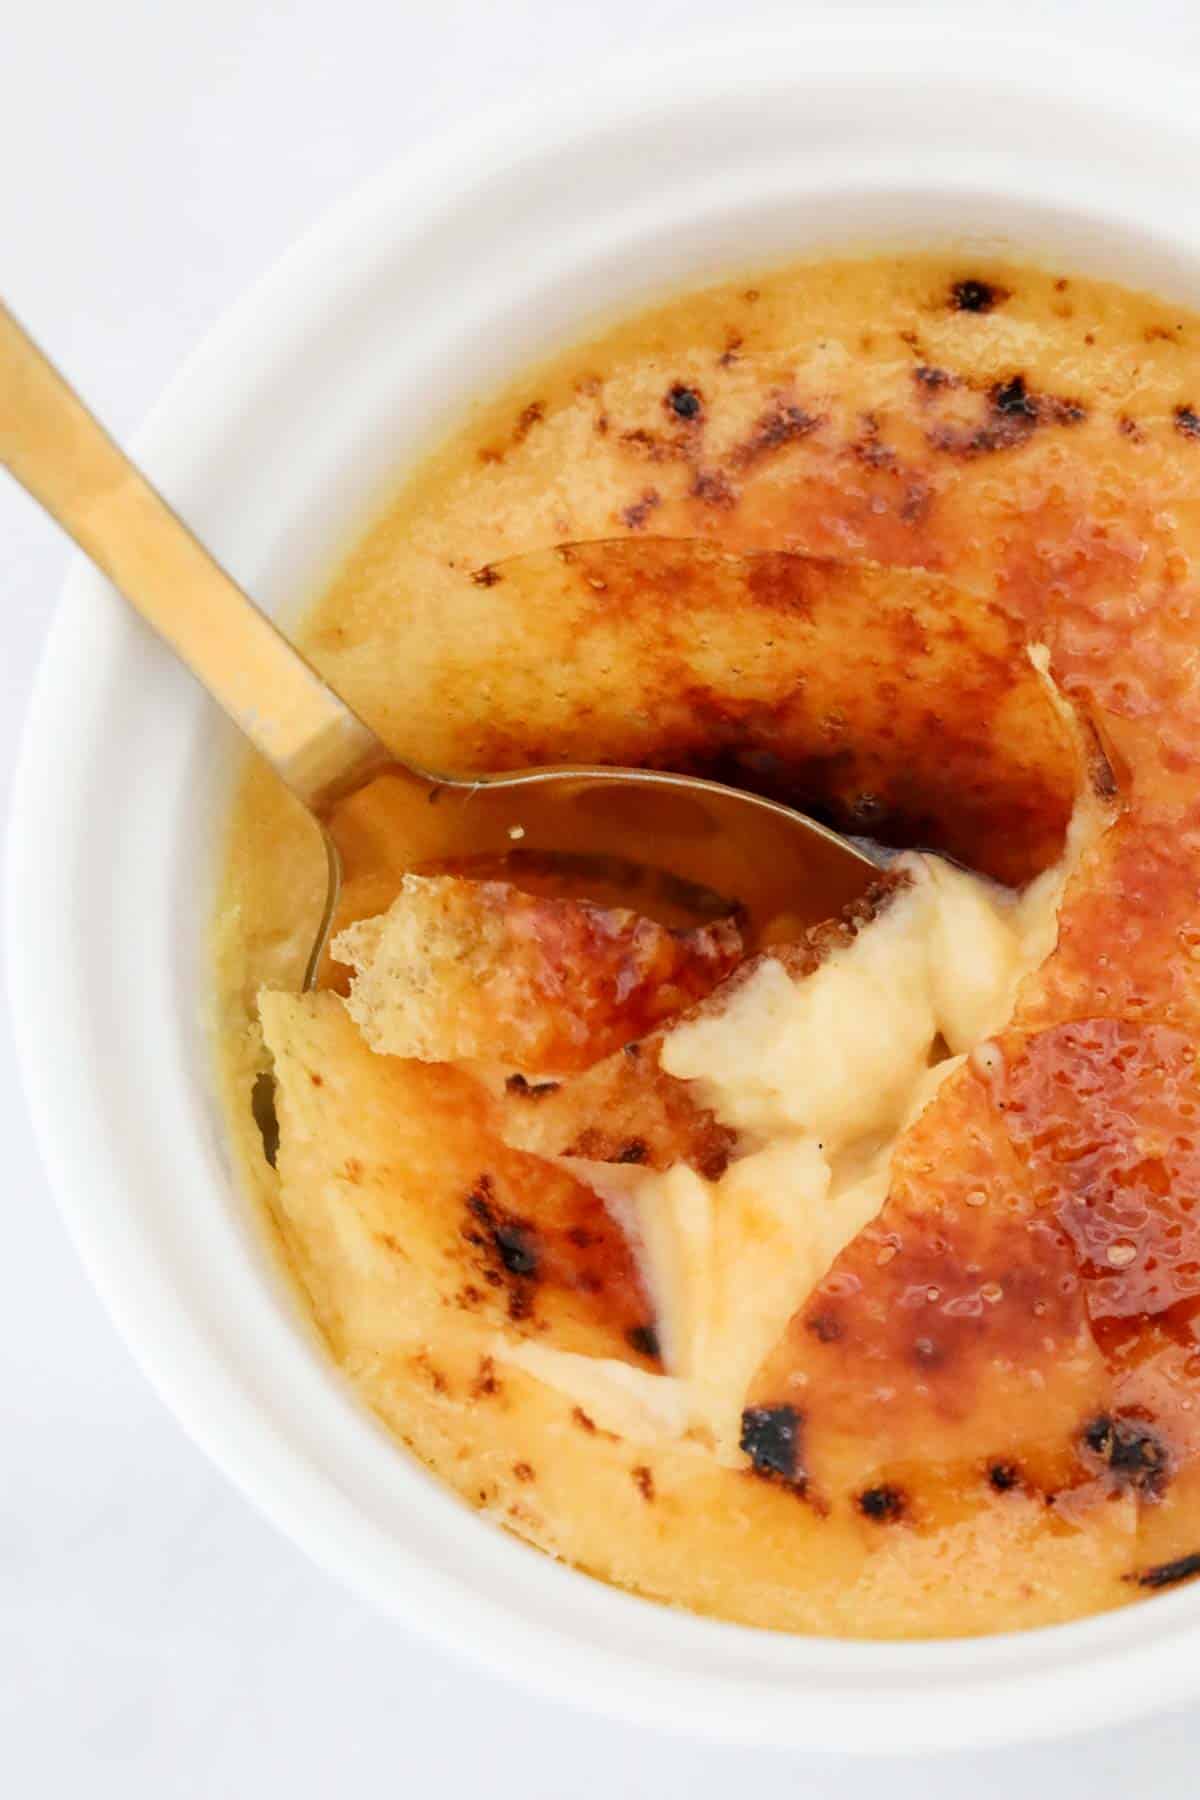

This famous French dessert also known as ‘Burnt Cream’ or ‘Trinity Cream’ is virtually the same as the Spanish dessert, Crema Catalana.
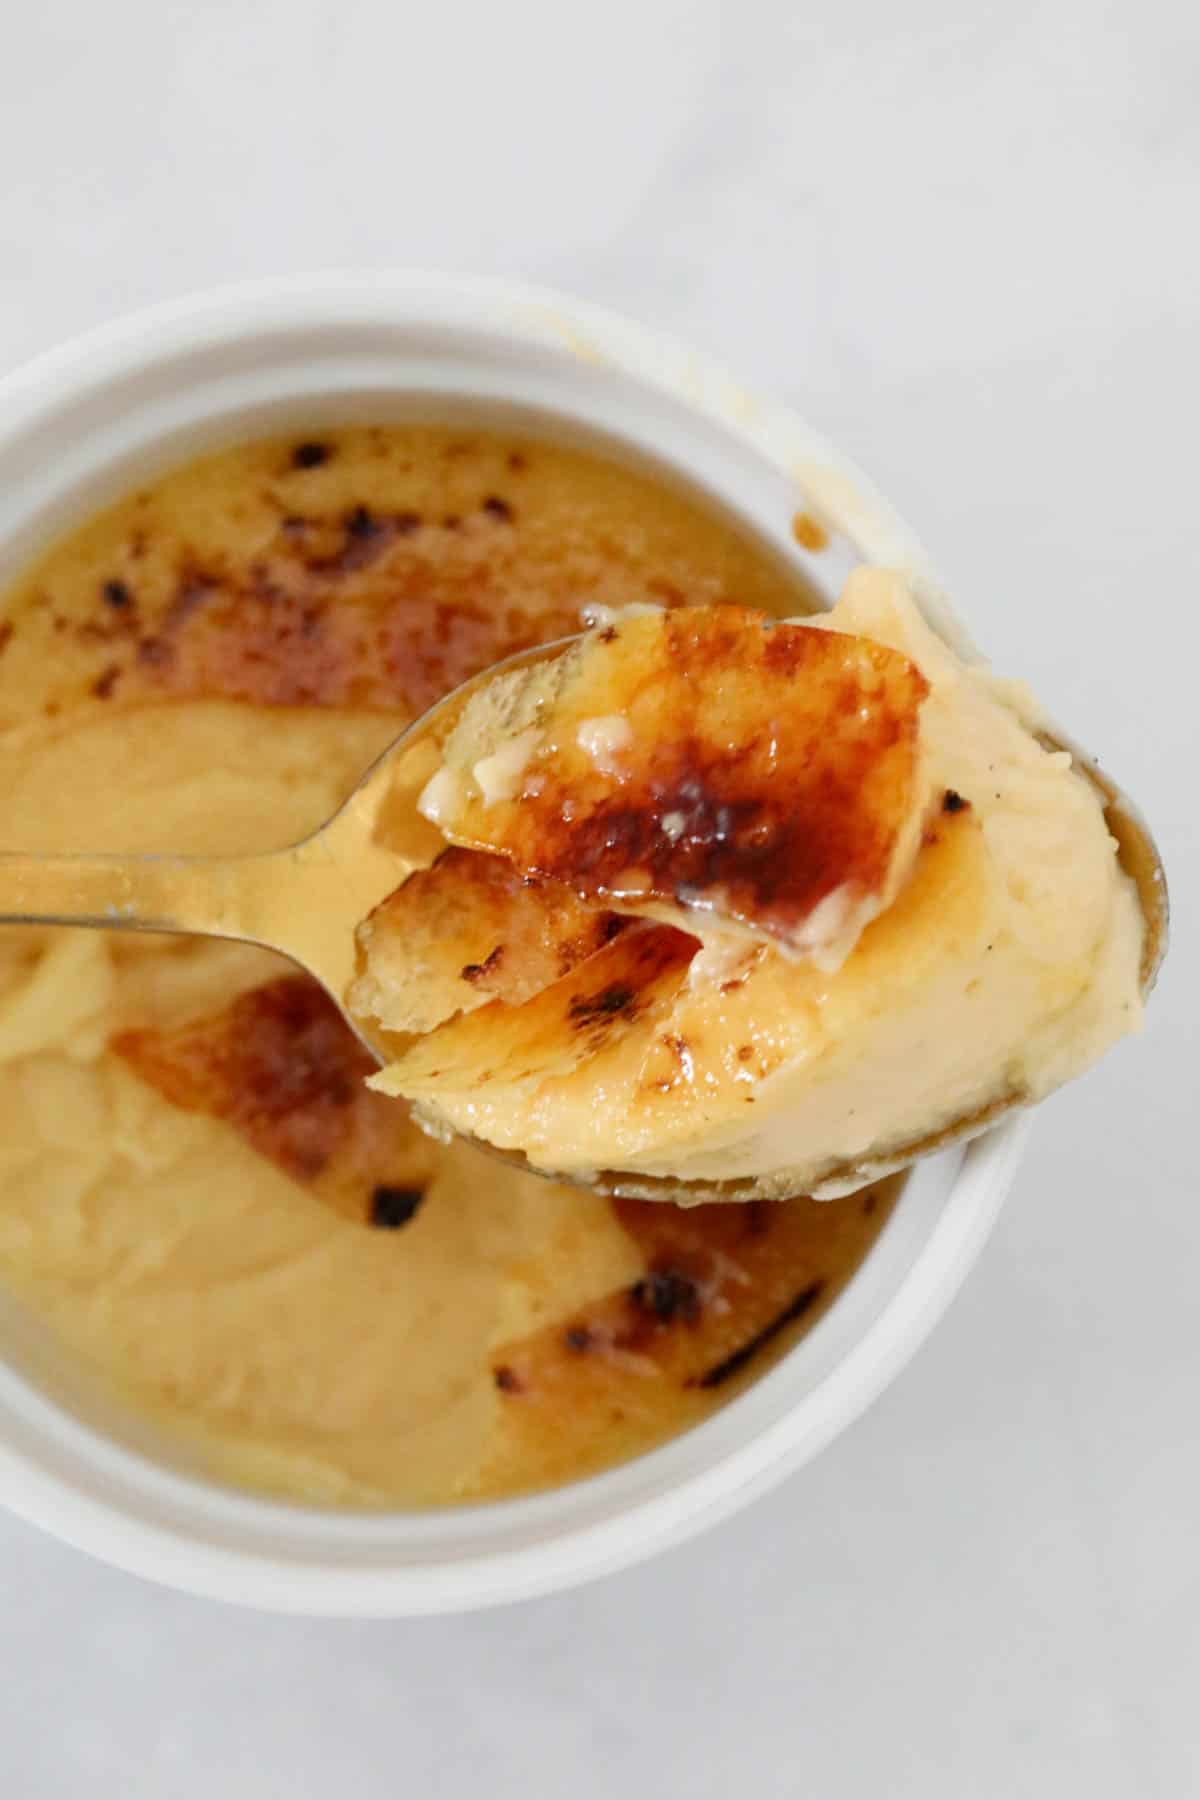
A rich, silky homemade custard is topped with a thin layer of crunchy sugar to create a dessert that tastes SO luxurious but is made with basic ingredients and is SO easy to prepare.
Like my strawberry flan, trifle, and vanilla custard slice, this crowd pleasing dessert is perfect for entertaining, especially at Christmas, family get-togethers and dinner parties, however it is also suitable for a midweek dinner treat.
It takes just 10 minutes of hands-on prep time and is even better when made ahead. Have a Thermomix? Make Thermomix Crème Brûlée!
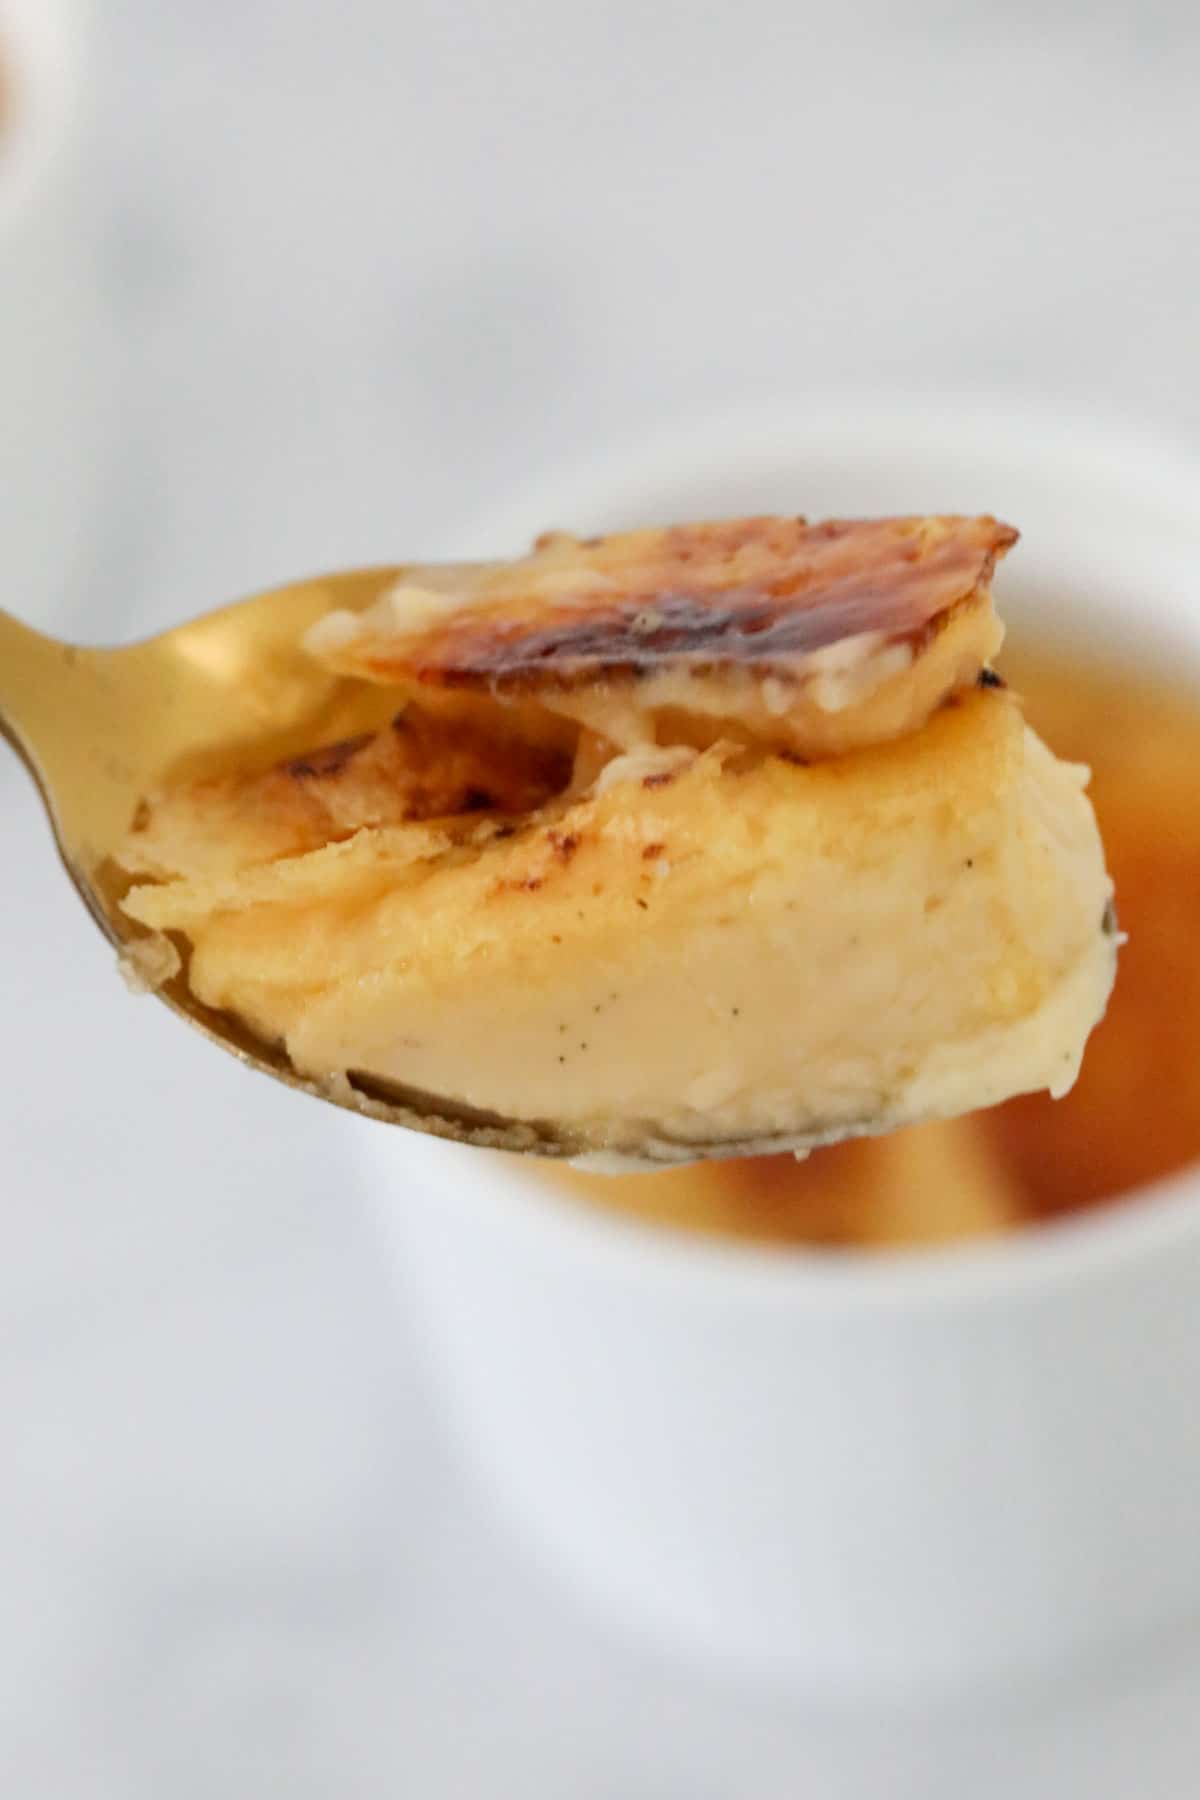

Why You’re Going To Love This Recipe
- 4 ingredients – you just need cream, vanilla bean paste, egg yolks and sugar!
- Simple to make – while it may have a reputation for being a complicated classic French dessert, Crème Brûlée is actually very easy (and quick!) to make.
- Crowd pleaser – this classic dessert is one that is forever popular with young and old alike. And these individual desserts would be right at home in a fancy restaurant!
- Make ahead – the egg custard needs time to chill in the fridge and is better when left to set in the fridge overnight, making these the perfect make-ahead dessert. Just caramelise the sugar prior to serving!
- Conventional and Thermomix – whether you want to make the creamy vanilla custard on the stove-top or in the Thermomix, I have included both methods in the recipe card at the end of the post.
What You Need
Chances are you will already have the ingredients needed to make this vanilla Crème Brûlée in your kitchen!
Note: Scroll to the recipe card at the bottom for the ingredients quantities and full detailed method.
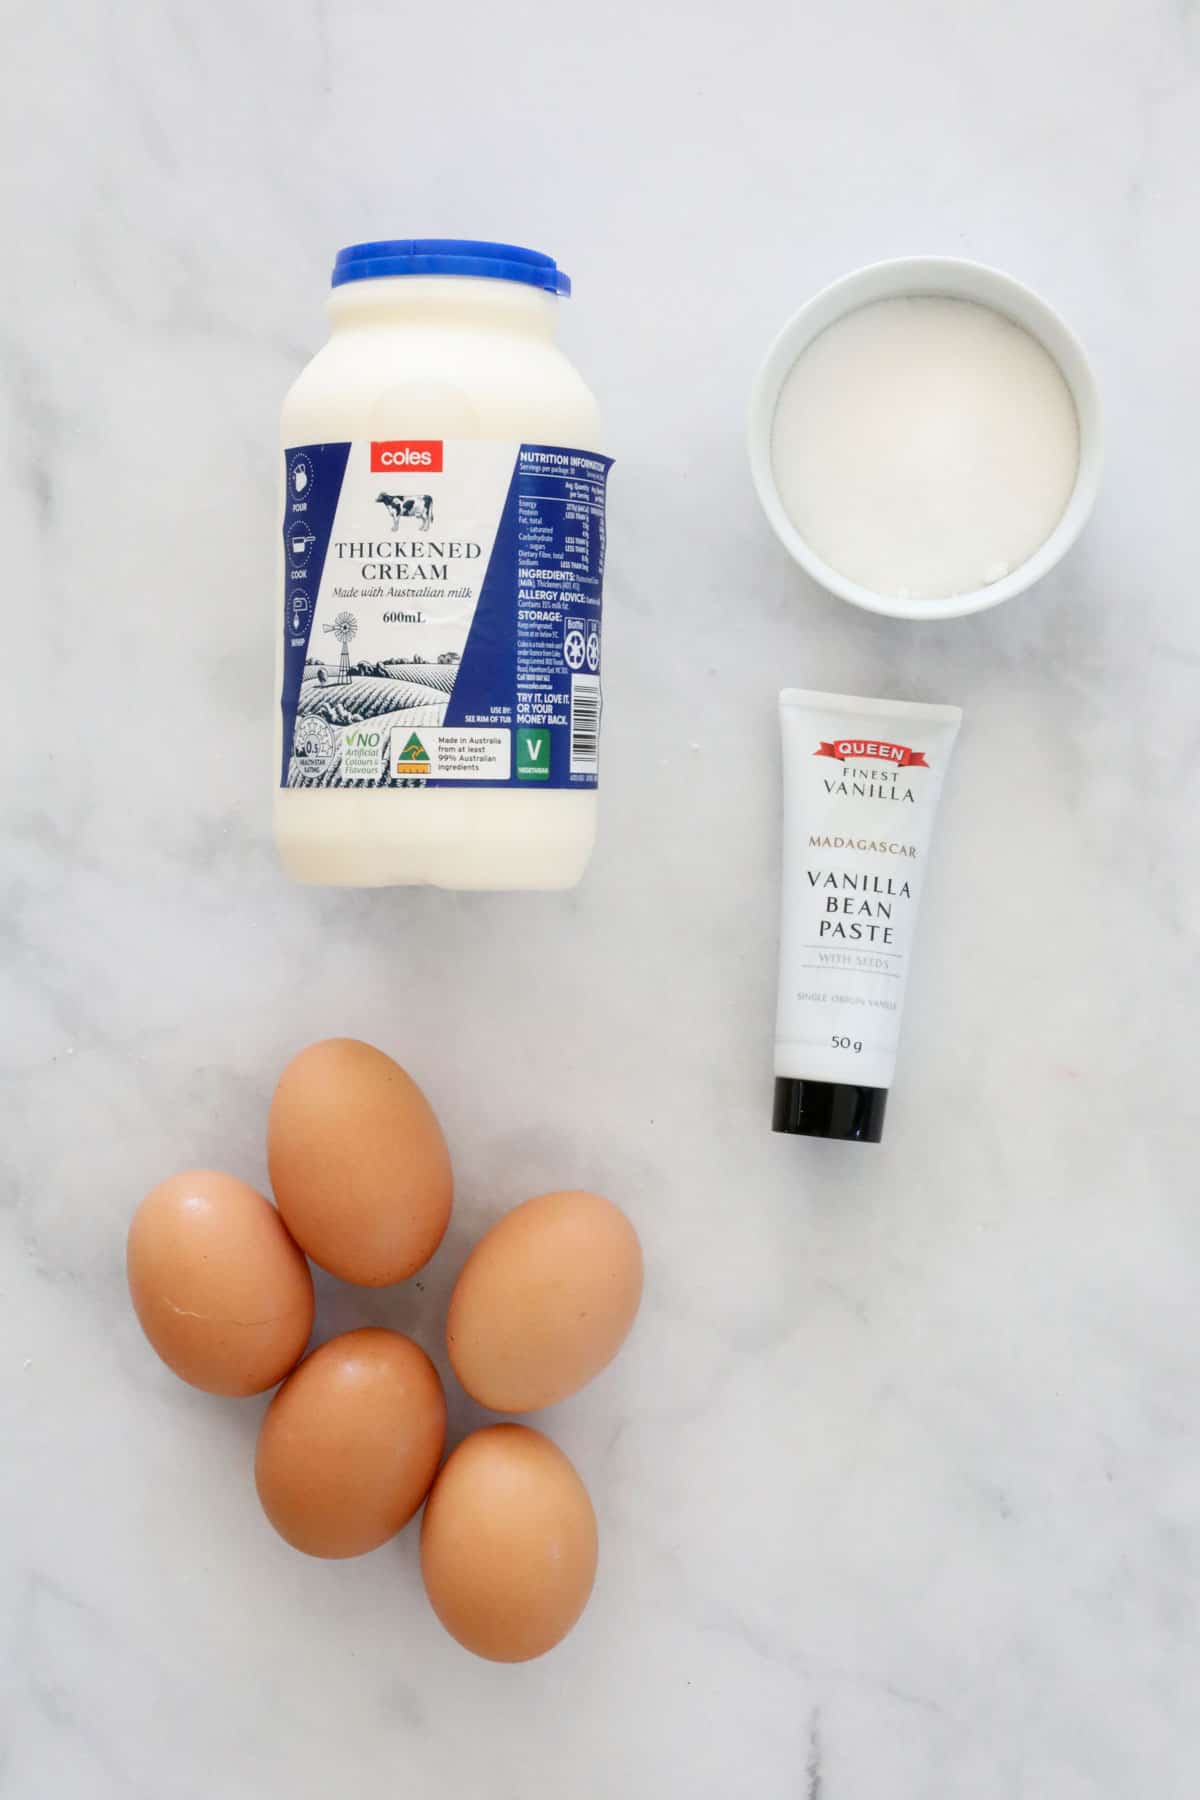

- Cream – use heavy whipping cream, pouring cream or pure cream. I recommend using full-fat cream for the richest flavour and smoothest texture.
- Vanilla bean paste – made with real vanilla bean, this provides an intense vanilla flavour and you get the tiny specks of black vanilla seeds in it, without the need to use expensive vanilla beans/vanilla pod. Alternatively you can use pure vanilla extract, however, it doesn’t have as strong a vanilla flavour as vanilla bean paste.
- Egg yolks – create that thick set texture. I use the yolks from large sized eggs, the eggs weigh approx. 55g (2 oz) before separating. Have your eggs at room temperature. See ‘Tips’ below for egg white recipes.
- Caster sugar – also known as superfine sugar. This fine sugar dissolves easily, ensuring a silky smooth texture.
Equipment Required
You don’t need any fancy equipment to make Crème Brûlée from scratch!
- Use a saucepan, bowl, and fine mesh sieve – or Thermomix if making Thermomix Crème Brûlée.
- 4 ramekins and a large, deep oven-proof baking dish or roasting tray – for the ramekins to sit in.
- Oven – I use a fan-forced oven. If you use a conventional oven, increase the temperature by 10-20 degrees Celsius.
- Blow torch/butane torch/kitchen torch – for creating that distinctive burnt sugar crust (see my tips below if you don’t have a kitchen blow torch).
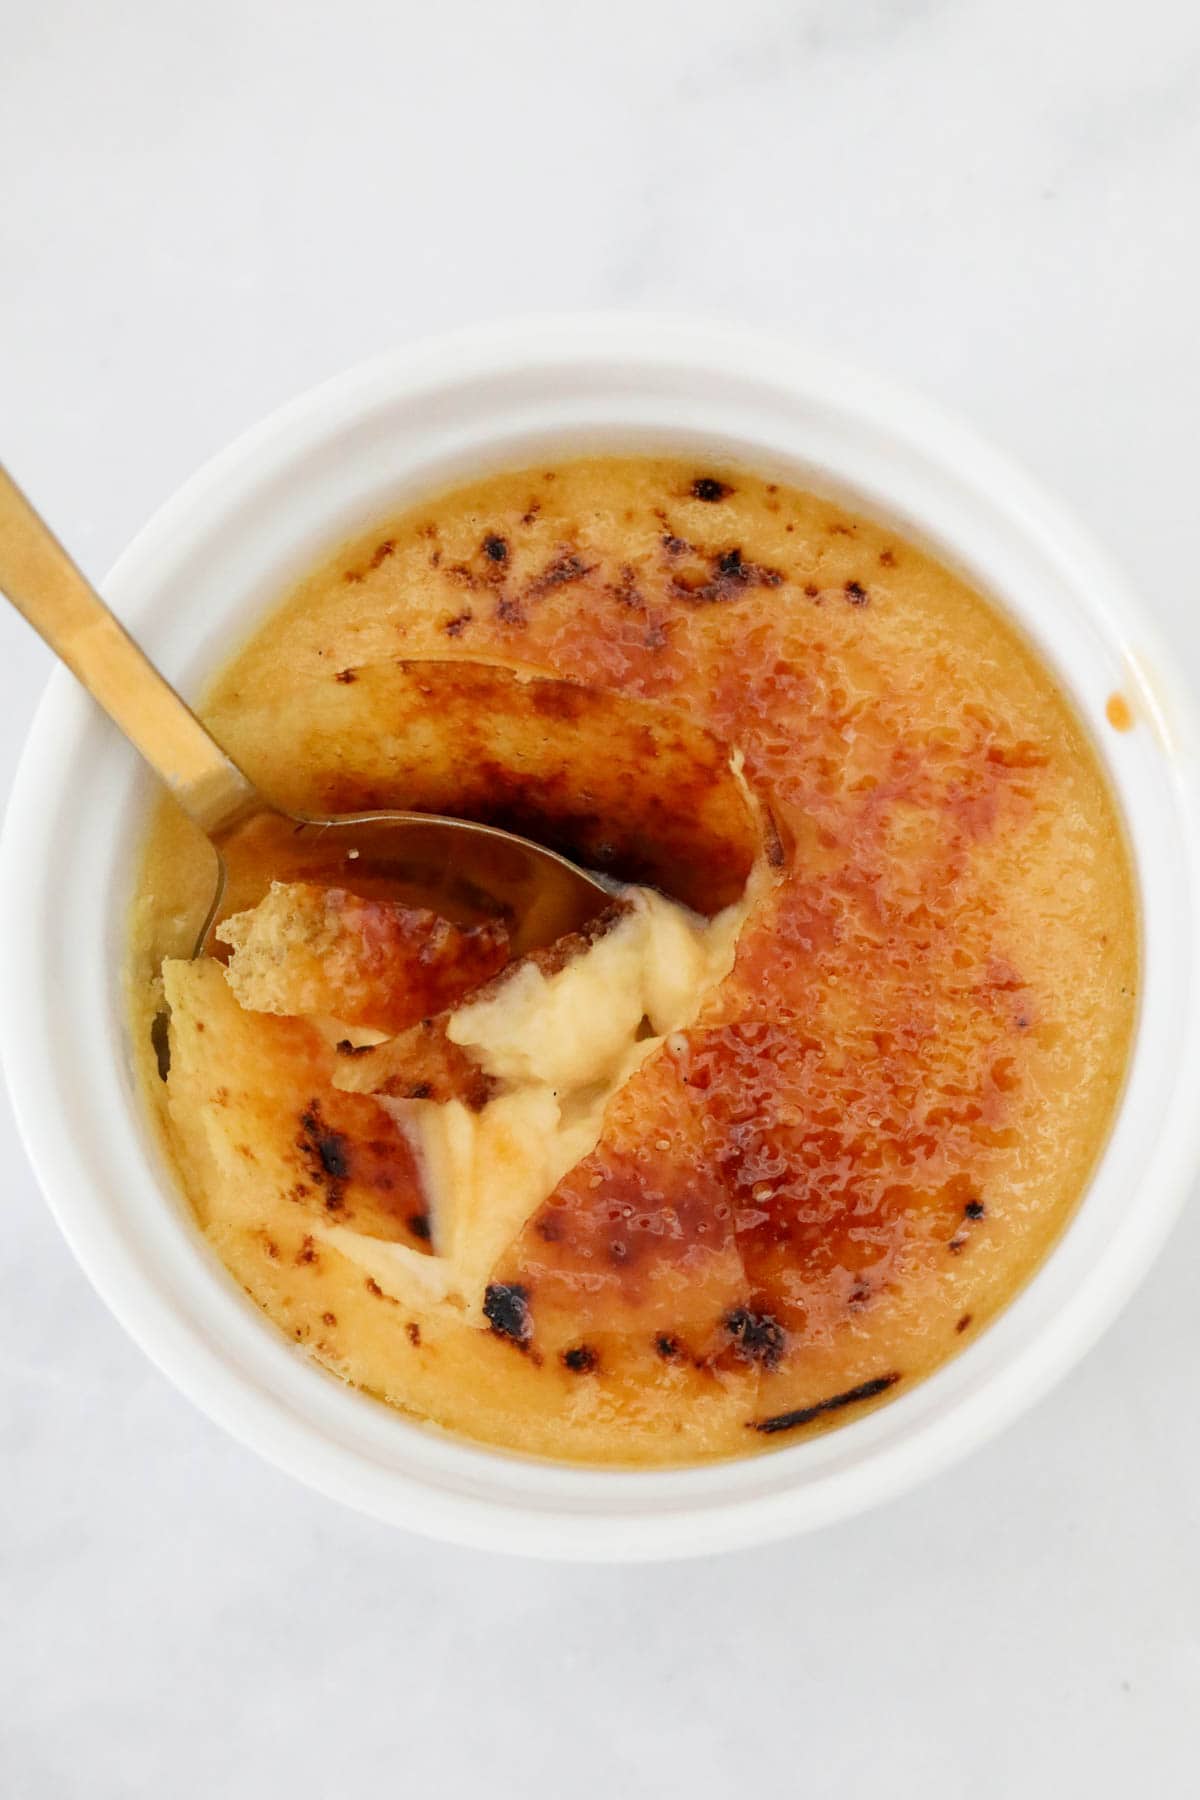

Step By Step Instructions
Whilst it is a restaurant favourite, this vanilla Crème Brûlée is SO easy to make at home!
Note: Scroll to the recipe card at the bottom for the ingredients quantities and full detailed method.
Step 1 – Heat The Cream And Vanilla
Place the cream and vanilla bean paste into a medium saucepan and heat over medium-low heat.
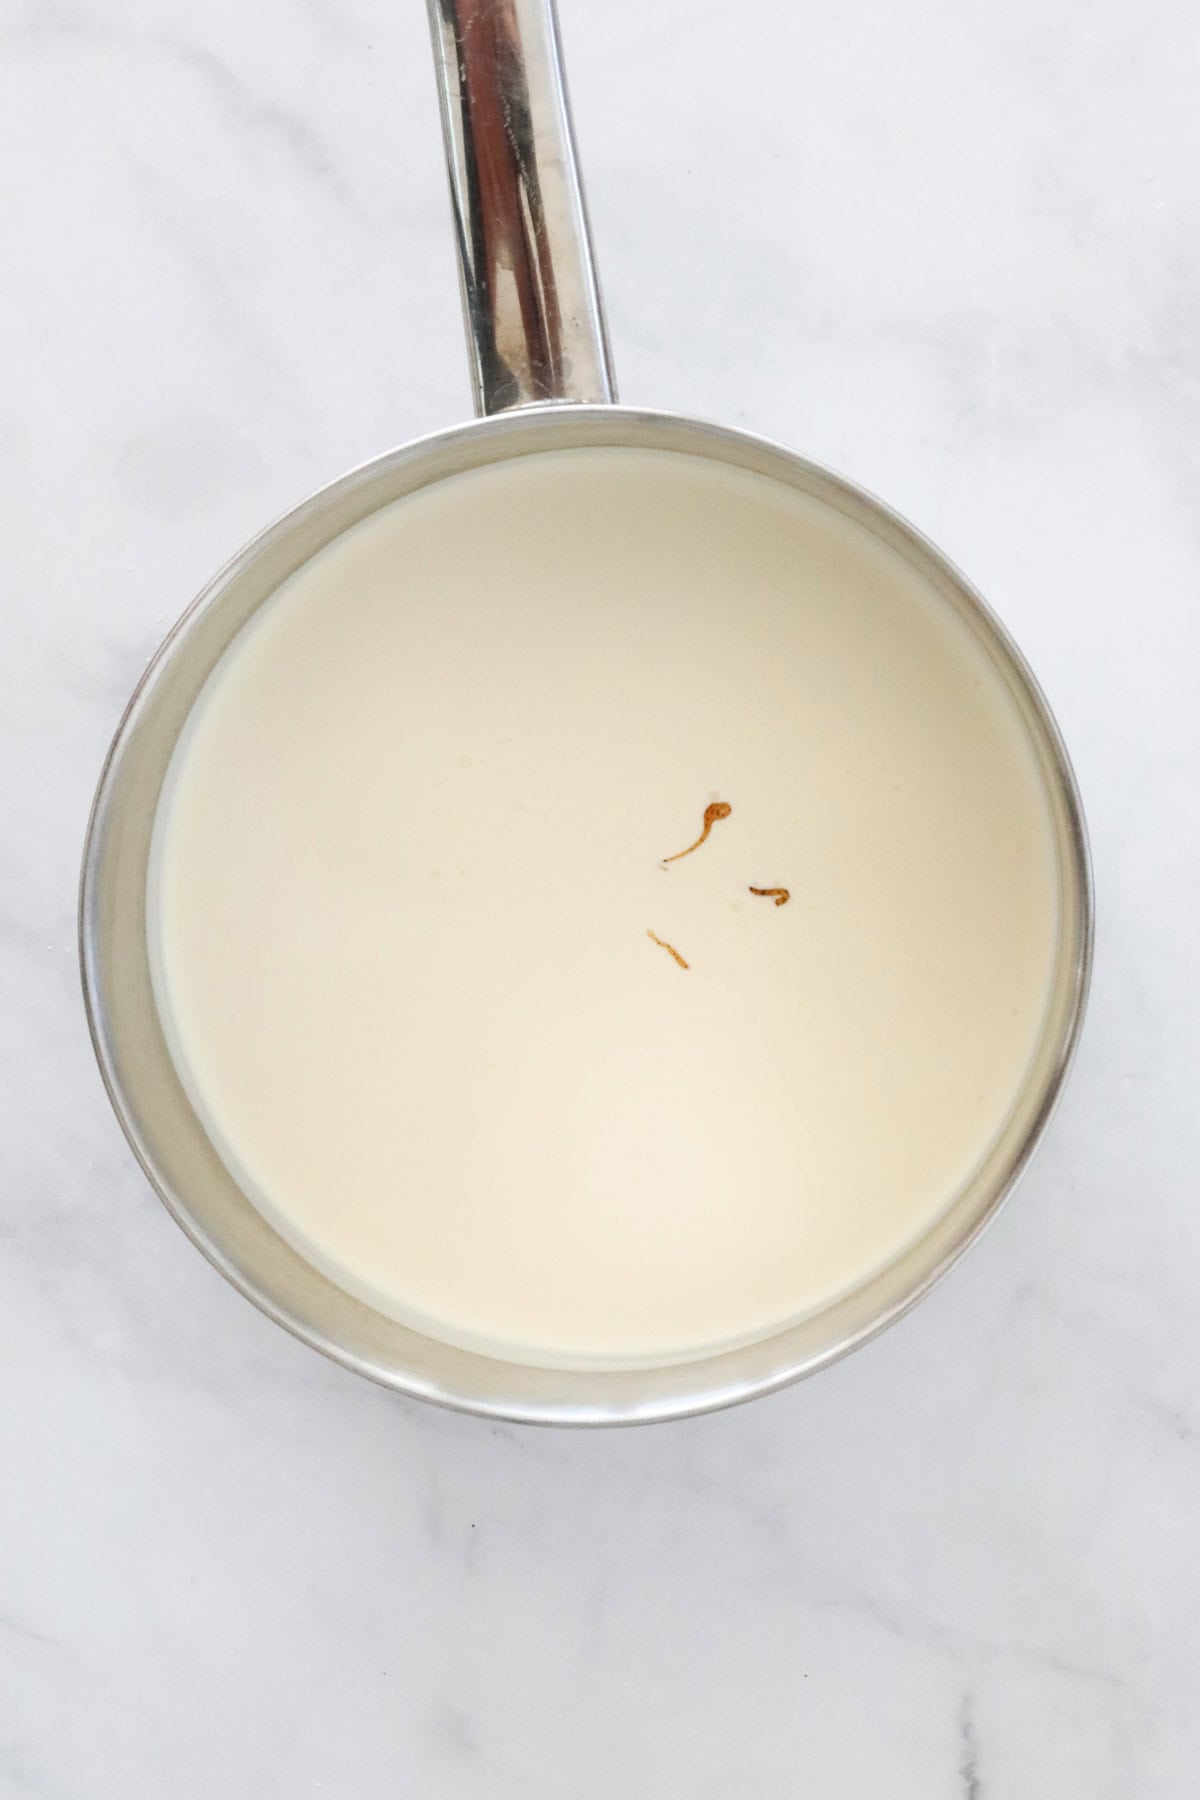

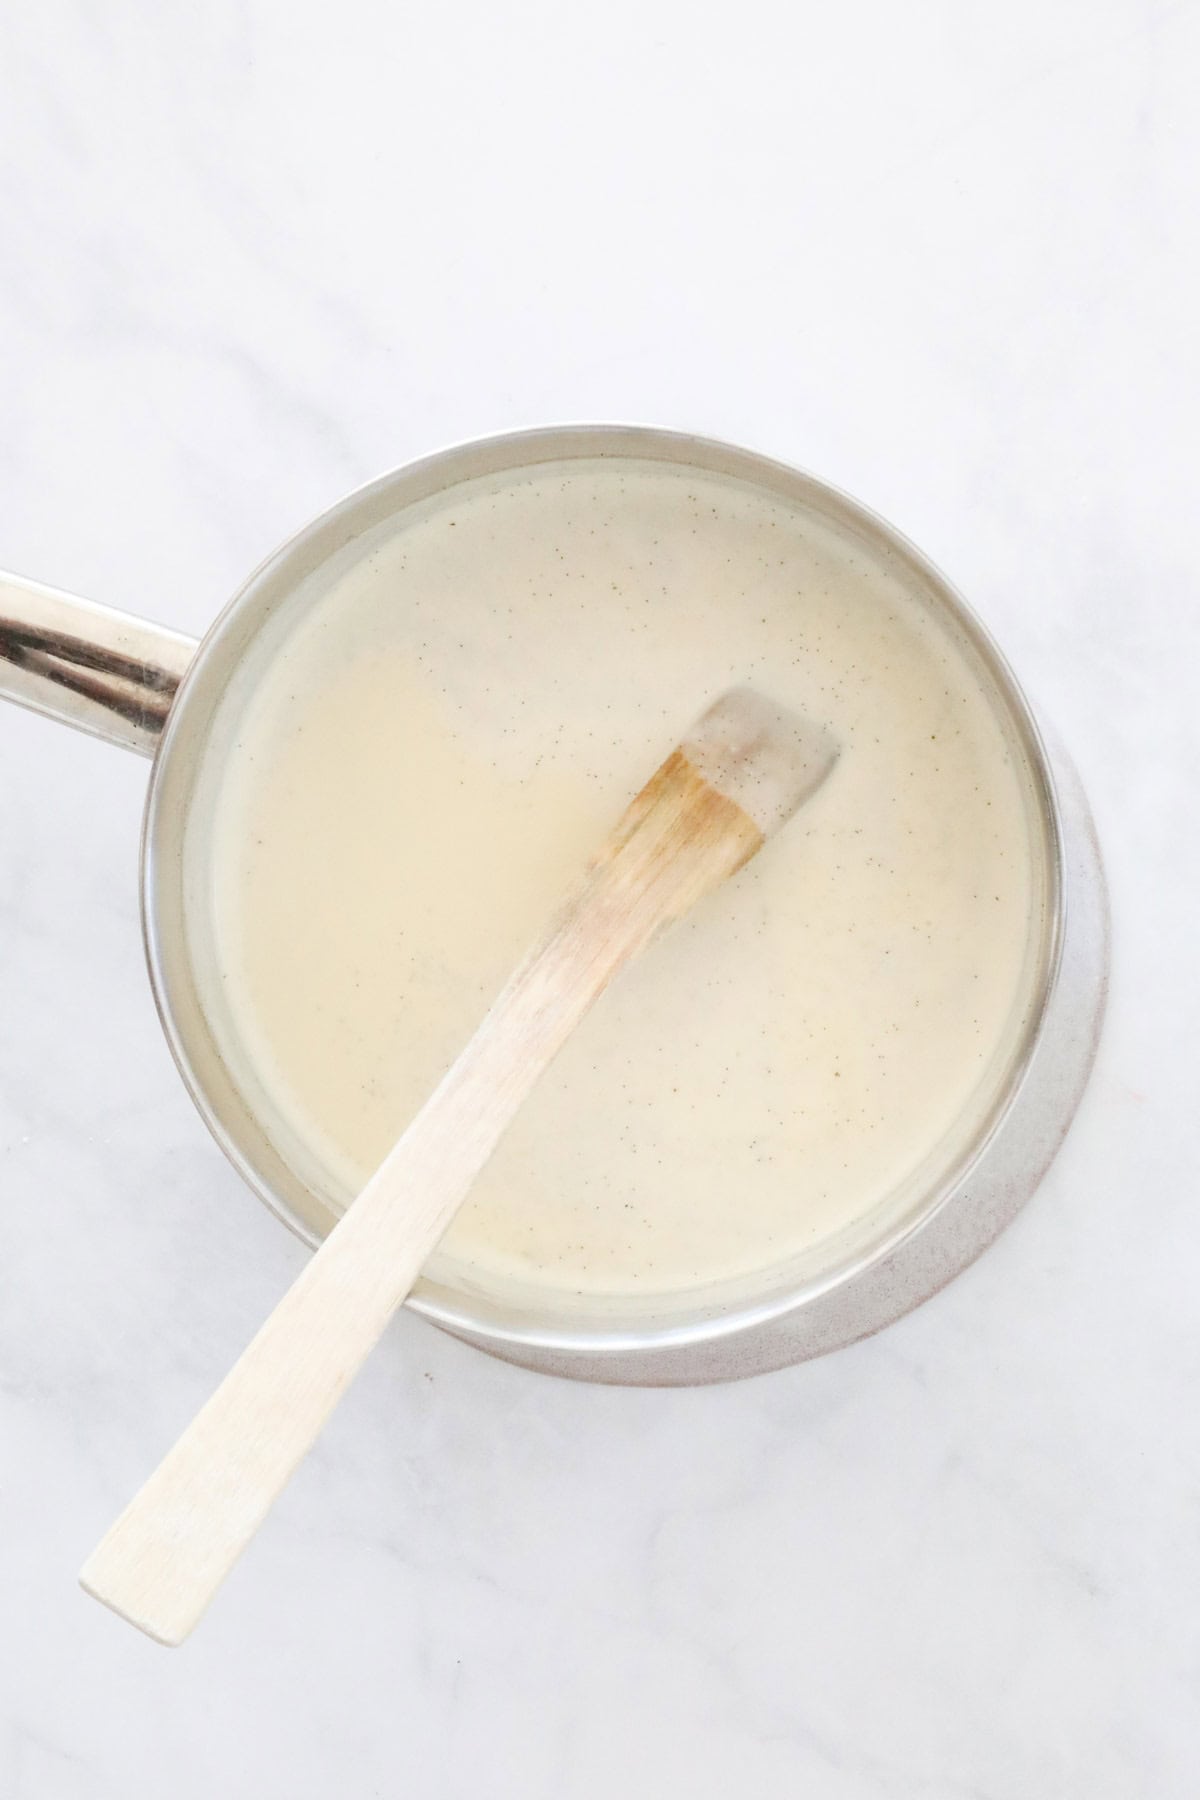
Bring the mixture to a simmer and stir for 5 minutes. Take the hot cream mixture off the heat and let it cool to room temperature.

Step 2 – Whisk The Egg Yolks And Sugar
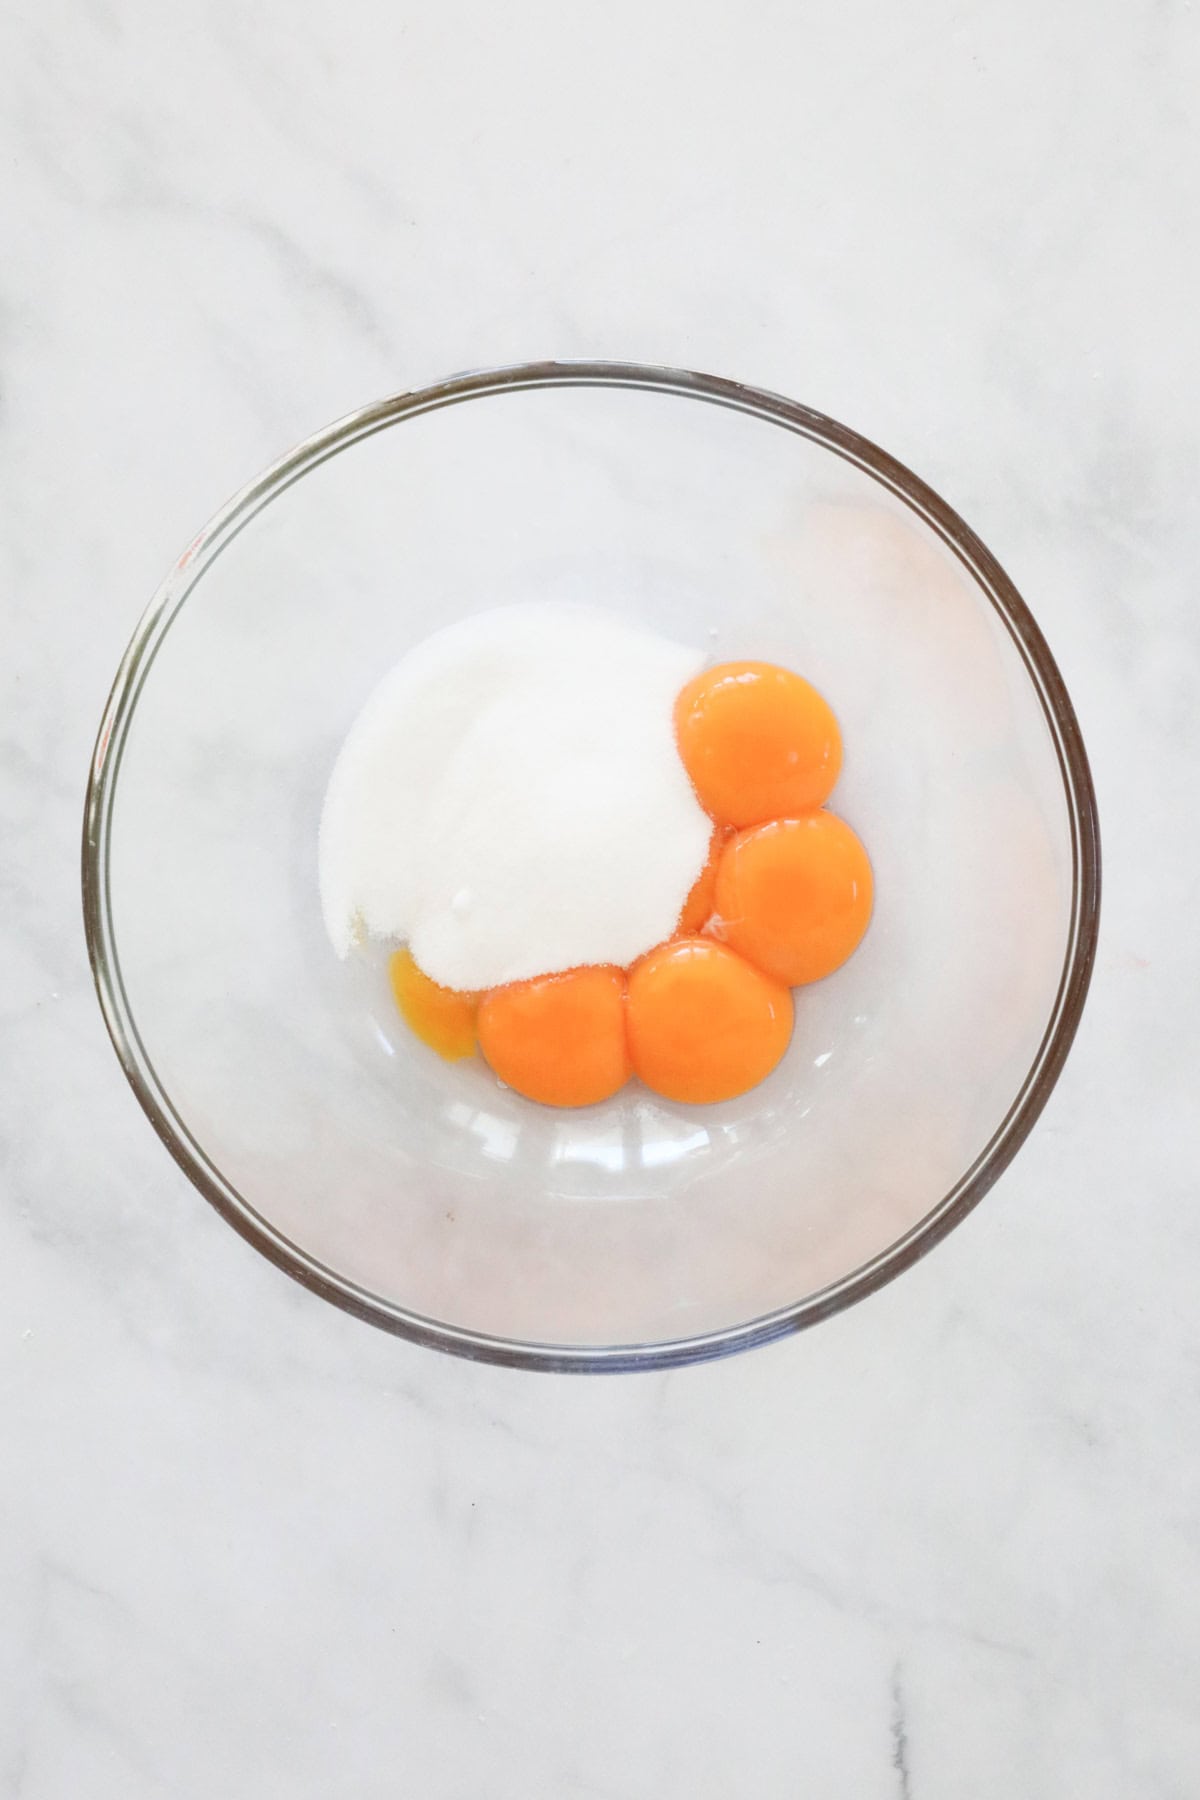
Place the egg yolks and sugar in a medium bowl.

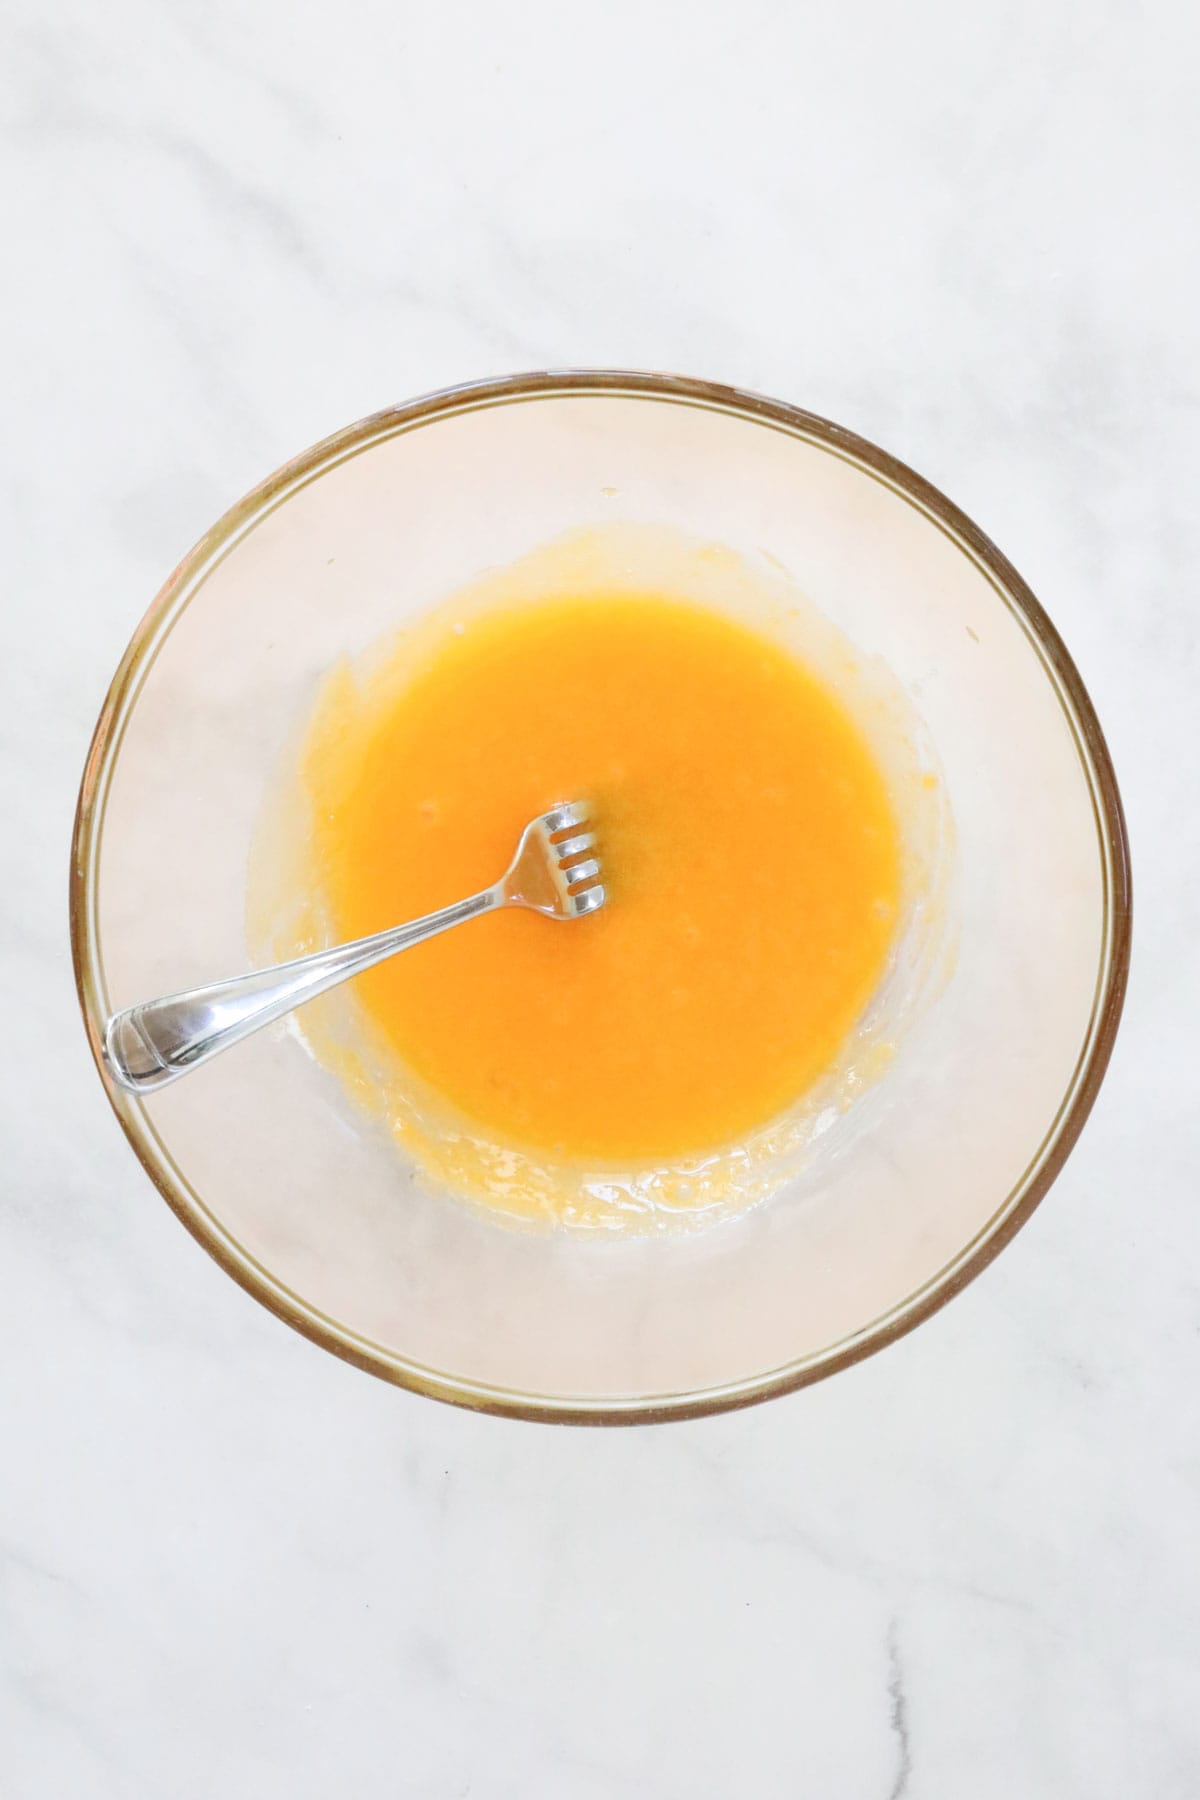
Use a fork to whisk the yolks and sugar together well.

Step 3 – Combine Cream Mixture With Eggs
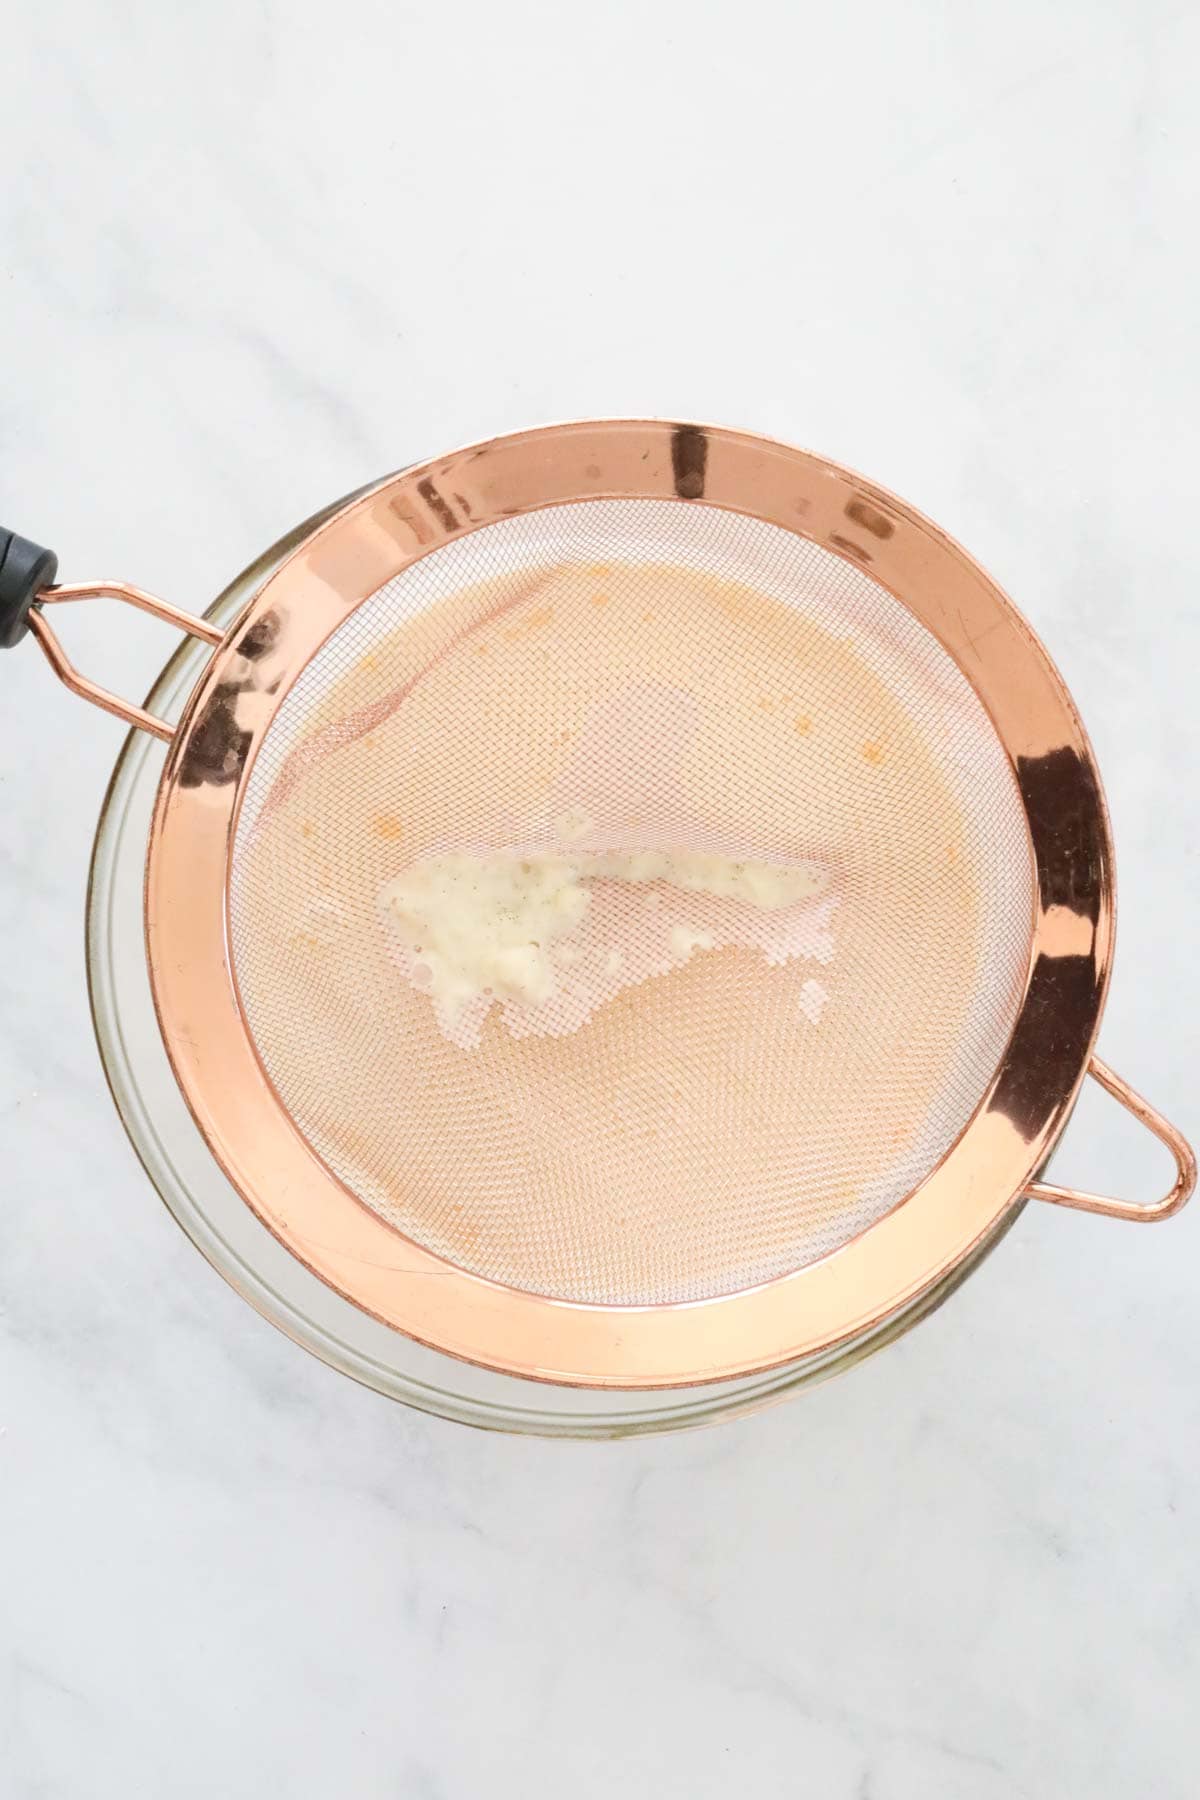
Pour the room-temperature cream and vanilla bean mixture through a fine mesh strainer onto the whisked eggs and sugar.

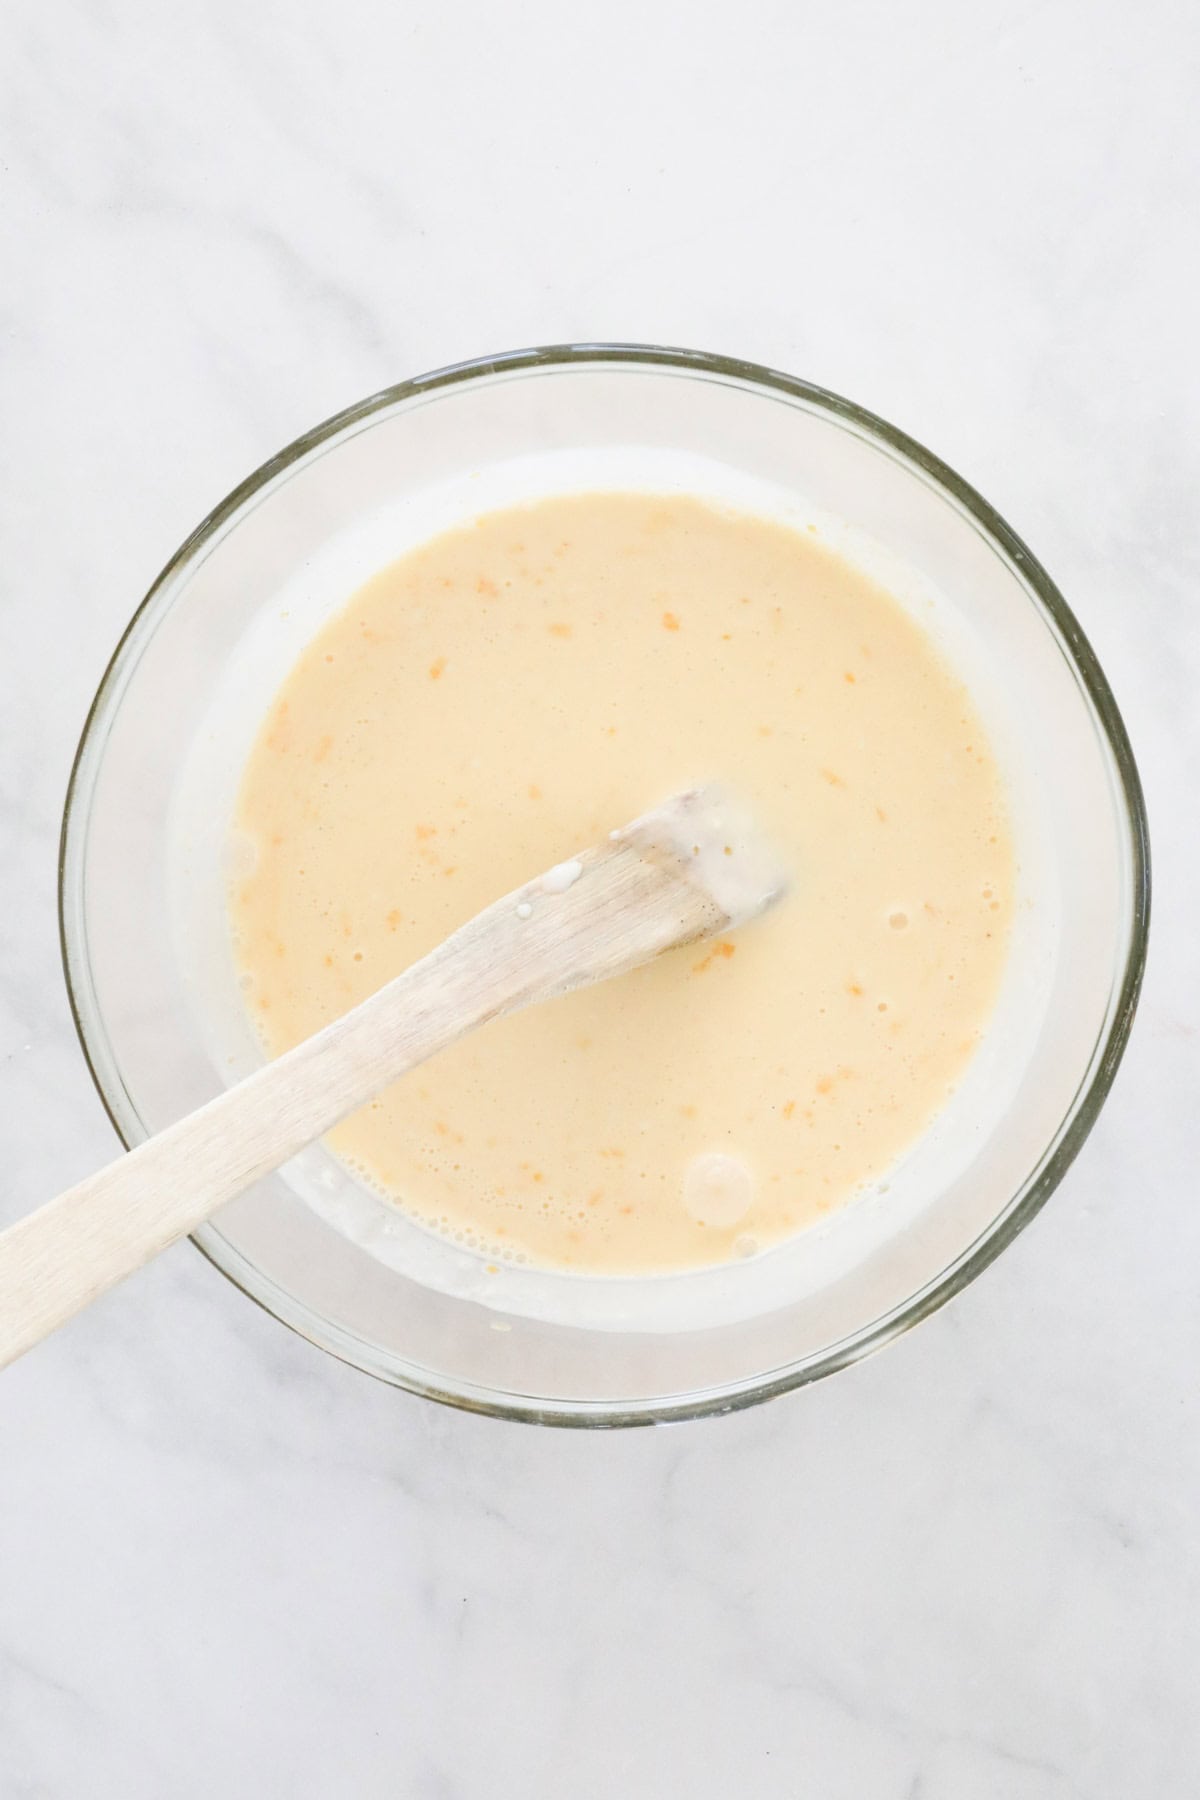
Stir ingredients gently to combine the cream with the eggs.

Step 4 – Bake
Place the individual ramekins into a large baking dish. Divide the egg mixture equally between the ramekins.
Carefully pour boiling water into the dish, around the sides of the ramekins, and do not splash water into the custard. The water should go halfway up the side of the ramekins.
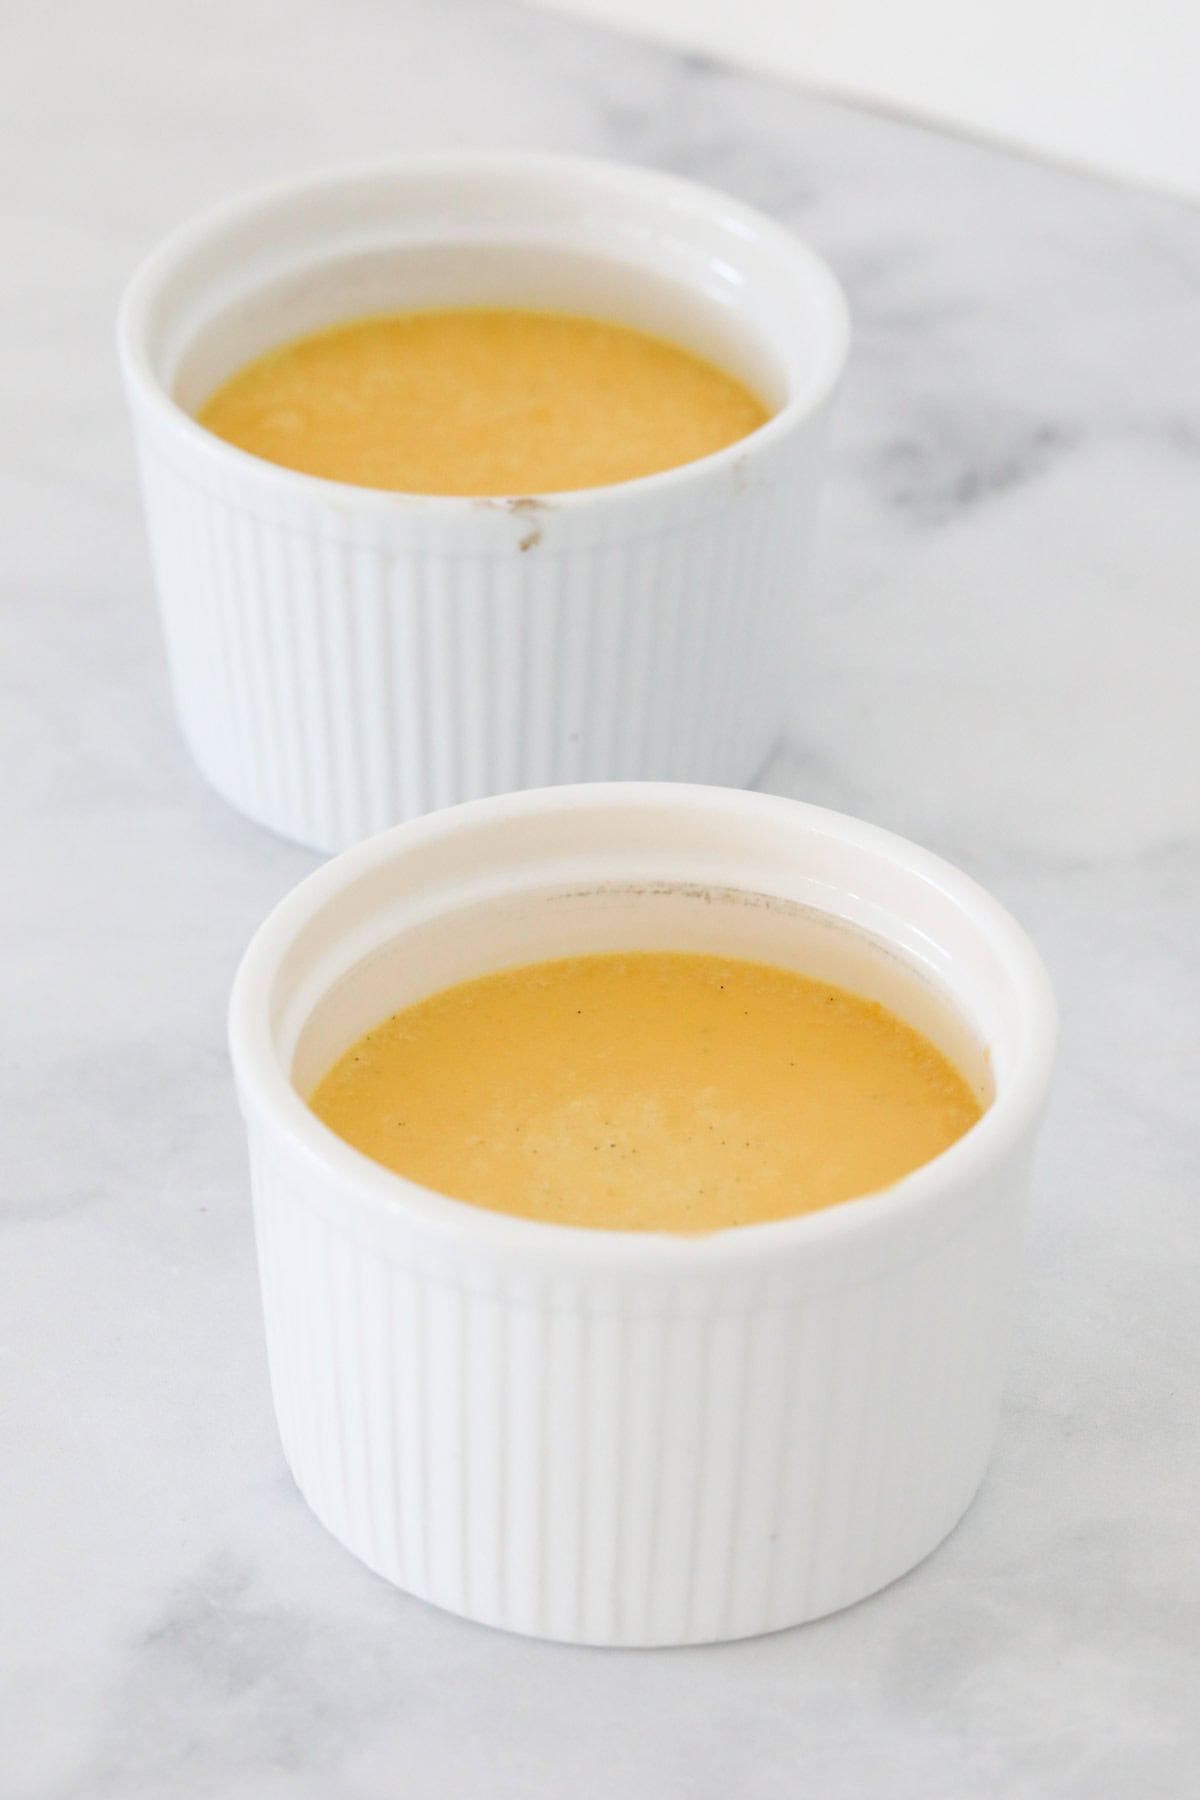
Bake in the preheated oven until the custard is slightly firm on the top but still wobbly in the centre. Baking time may vary slightly depending on your individual oven.
Allow to cool before covering the surface of the custard with plastic wrap and placing into the fridge for at least 6 hours – preferably overnight.

Step 5 – Create The Caramelised Sugar Topping
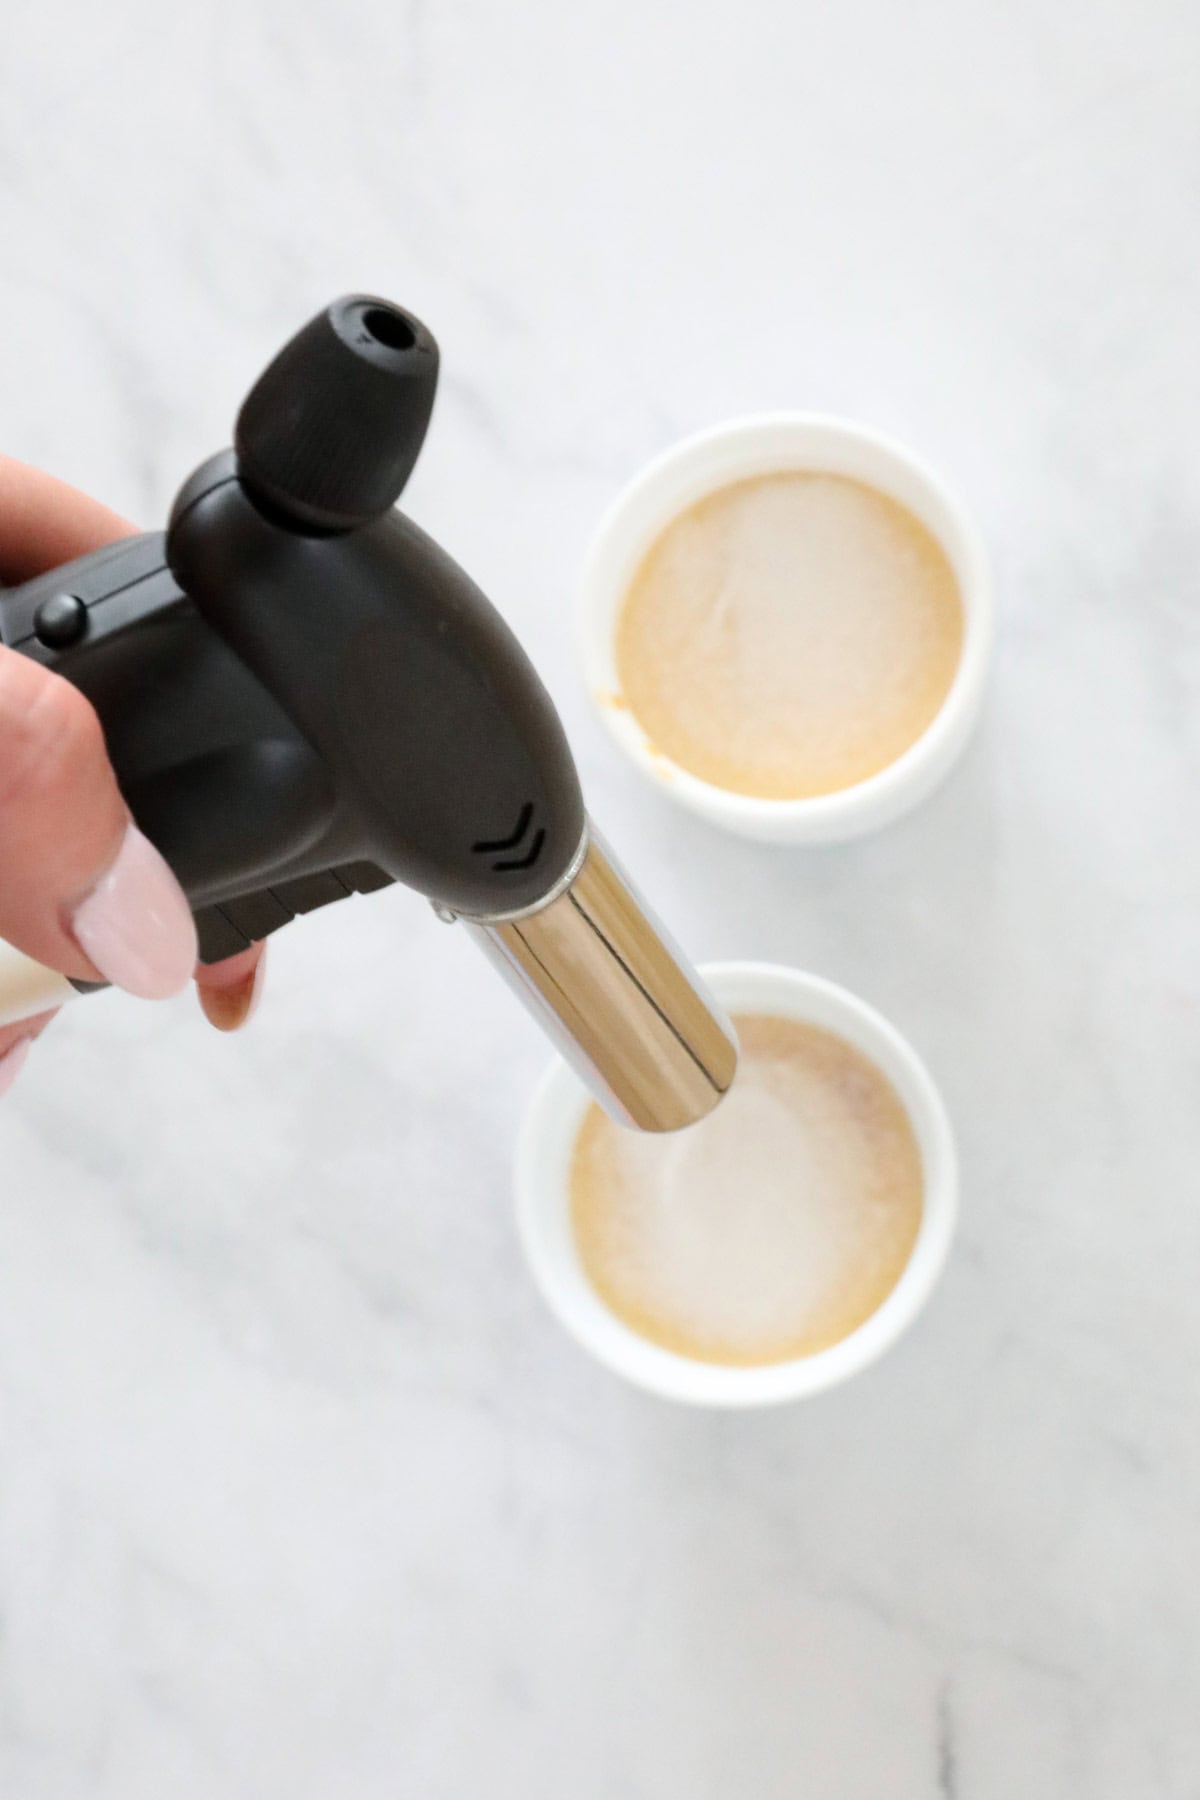
When ready to serve, sprinkle an even layer of caster sugar over the top of the custard.


Use a kitchen butane torch to caramelise the sugar.
Once the sugar melts and is a golden brown colour, it’s ready! Be careful not to take it too dark; otherwise, it can taste like slightly bitter and burnt sugar.
Note: if you don’t have a kitchen torch you can use an oven broiler or grill instead.

Step 6 – Serve
Serve the creamy custard Crème Brûlée immediately.

Expert Tips
For best results, follow these simple tips for the perfect creme brulee recipe.
- Vanilla – I do not recommend using vanilla essence to make Crème Brûlée with as it doesn’t give the same intense vanilla flavour as vanilla bean paste does.
- Make sure the egg yolks are at room temperature – for the silky smooth texture. You risk the custard curdling if you use them straight from the fridge.
- Cool the individual custards COMPLETELY in the fridge before sprinkling with sugar and caramelising the top. I recommend chilling them for a minimum of 6 hours; overnight is even better.
- To make a Crème Brûlée without a blow torch – use a hot grill or oven broiler. Make sure the grill is hot before placing the creme brûlée underneath, and watch them carefully.
- Egg white recipes – use up the leftover egg whites in passionfruit pavlova, amaretti biscuits, coconut macaroons, or royal icing.
FAQs
Cremé Brûlée is best served when the custard is chilled or at room temperature, and the torched caramel top is still warm to get that delicious contrast between hot and cold!
Make sure the custard is completely cold before caramelising the sugar on top, otherwise the Crème Brûlée can become watery.
I do not recommend freezing Crème Brûlée as the texture of the custard changes when frozen and then thawed.
Absolutely! I have included both the conventional (stove top) method plus the Thermomix method in the recipe card below.

For more elegant desserts that are the perfect ending to any dinner party, have a look at these other popular recipes:
WANT EVEN MORE DELICIOUS RECIPES? Subscribe to my newsletter or follow along on Facebook or Instagram. And if you love baking, then please come and join my Facebook cooking club group or subscribe to my YouTube channel.

Crème Brûlée
Our sweet and creamy Crème Brûlée recipe can be made on the stovetop or in a Thermomix!
Print Pin RateServings: 4 serves
Calories: 543kcal
Prevent your screen from going dark
Instructions
Preheat the oven to 140 degrees celsius (fan-forced).
- Place the cream and vanilla bean paste into a saucepan over medium heat. Bring the mixture to a simmer and stir for 5 minutes. Allow the mixture to cool to room temperature. If using a Thermomix: place the cream and vanilla bean paste into a clean and dry Thermomix bowl. Heat for 5 minutes, 90 degrees, Speed 2.
- In a seperate bowl, use a fork to whisk the egg yolks and sugar together. Pour the cream mixture through a sieve onto the egg mixture. Stir gently to combine. If using a Thermomix: add the sugar and mix for 20 seconds, Speed 2. Turn the Speed up to Speed 3. With the blades turning, add the egg yolks one at a time through the MC hole until combined.
- Place 4 ramekins into a large and deep ovenproof dish. Divide the mixture equally between the ramekins.Pour boiling water into the dish, around the ramekins (the water should go halfway up the side of the ramekins).
Bake for 40 minutes or until slightly firm on the top but still wobbly in the centre.
Allow to cool before placing into the fridge for a minimum of 6 hours (preferably overnight).
When ready to serve, sprinkle a layer of caster sugar (approximately 1 tsp) over the top of the Crème Brûlée and use a blow torch to caramelise the sugar into a hard layer.
Serve immediately.
Notes
- Vanilla – I do not recommend using vanilla essence to make Crème Brûlée with as it doesn’t give the same intense vanilla flavour as vanilla bean paste.
- Have your egg yolks at room temperature – for the silky smooth texture. You risk the custard curdling if you use them straight from the fridge.
- Cool the individual custards COMPLETELY in the fridge before sprinkling with sugar and caramelising the top. I recommend chilling them for a minimum of 6 hours, overnight is even better.
- To make a Crème Brûlée without a blow torch – use a hot grill. Make sure the grill is hot before placing the creme brûlée underneath and watch them carefully.
- Cremé Brûlée is best served when the custard is chilled or at room temperature, and the torched caramel top is still warm.
- Freezing – I do not recommend freezing Crème Brûlée as the texture of the custard can change when frozen and then thawed.
- Egg white recipes – use up the leftover egg whites in passionfruit pavlova, amaretti biscuits, coconut macaroons, or royal icing.
Nutrition
Calories: 543kcal | Carbohydrates: 19g | Protein: 7g | Fat: 49g | Saturated Fat: 30g | Polyunsaturated Fat: 3g | Monounsaturated Fat: 14g | Cholesterol: 379mg | Sodium: 43mg | Potassium: 139mg | Sugar: 19g | Vitamin A: 2088IU | Vitamin C: 1mg | Calcium: 108mg | Iron: 1mg
Source link


