Homemade Harissa Sauce – Food in Jars
Just a small spoonful of this homemade harissa sauce brings a powerful boost of flavor to soups, stews, and braises. Add some to your next pot of chili!

This post is sponsored by the makers of Ball® home canning products.*
I started keeping store bought jars of harissa sauce in my fridge a handful of years ago. It’s such an easy way to add a punch of flavor to a quick skillet meal or a simple pot of soup. One of my favorite dishes to make when I only have myself to feed is a speedy simmer of chickpea, onion, spinach, and harissa (just use a little. It packs a punch!).


Even though harissa sauce is one of my pantry staples, it never occurred to me to make it myself. I wrongly assumed that it would be hard to do and then need a spot in my constantly overflowing freezer. Happily, both those assumptions were incorrect. It’s not hard to do and this recipe has been designed to go in a water bath so that it is shelf stable.


How to Make Homemade Harissa Sauce
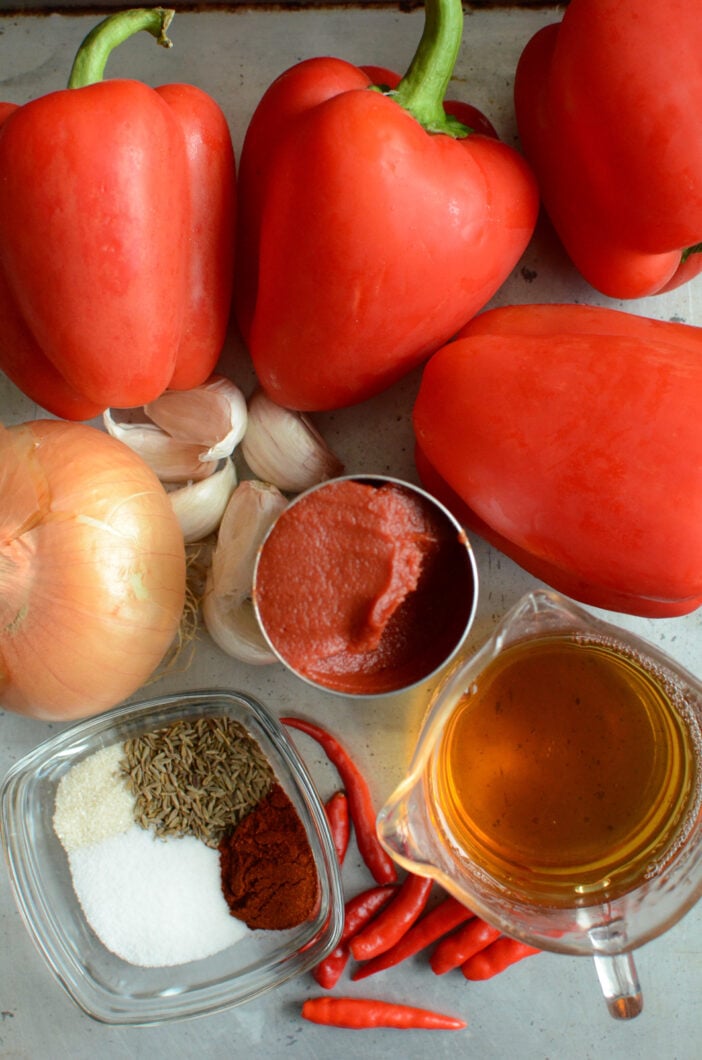
To make this homemade harissa, you need four sweet red peppers, 8 birdseye chilis, an onion, 6 cloves of garlic, 5 tablespoons tomato paste, 3/4 cup of apple cider vinegar, 2 teaspoons salt, and 1 teaspoon each of sugar, cumin seed, and smoked paprika.


You start by roasting the sweet and hot peppers. I always do this under my broiler, but you can use whatever method works best for you. Once they have a nice char on all sides, remove the pan from the oven and let them cool until you can handle them.
When the peppers are cool, remove the skins and seeds, and chop the peppers (I used the mini food processor attachment for my immersion blender and it made so much less mess than doing them on a cutting board would have). Make sure to wear gloves when you’re handling the hot peppers, as even after roasting, they are still potent. You don’t want their oil on your hands.


When you’re ready to make your homemade harissa, pour your chopped peppers into a nonreactive pot. Add the minced onion, garlic, tomato paste, vinegar, salt, sugar, cumin seed, and smoked paprika.
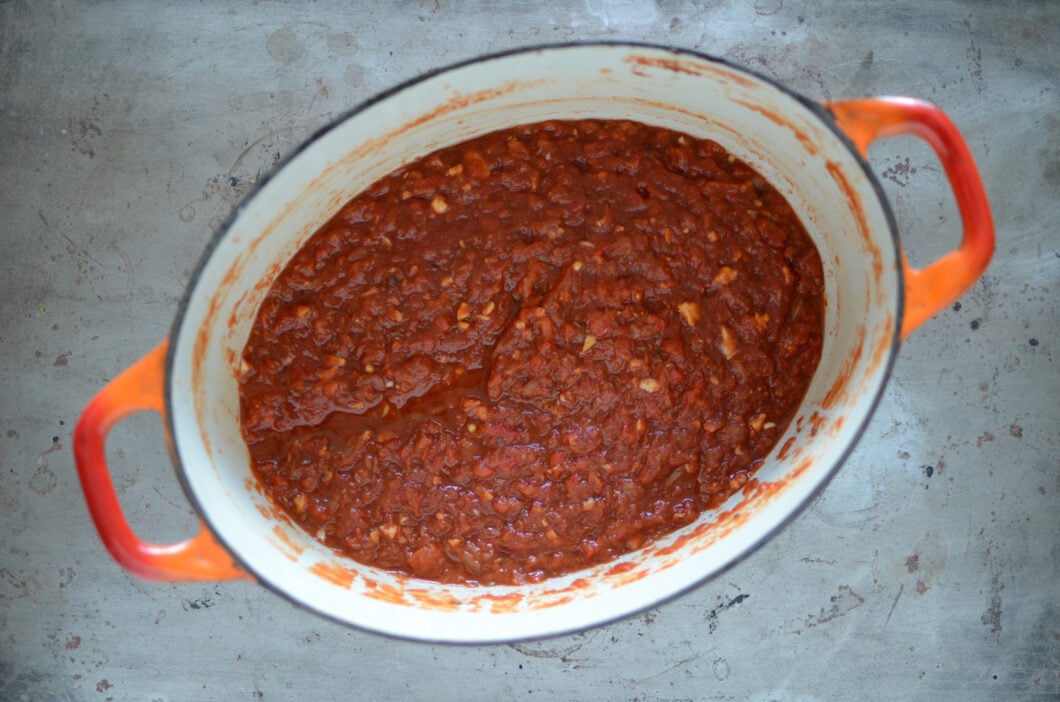
Bring the contents of your pot to a boil. Reduce the heat and simmer for about ten minutes, until the onions are soft and it no longer looks watery. Using an immersion blender, puree the harissa to your desired texture.


While the harissa cooks, prepare a boiling water bath canner.
Fit your pot with a rack (I like the silicone mat that comes with the Ball® Canning Starter Kit). Place three half pint jars (I used Ball® Smooth Sided half pints here) on top of the mat and fill the jars and pot with tap water. Add a generous splash of white vinegar to prevent mineral deposits on your jars, and place the pot on the stove to heat.
Wash your new lids and rings with warm, soapy water and set them aside so that they’re ready for you when you’re ready for them.


Get a preheated jar from your prepared canner. Funnel the hot harissa into the jar, leaving 1/2 inch headspace. Remove air bubbles. Wipe the rim, apply a clean, new lid and a ring and return the jar to the canner. Repeat this process with the remaining jars and butter. Process the sauce for 15 minutes, adjusting for altitude if you live above 1,000 feet in elevation.
When the processing time is up, turn off the heat, remove the lid from the pot and let the jars stand in the pot for an additional five minutes (this allows them to cool more gradually, which helps prevent siphoning and should also help develop a more robust seal).
Remove the jars from the canner and set them on a folded kitchen towel. Let them sit undisturbed for 12-24 hours so they can fully cool and seal. Before storing, make sure to check that the seals are firm and unbending. Sealed jars are shelf stable up 18 months, any unsealed jars should be refrigerated and used promptly.


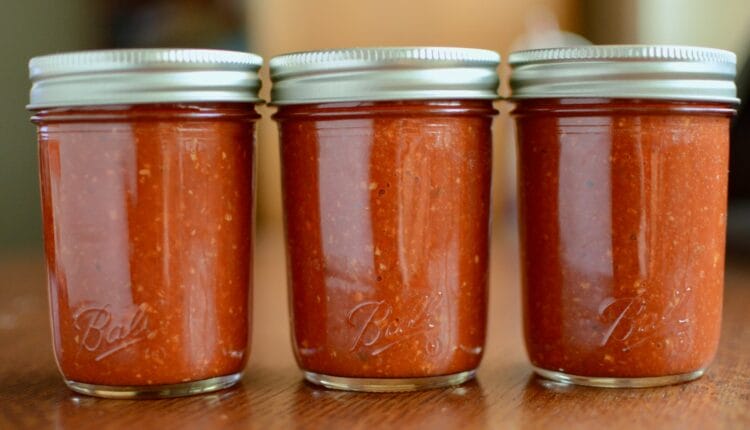
My finished yield was three full half pint jars, with a few tablespoons leftover that went straight into the fridge. I made a black bean and corn soup for dinner that night and used a little to help flavor the broth. It was delicious.
If you try your hand at homemade harissa, please come back and let me know how it turned out for you!


Harissa Sauce
Originally from North Africa, harissa is a flavor packed hot sauce.
Servings: 3 half pints
Ingredients
- 4 red peppers, roasted, peeled, seeded, and diced
- 8 bird’s eye or other small red chili, roasted, seeded, and diced
- 1 large yellow onion, finely diced (about 1 1/2 cups)
- 6 cloves garlic, minced
- 5 tablespoons tomato paste
- 3/4 cup apple cider vinegar
- 2 teaspoons salt
- 1 teaspoon smoked paprika
- 1 teaspoon cumin seeds
- 1 teaspoon sugar
Instructions
-
Combine all ingredients in a saucepan over medium heat, bring to a boil.
-
Lower heat and simmer until onions are softened, about 10 minutes.
-
Use an immersion blender to puree harissa to desired consistency; leave slightly chunky or puree completely.
-
Prepare boiling water bath canner while sauce is cooking. Heat jars in simmering water until read to use, do not boil. Wash lids in warm soapy water and set aside with bands.
-
Ladle hot harissa sauce into a hot jar, leaving 1/2 inch headspace. Remove air bubbles. Wipe jar rim. Center lid on jar and apply band, adjust to fingertip tip. Place jar in boiling water canner. Repeat until all jars are filled.
-
Process jars 15 minutes, adjusting for altitude. Turn off heat, remove lid, let jars stand 5 minutes. Remove jars and cool 12-24 hours. Check lids for seal. They should not flex when center is pressed.
*Disclosure: This is a sponsored post that is part of an ongoing partnership with the Fresh Preserving Division of Newell Brands. They have provided jars, equipment and monetary compensation. All thoughts and opinions expressed remain my own.

