Say Goodbye to Dry Hands with Homemade Shea Butter Hand Cream
As someone who’s battled perpetually dry hands through harsh winters and constant hand-washing, I’ve discovered that the secret to baby-soft hands isn’t hiding in expensive department store creams—it’s in your kitchen. Enter the game-changing world of DIY shea butter hand cream, a natural, cost-effective solution in the quest for soft, nourished hands.
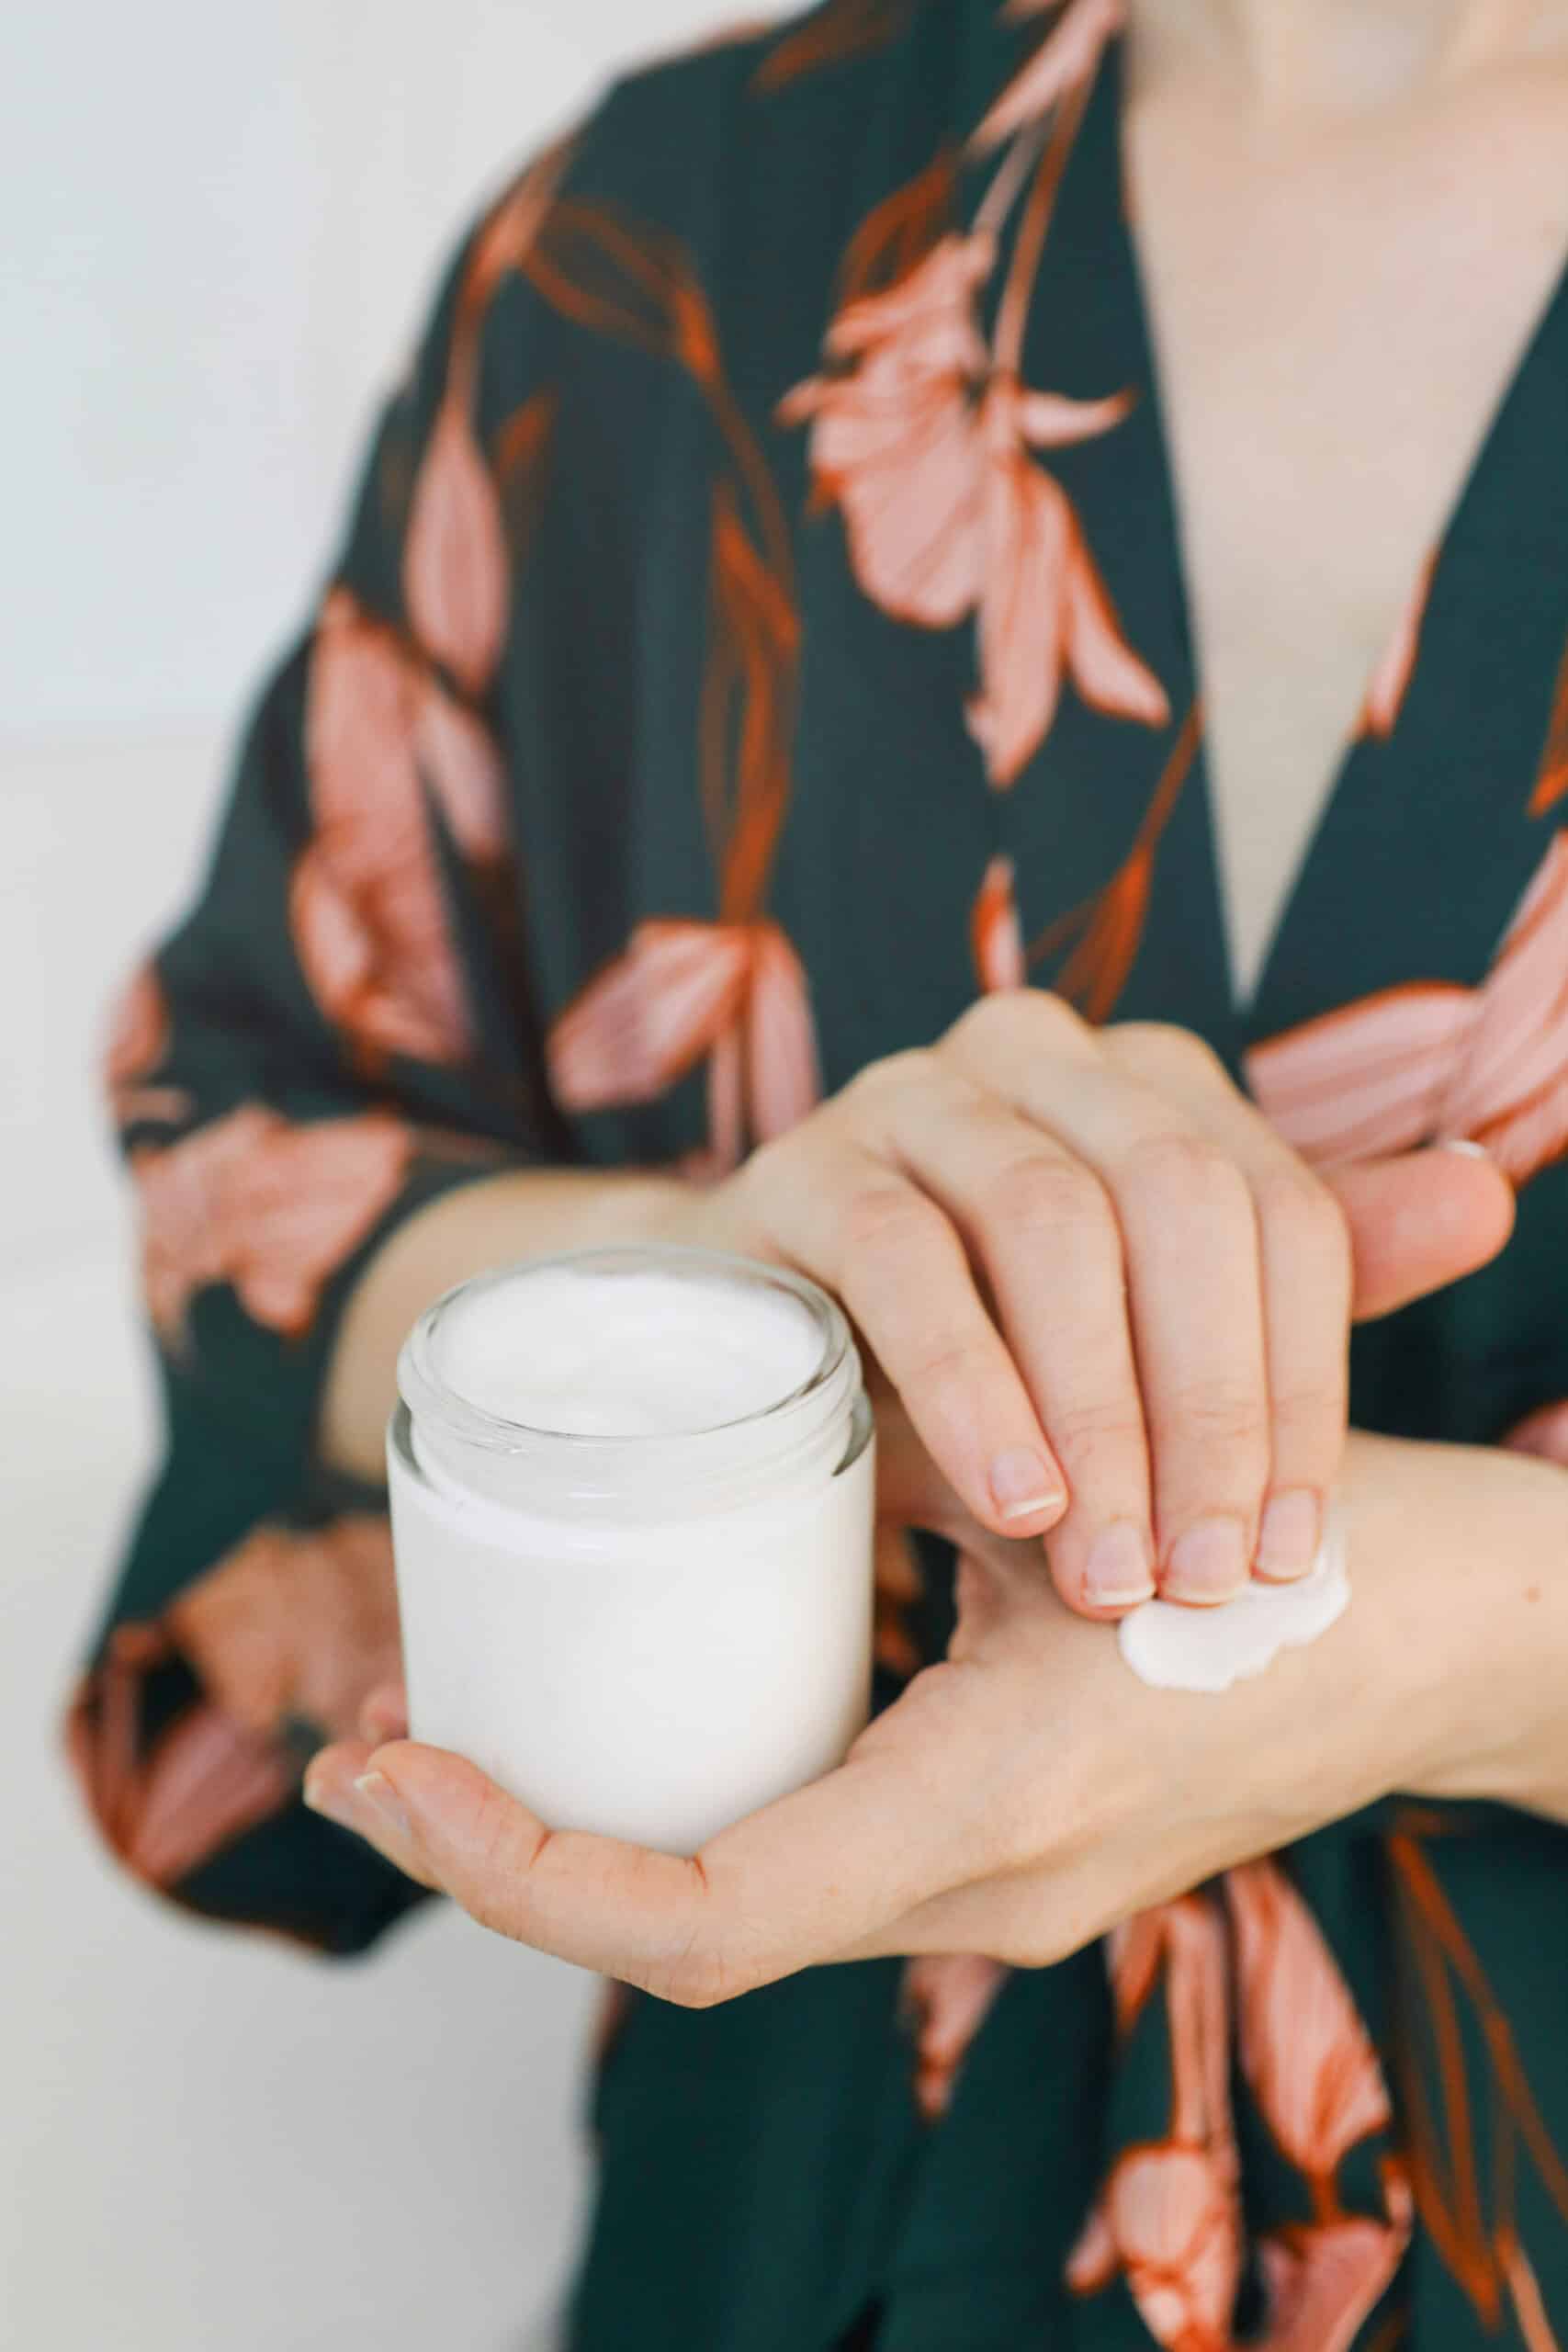
You know that feeling when your hands get so dry they feel like sandpaper? I’ve been there! And making my own shea butter hand cream has been a game-changer when you live where winters can be brutal.
The beauty of DIY hand cream is that you’re in control of the ingredients, and you can make it as rich and nourishing as you want. Plus, there’s something incredibly satisfying about creating your own lotion recipe that actually works better than the expensive alternatives.
Jump to:
Shea Butter Skin Benefits
If you’re wondering why shea butter is such a superstar ingredient, let me break it down for you. First off, it’s an incredible moisturizer that penetrates deep down to hydrate from within, creating a protective barrier that locks in moisture.
But here’s what makes it really special: shea butter is packed with vitamins A and E, plus it has amazing anti-inflammatory properties. I love how it soothes my irritated winter skin without clogging my pores. When my hands are feeling particularly sensitive or dealing with eczema flare-ups, shea butter is my go-to solution.
Store-Bought vs. DIY: What’s Really Better?
When comparing homemade shea butter cream to popular brands like L’Occitane, there’s a huge difference in what you’re getting for your money. While L’Occitane makes fantastic products, their hand creams typically contain a lower concentration of shea butter mixed with various other ingredients. With DIY versions, you can pack in way more of the good stuff!
The real beauty of making your own is customization—you can adjust the thickness, scent, and ingredients to perfectly match your needs. Plus, it’s incredibly cost-effective.
One batch of shea butter hand cream costs a fraction of high-end store brands and often lasts just as long. Here are two hand lotion recipes you can easily whip up at home:
Recipe #1: Lotion-Like Shea Butter Hand Cream
Unlike thicker balms, this silkier version absorbs quickly into your skin without leaving any greasy residue. It’s perfect for those busy days when you can’t wait around for heavy creams to sink in.
I love using this type of hand cream throughout the day, especially after washing my hands. It’s lightweight enough to apply frequently but still packs all the moisturizing power of shea butter.
Ingredients
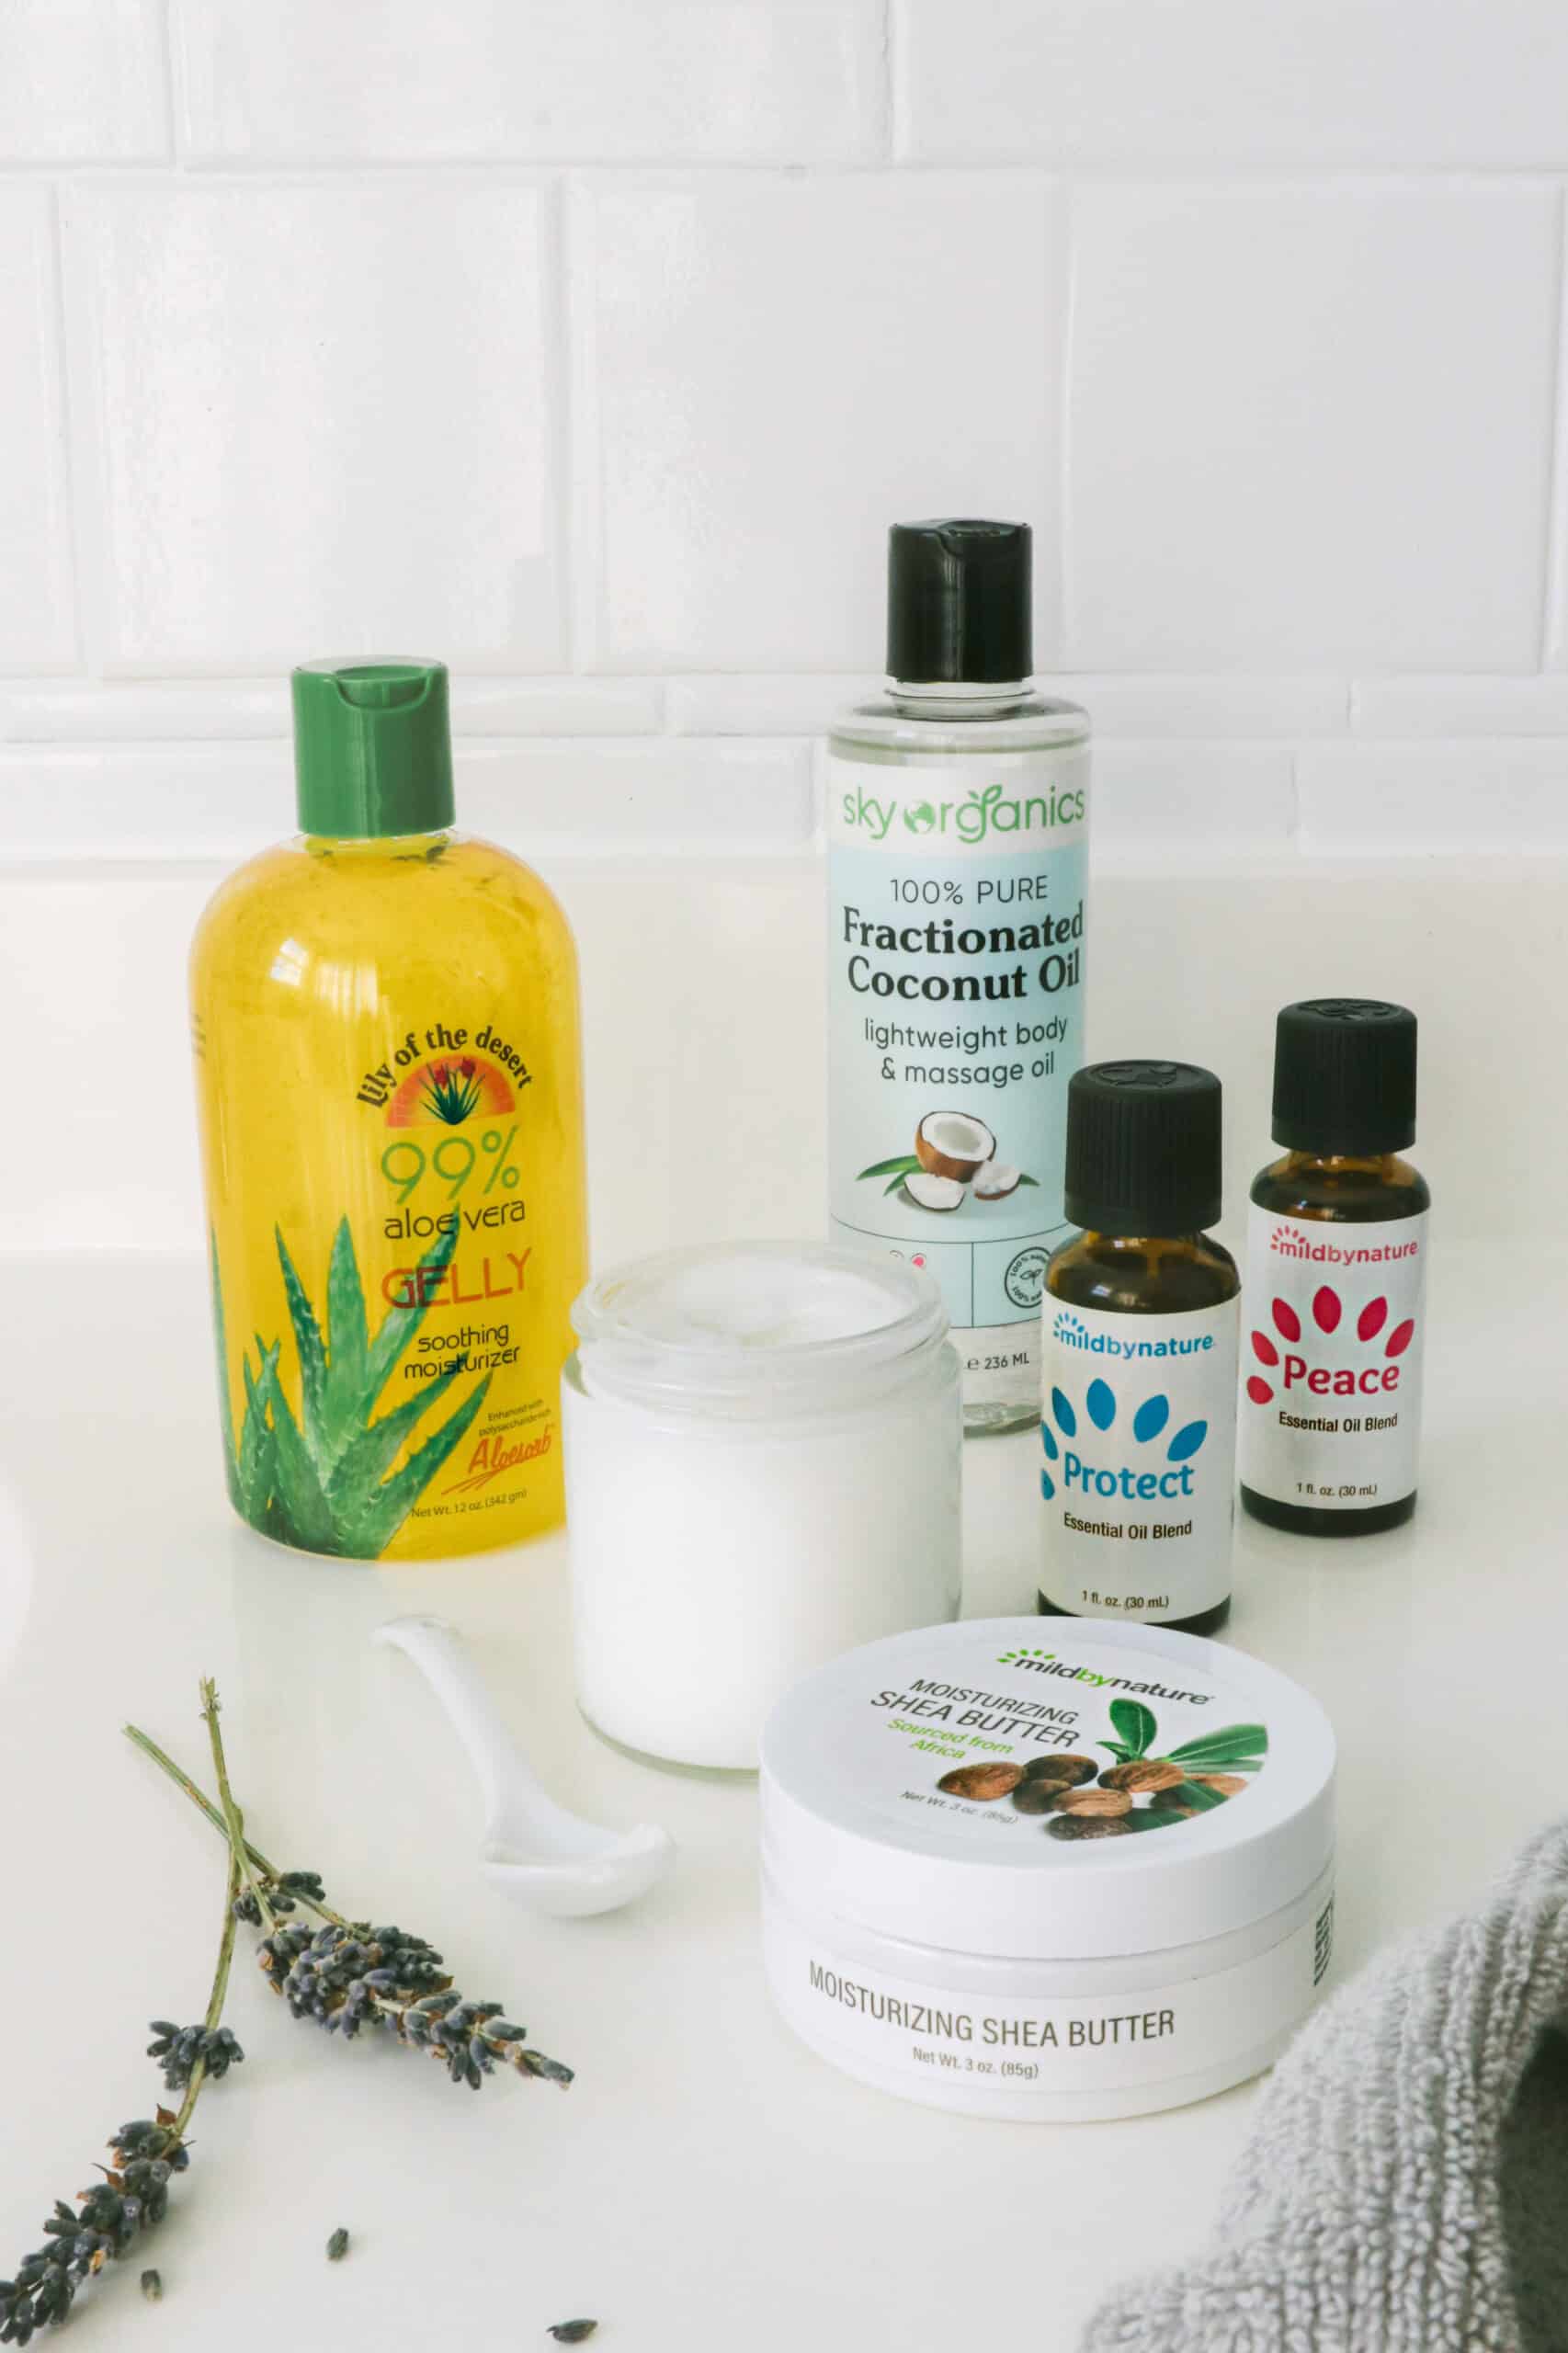

Ready to whip up your own luxurious hand cream? Here’s everything you’ll need:
- ½ cup aloe vera gelly—this powerhouse ingredient provides that silky-smooth base we’re looking for.
- 1 tablespoon fractionated coconut oil—which helps everything absorb beautifully into your skin.
- 2 tablespoon shea butter, melted
- 15 drops essential oil—I personally love lavender or sweet orange, but feel free to experiment!
- 4-ounce glass jar with a tight-fitting lid.
Pro tip: Always opt for unrefined shea butter. It retains more of those precious natural nutrients your skin craves.
Instructions
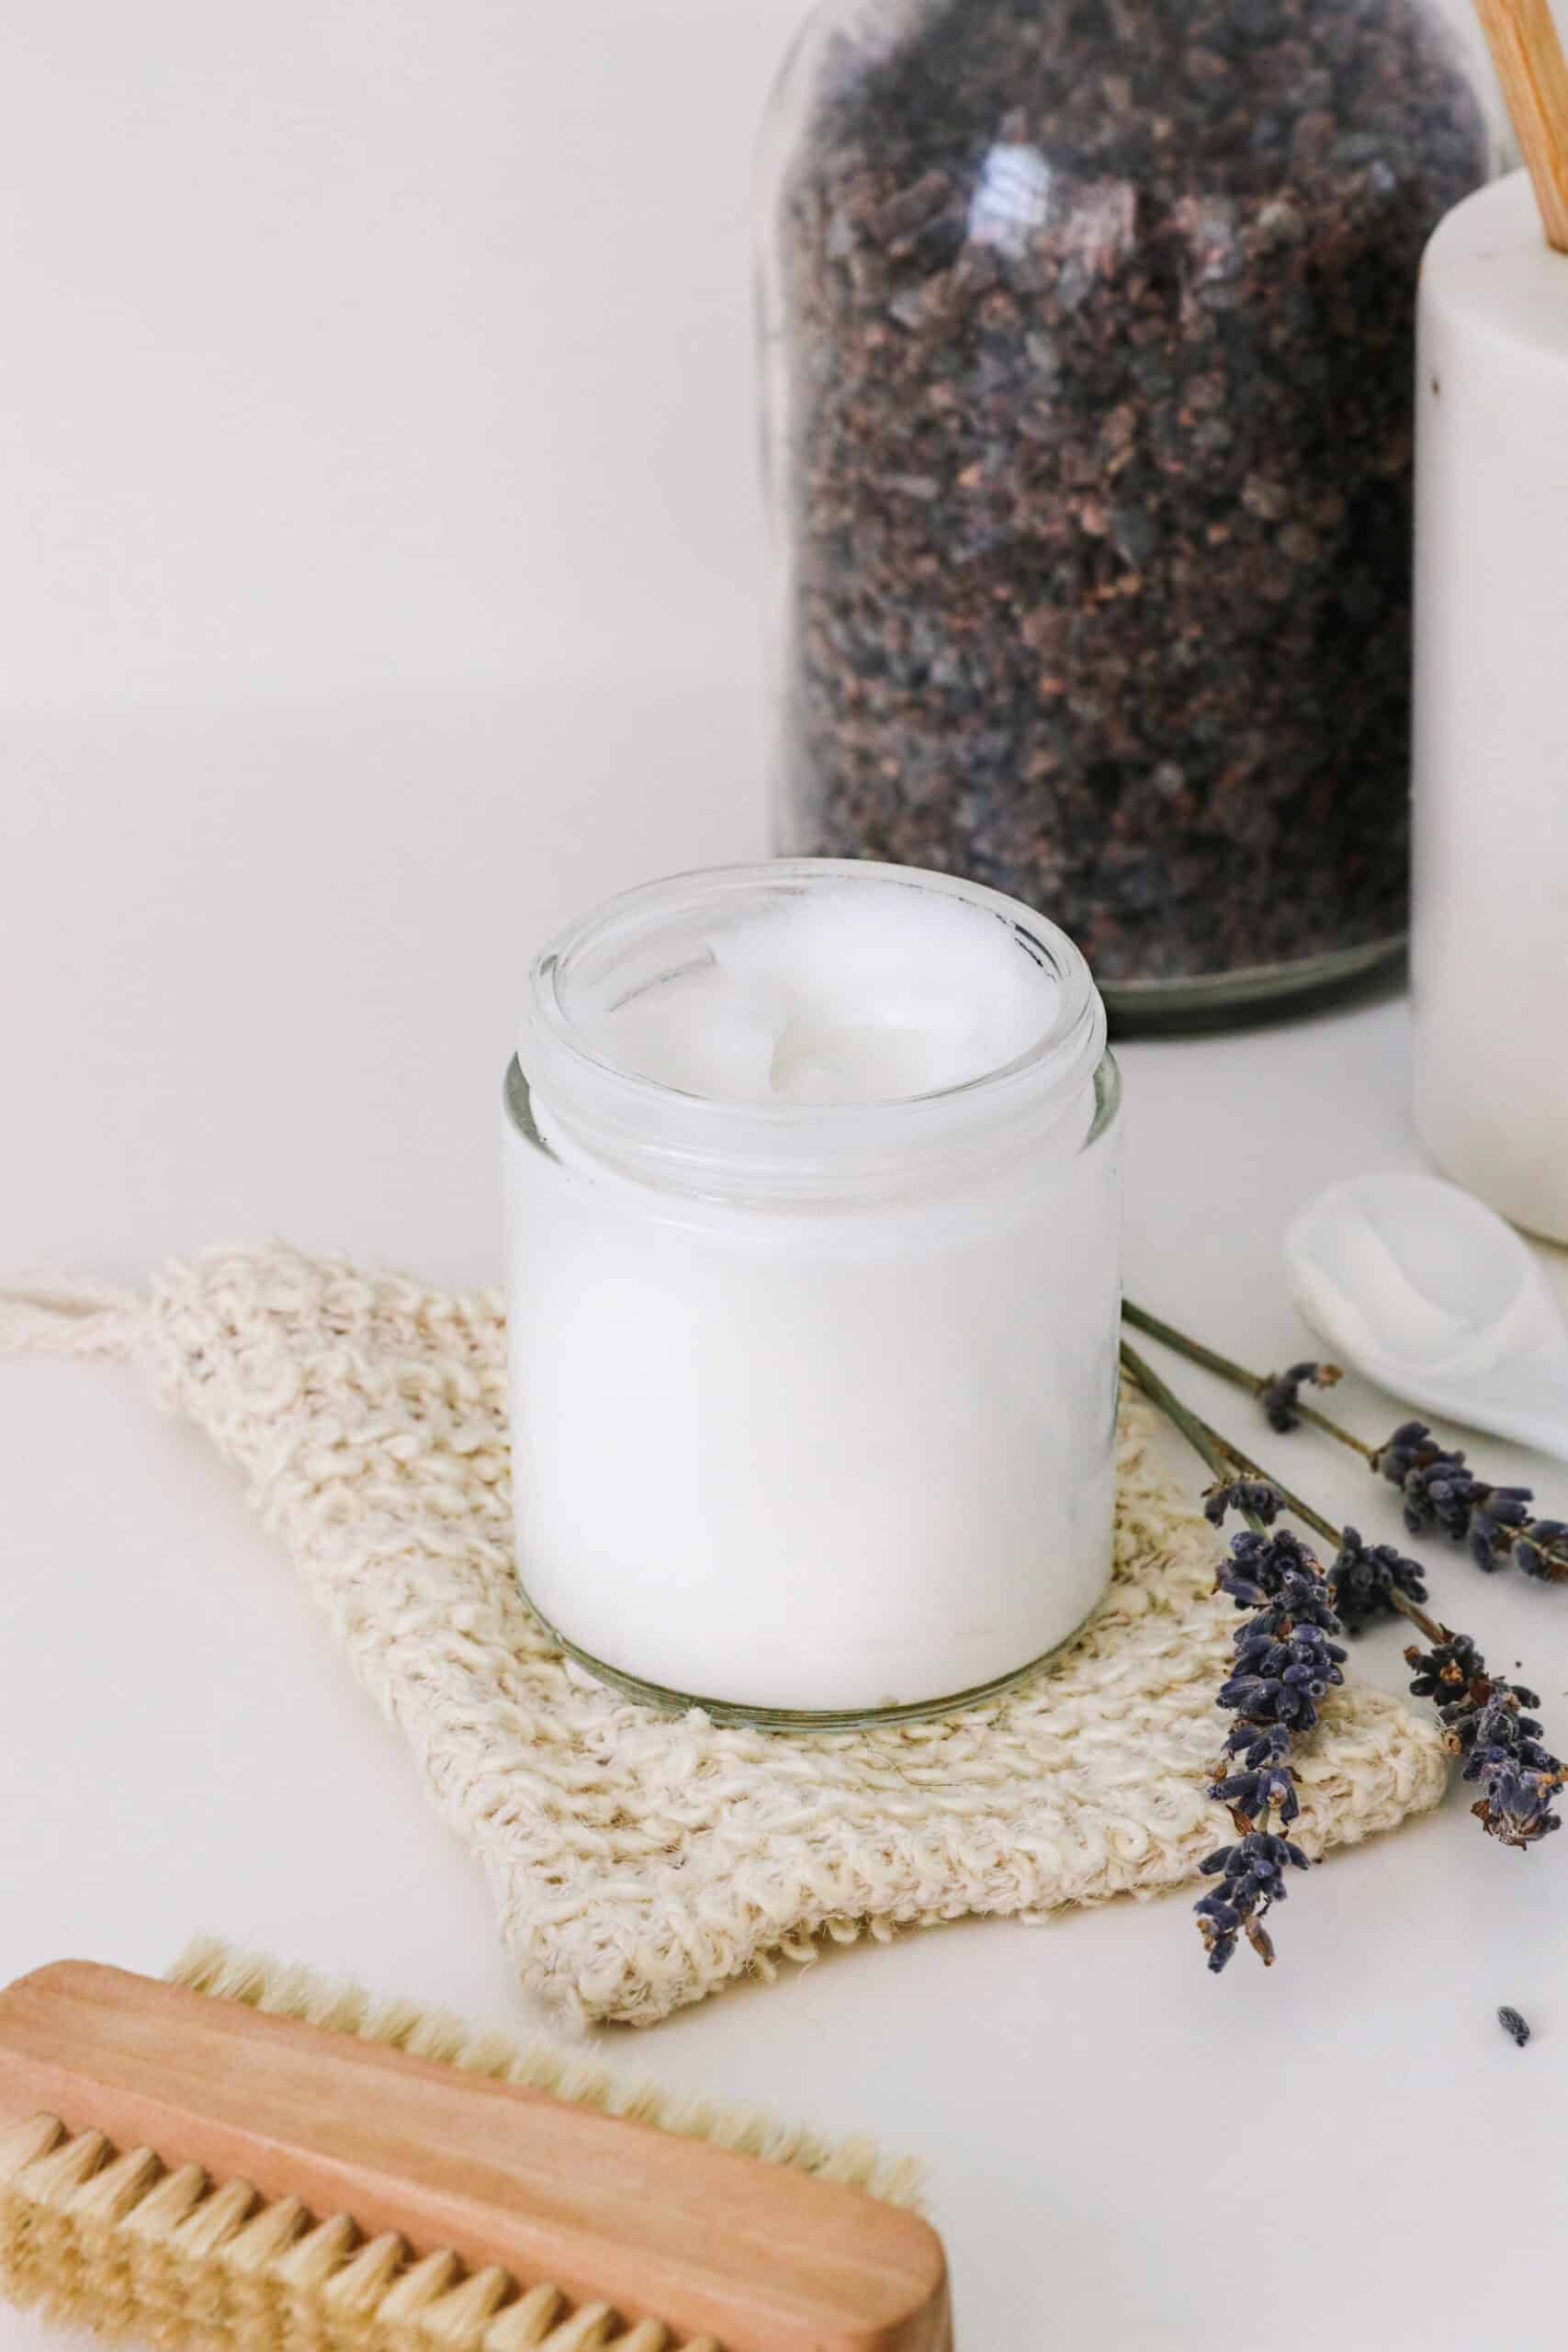

Start by combining the aloe vera gelly and fractionated coconut oil in a medium-sized bowl. Whisk these ingredients together until they’re well blended.
Next, slowly drizzle in your melted shea butter while continuously whisking – this helps create that perfect, creamy texture.
Now for the fun part! Add your chosen essential oils and give everything one final whisk until it’s beautifully combined. Pour your creation into a clean glass jar with a tight-fitting lid.
Your homemade shea butter hand cream should stay fresh for about two months when stored at room temperature. No need to refrigerate.
Recipe #2: Overnight Shea Butter Hand Balm
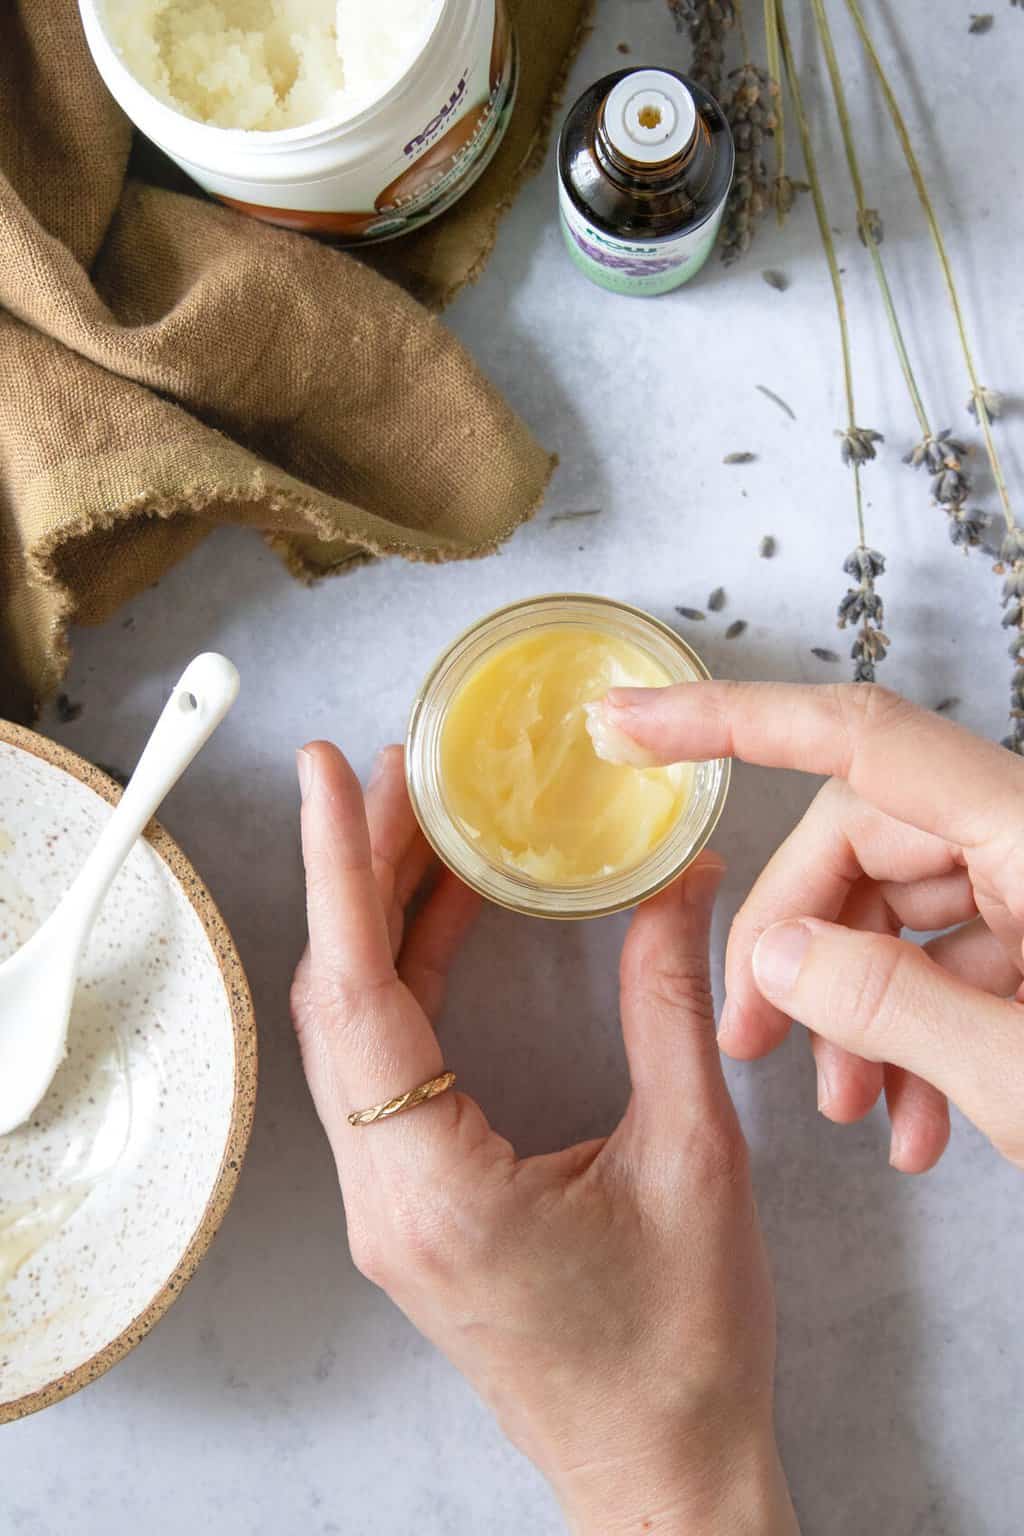

When your hands need some serious TLC, an overnight balm is your best friend. Unlike lighter daytime formulas, this thicker version creates an intensive moisture barrier that works its magic while you sleep.
I’ve found that applying a winter hand balm before bed, then slipping on a pair of thin cotton gloves, gives amazing results by morning. The warmth from your hands helps the balm penetrate deeply, and wearing gloves prevents it from rubbing off on your sheets.
This nighttime ritual is especially helpful during harsh winter months or after doing lots of cleaning or gardening. The concentrated formula has time to really sink in and repair dry, cracked skin.
Ingredients
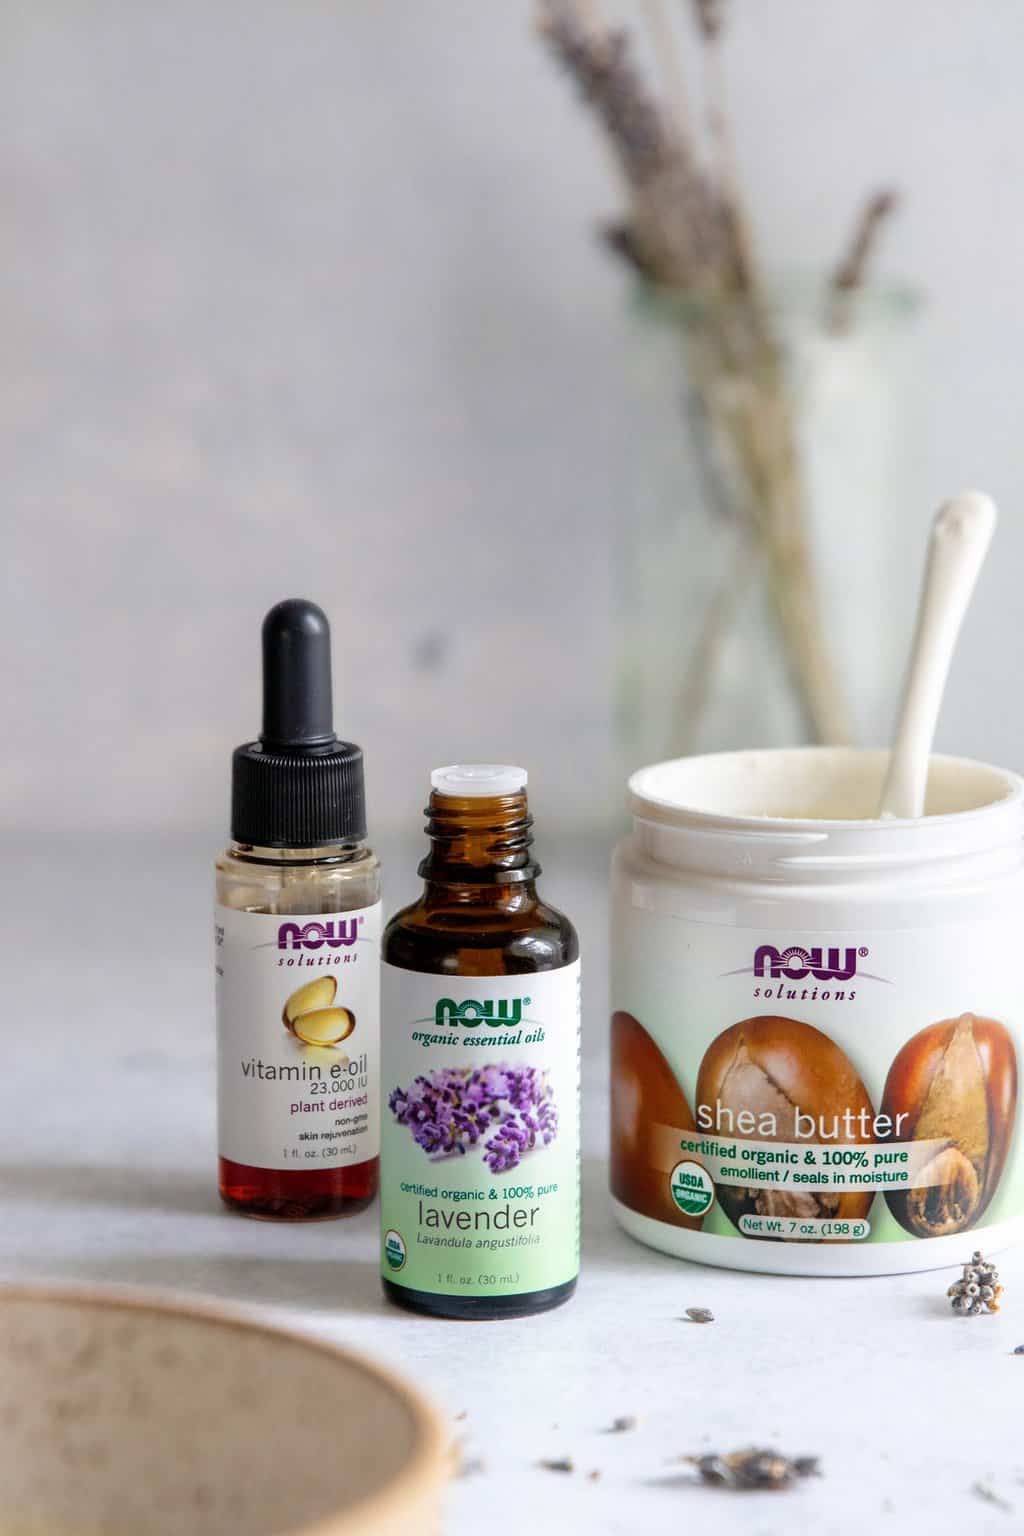

Let’s talk about what you’ll need for the ultimate overnight hand treatment.
- ¼ cup shea butter, melted—this is your powerhouse moisturizer.
- ½ teaspoon vitamin E oil—it not only preserves your balm but also provides amazing antioxidant benefits for your skin.
- 50 drops lavender essential oil—it not only helps you relax before bed but also has natural antimicrobial properties.
Instructions
Start by setting up a clean workspace with your double boiler or a glass bowl that fits snugly over a pot of simmering water.
Gently melt your shea butter using the double boiler method. Keep the heat low. Once it’s completely melted and looks like liquid gold, remove it from the heat.
Let it cool for just a minute, then stir in your vitamin E oil and essential oils. Work quickly but carefully to blend everything together before the mixture starts to solidify. Pour your creation into those cute 2-ounce jars you’ve got ready.
Let your balm cool and solidify naturally at room temperature for about 1-2 hours.
Creative Recipe Variations
If shea butter isn’t your thing, try mango butter for a lighter feel or cocoa butter for a delicious chocolate scent. Both alternatives offer similar moisturizing benefits while bringing their own unique properties to the mix.
For aromatherapy lovers, try these combinations:
To amp up the moisturizing power, consider adding a teaspoon of a carrier oil or blend in some pure aloe vera gel for extra soothing properties.
More of our favorite balm recipes:
Troubleshooting Tips
If your balm turns out too hard, simply remelt it and add a bit more liquid oil (like coconut or jojoba) until you reach your desired consistency.
Too soft? Add a touch more shea butter or a teaspoon of beeswax to firm things up.
Sometimes natural ingredients can get a little temperamental and separate. If this happens, just warm the mixture gently in a double boiler and whisk until smooth. A quick tip: always let your balm cool naturally at room temperature – rushing it in the fridge can cause grainy texture.
Additional Tips and Routine
For the best results with your DIY shea butter hand cream, massage it into your hands using circular motions, paying special attention to your cuticles and nails. I like to spend an extra minute working the cream into particularly dry areas, like knuckles and between fingers.
Pair your hand cream with a soothing hand soak and a gentle exfoliating hand scrub once a week – this helps the moisturizing ingredients penetrate more effectively. For extra pampering, layer your regular hand cream during the day and use the thicker balm at night.
Store your homemade cream in a cool, dark place (like a bathroom cabinet) and always use clean, dry hands when dipping into the jar. This prevents bacteria growth and keeps your cream fresh longer. I’ve found that amber glass containers work best for preserving the natural properties of shea butter and essential oils.
Whether you choose the lightweight daily formula or the intensive overnight balm, your hands will thank you for the extra love and care.
FAQ
Shea butter is a powerhouse moisturizer that creates a protective barrier on your skin while delivering deep hydration. It’s packed with vitamins A and E, making it perfect for repairing dry, damaged hands. Plus, it’s naturally non-comedogenic for organic hand creams, so it won’t clog your pores!
Your hand balm typically takes 1-2 hours to solidify at room temperature.
Absolutely! Mix and match essential oils to create your signature blend. My favorites are lavender and sweet orange for daytime, and chamomile for nighttime balms.
When stored in a cool, dry place in an airtight container, your homemade hand cream can last up to six months. Just keep it away from direct sunlight and always use clean hands.
Always do a patch test before using shea butter products. While reactions are rare, it’s better to be safe than sorry.

