
If you’ve ever held a box of dye and thought, “Where the heck do I even start?”, trust me, you’re not alone. The secret to a flawless at-home color? It all starts with sectioning.
Whether you’re going full fiery red, soft balayage, or just zapping those roots, getting those parts right is the difference between salon-worthy and “yikes, what happened?”
This updated guide is your step-by-step BFF for how to section your hair like a total pro. We’ll break it down, make it easy, and yes — throw in the kind of tips I really wish someone gave me before my first DIY dye job.
So grab your clips, your comb, maybe even a little treat (because at-home glam = self-care), and let’s get into it. You ready? Let’s slay this color together.
What you’ll need:
– A tint comb or brush
– 4 Hair clips
– A friend (optional!)
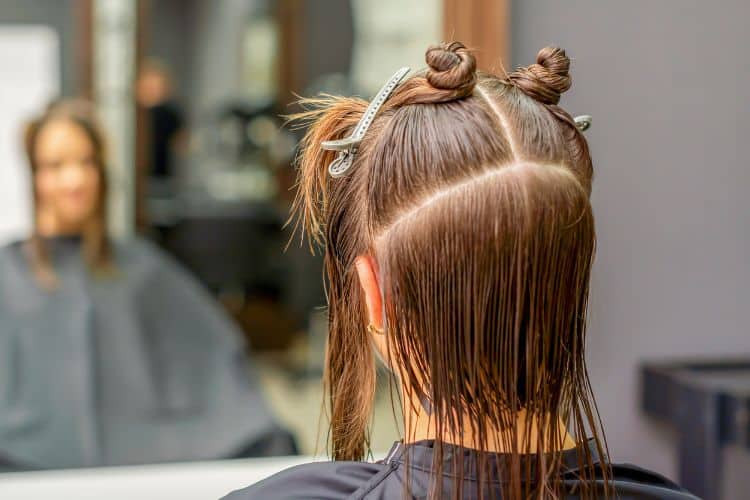
How to section hair for dyeing.
Step #1. Make a horizontal parting from ear to ear.
 2")
Using a tint comb or brush, start at the crown of your head and use a comb to make a horizontal parting from one ear to the other.
Step #2. Divide this into two sections.
 3")
Divide the top section into two sections and clip each one out of the way.
Step #3. Make a vertical parting from crown to neck.
 4")
Now make a vertical parting from the center of your head to your neckline at the back.
Step #4. Divide this into four sections.
 5")
You should now have four sections of hair: two on top of your head and two at the sides.
Step #5. Clip it all out of the way.
Clip up the lower sections so that you can work easily with the top sections.
Now you are ready to start coloring!
Remember to apply color first to the roots, then work through the lengths and ends of your hair.
When you have finished coloring, simply release all sections and comb through your hair with your fingers to distribute the color evenly.
Now you know how to properly section your hair for dyeing – it’s really not that difficult!
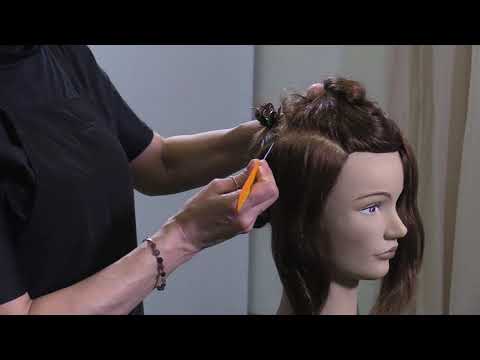
Watch and learn: How the professionals do it.
Here’s a great video that shows you how do you split hair into sections for coloring. You can follow along to see how it’s done.
TOP TIPS!
1. Start with clean, dry hair. Avoid washing your hair for a day or two before you dye it, as this can make it more difficult to section off.
2. Comb your hair to get rid of any knots or tangles.
3. Decide how you want to section your hair. There are a few different ways to do this, but we recommend dividing your hair into four sections: two on either side of your head, and one in the back.
4. Use clips or ties to secure each section of hair in place so it doesn’t get in the way while you’re working.
How do you dye your hair by yourself without missing spots?
Dyeing your hair yourself at home can be tricky. Sectioning your hair first is a sure-fire way to make sure you get an all-over, even coverage.
Here are some more tips to get it right every time:
- It’s important to start with clean, dry hair. If your hair is even slightly damp, the color won’t adhere as well.
- Be sure to apply the hair dye evenly from root to tip, and don’t forget to apply it to your hairline and nape of neck. These areas are often missed, but they can make all the difference in getting a natural-looking result.
- Once you’ve applied the color all over, use a comb to help distribute it evenly and then let it sit for the recommended amount of time before rinsing.
With these tips in mind, you’ll be well on your way to dyeing your hair like a pro!
How do you part your hair when dying your hair?
The best way to achieve an even color result is to divide the hair into four sections.
This applies regardless of whether you are coloring your hair all over or just touching up your roots.
What part of hair do you dye first?
The roots! You have to dye your roots first because that’s where the new growth is.
You want to make sure that the color you’re using covers all of the new growth, so that your hair looks even and has no visible roots.
After you’ve dyed your roots, you can move on to coloring the rest of your hair. Start in the middle of your head and work your way out towards the ends.
Make sure to evenly distribute the color so that everything is covered. Once you’re done, comb through your hair to make sure that the color is distributed evenly.
How do I look after my new hair color?
Now that you’ve got your new hair color, it’s important to take care of it so that it looks its best.
Be sure to use a shampoo and conditioner that is designed for colored hair.
These products will help to protect your hair and keep the color looking vibrant.
Avoid washing your hair too often, as this can strip away the color.
When you do wash it, use lukewarm water instead of hot, and try to avoid getting your hair wet too often in general.
Keep your hair trimmed regularly to get rid of any split ends and protect your hair from damage.
With these tips in mind, you’ll be able to enjoy your new hair color for longer!
Parting words.
And that’s it! Now you know how to section your hair for dying, and what order to dye it in.
Just follow these simple steps and you’ll be on your way to perfect, even color every time.
Found your perfect shade? We’d love to see it! Tag us on Instagram @coloredhaircare or Facebook and share your hair color stories. Looking for more hair care tips? Check out How to Look After Colored Hair: 11 Expert Secrets For Long-Lasting Color.
Our Research & Review Process
To ensure our recommendations are as comprehensive and reliable as possible, we’ve undertaken an extensive research effort.
We cite scientific evidence and journals, collect real user reviews and gather impartial perspectives from hair stylists, users, and experts in the field.
Additionally, we conduct hands-on testing by using products and applying hair dyes not only on our own locks but also on real human hair extensions and hair pieces of different hair type, textures and lengths.
This rigorous approach allows us to provide you with insights into which products genuinely live up to their promises.
As always – please consult with a professional hair colorist or stylist for advice on how to color your own hair at home. It’s different for everyone!
 7")