


Old-fashioned jam drops are the most delicious melt-in-your-mouth thumbprint cookies filled with sweet jam! Made from just 6 ingredients with less than 10 minutes of preparation time!

This MOST POPULAR recipe has been shared over 20,000 times!!!!!!!
There’s a very good reason that these classic jam drop biscuits have stood the test of time… they really are absolutely delicious (and SO simple to make!). Just like old recipes such as chocolate chip cookies, ANZACS or a buttery shortbread cookie, these jam drops are sure to become a family favourite!
Jump to:

Why You’re Going To Love This Recipe
You’re going to love the simplicity of this jam drops recipe!
- Quick and Easy – Whipping up the soft dough takes minutes!
- Great For School Lunchboxes – whether you’re baking biscuits for afternoon tea or school lunchboxes, you can be guaranteed that these jam drop cookies will be a hit!
- Olf-Fashioned Favourites – by far one of my MOST POPULAR recipes! These are loved by young and old.
- Freezer-Friendly – freeze the dough or the baked biscuits for easy ‘grab and go’ treats.
- Versatile – while traditionally made with raspberry jam, you can fill the thumbprints with your favourite jam flavour, or mix it up and use lemon curd, peanut butter or Nutella!
What You Need
Our simple jam drops are made from just 6 basic ingredients:
Please scroll to the recipe card at the bottom for ingredient quantities and the full detailed method.
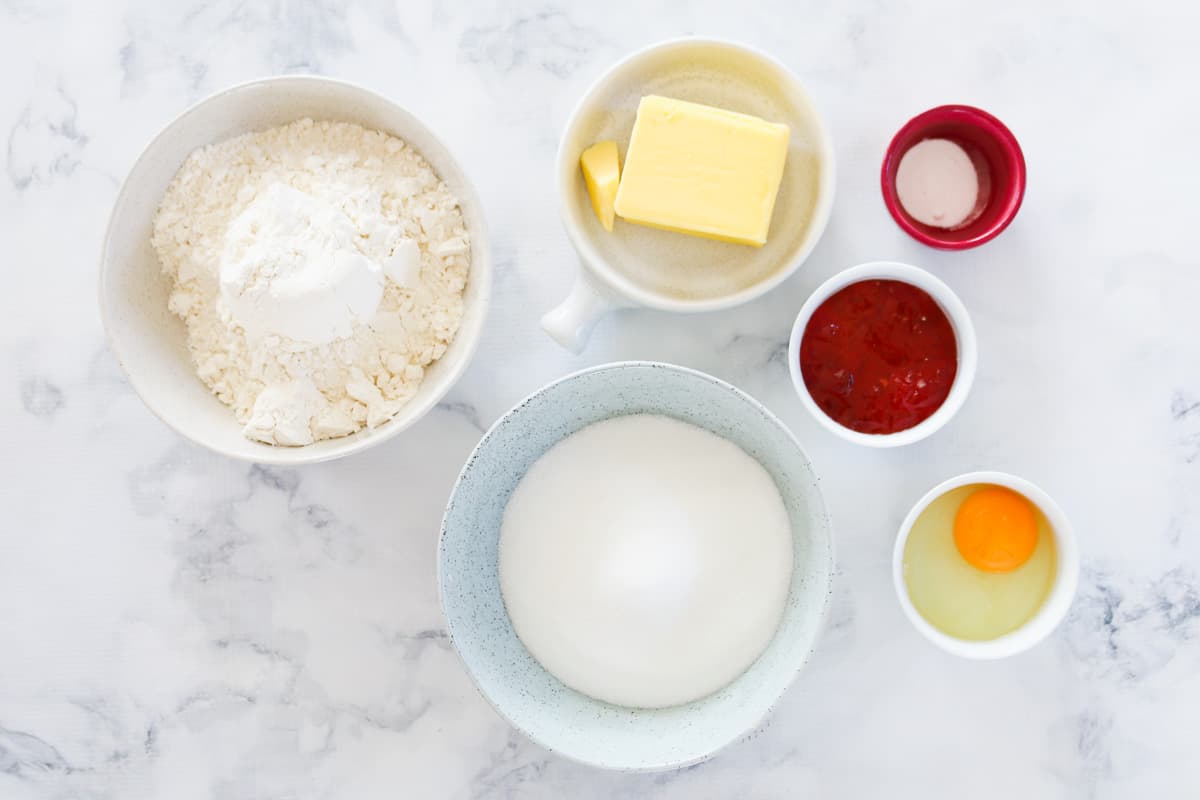
- butter – you can use either salted or unsalted butter for this recipe. Soften the butter to room temperature before using.
- caster sugar – this is also known as superfine sugar and is a fine white sugar
- egg – I recommend using a large egg (approximately 60g)
- plain flour – this is also known as all-purpose flour. Measure your flour carefully so you don’t use too much flour!
- baking powder – acts as the rising agent in this recipe
- jam – you can use absolutely any kind of jam you like! Strawberry, raspberry, apricot or blueberry are all popular options.
Equipment Required
Only basic kitchen equipment is required to make thumbprint cookies!
You will need:
- electric mixer, hand mixer or Thermomix
- large bowl or mixing bowl
- baking trays or baking sheets
- oven
Step By Step Instructions
It’s so easy to make our jam drops using either hand-held beaters, a stand-mixer or a Thermomix.
Please scroll to the recipe card at the bottom for ingredient quantities and the full detailed method.
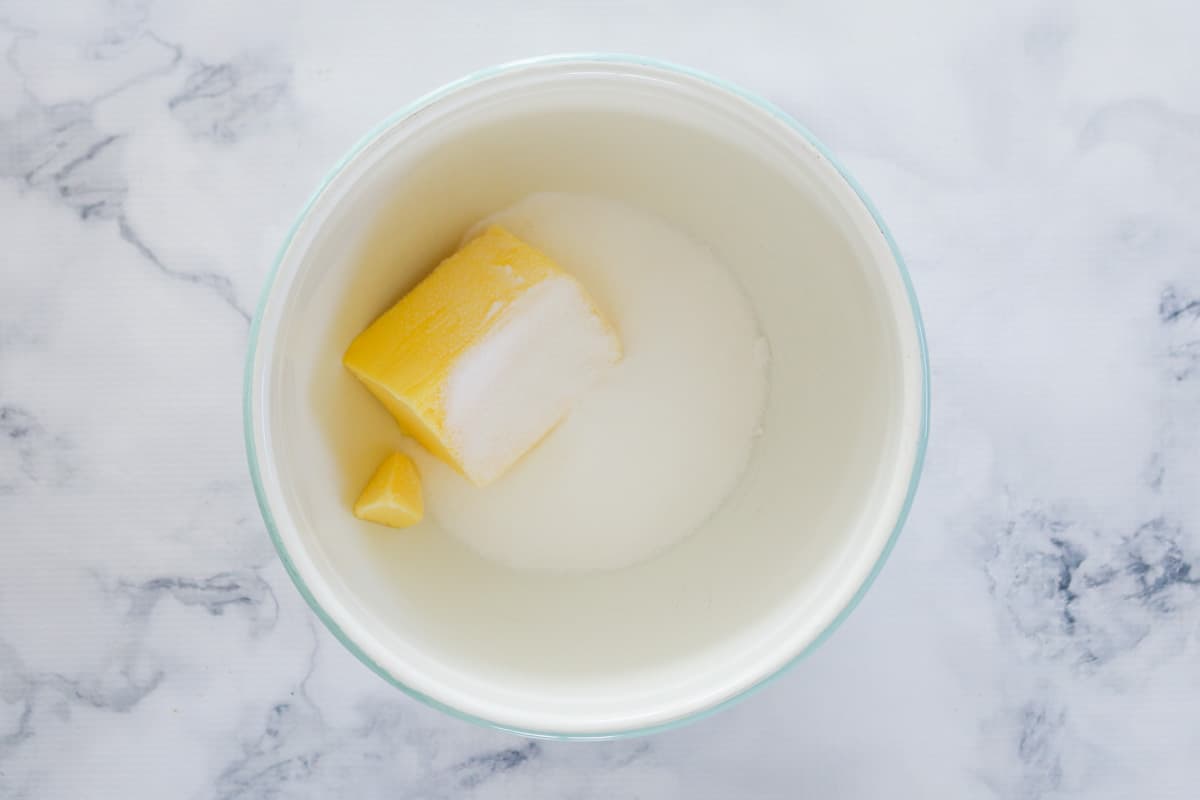
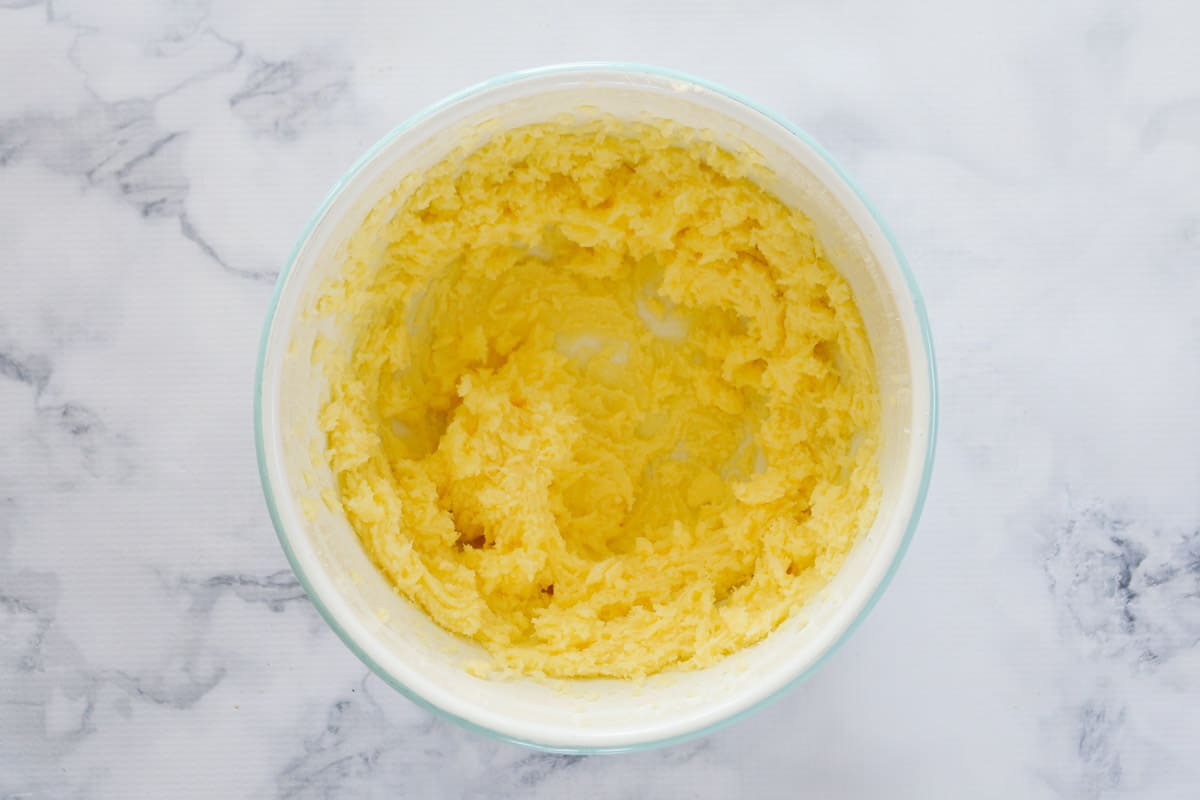
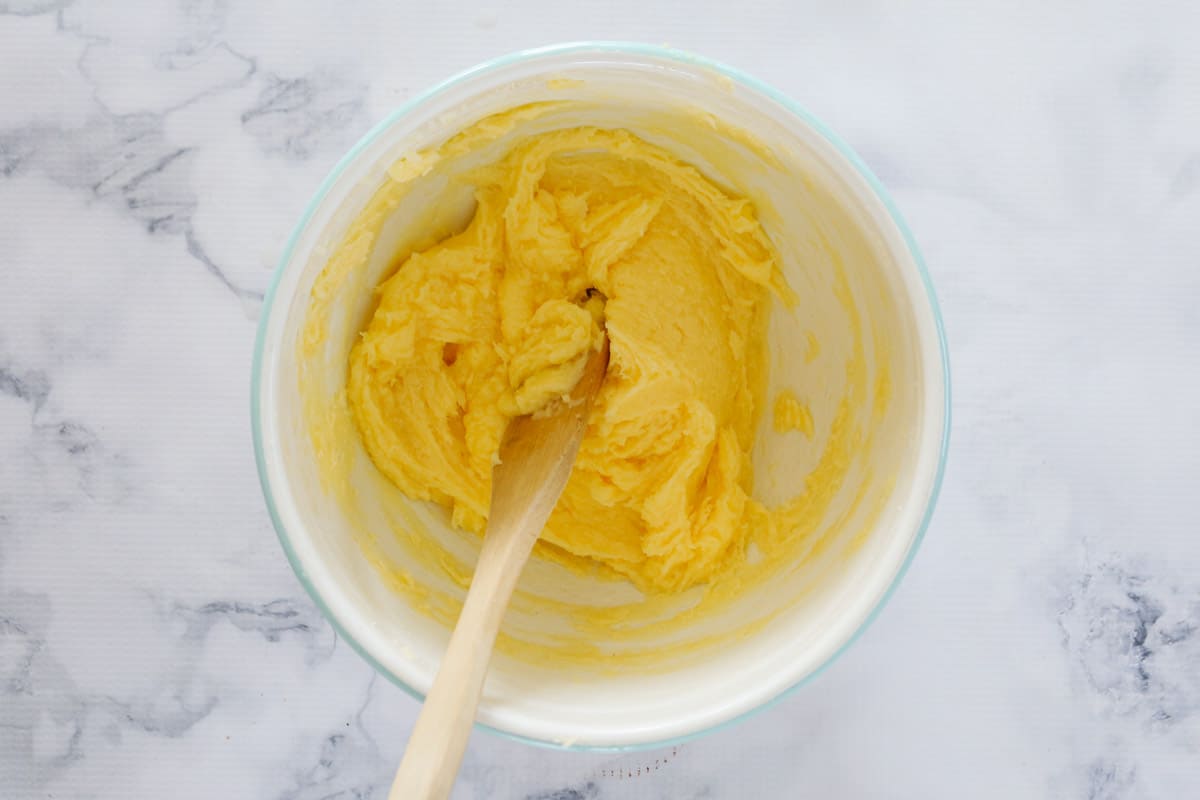
Step 1 – Cream The Butter And Sugar
Place butter and sugar into a large mixing bowl.
Beat using hand-held beaters or an electric mixer until pale, creamy and smooth.
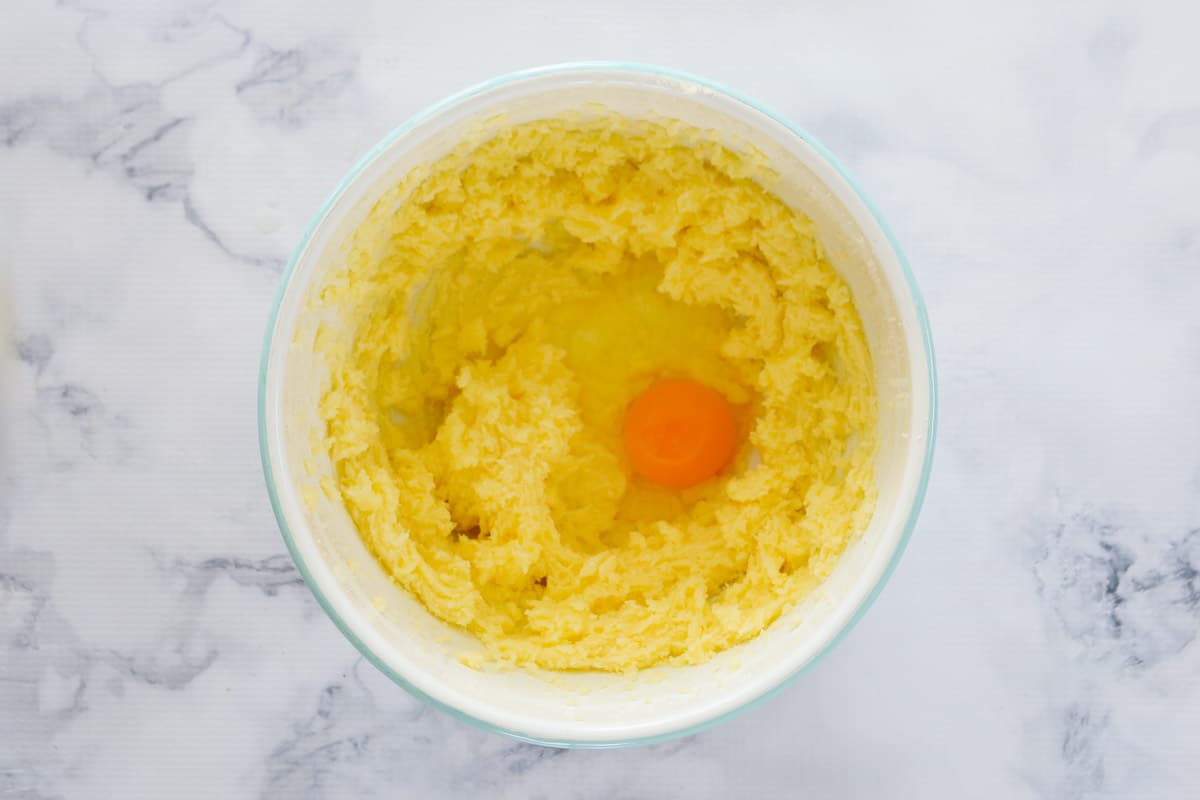
Step 2 – Add The Egg
Add the whole egg to the butter mixture.
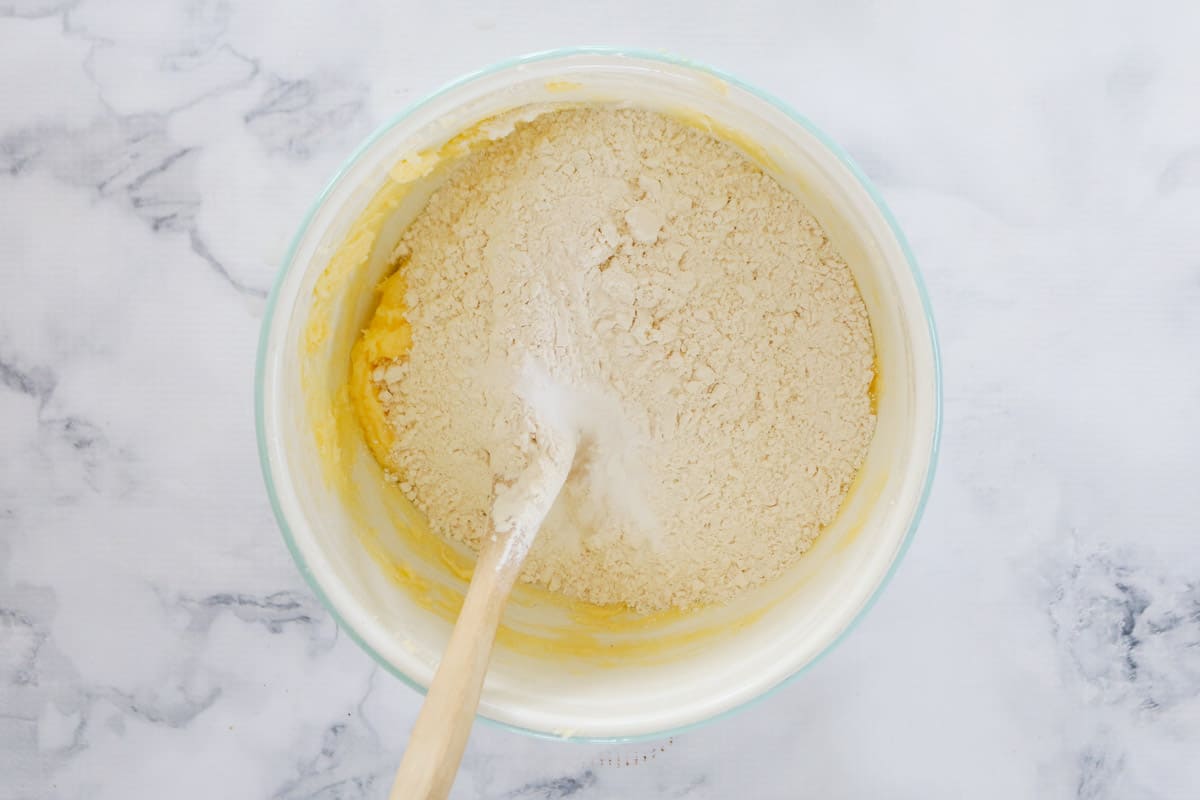
Step 3 – Sift
Sift the dry ingredients (flour and baking powder) over the top.
Mix together with a spoon until combined.
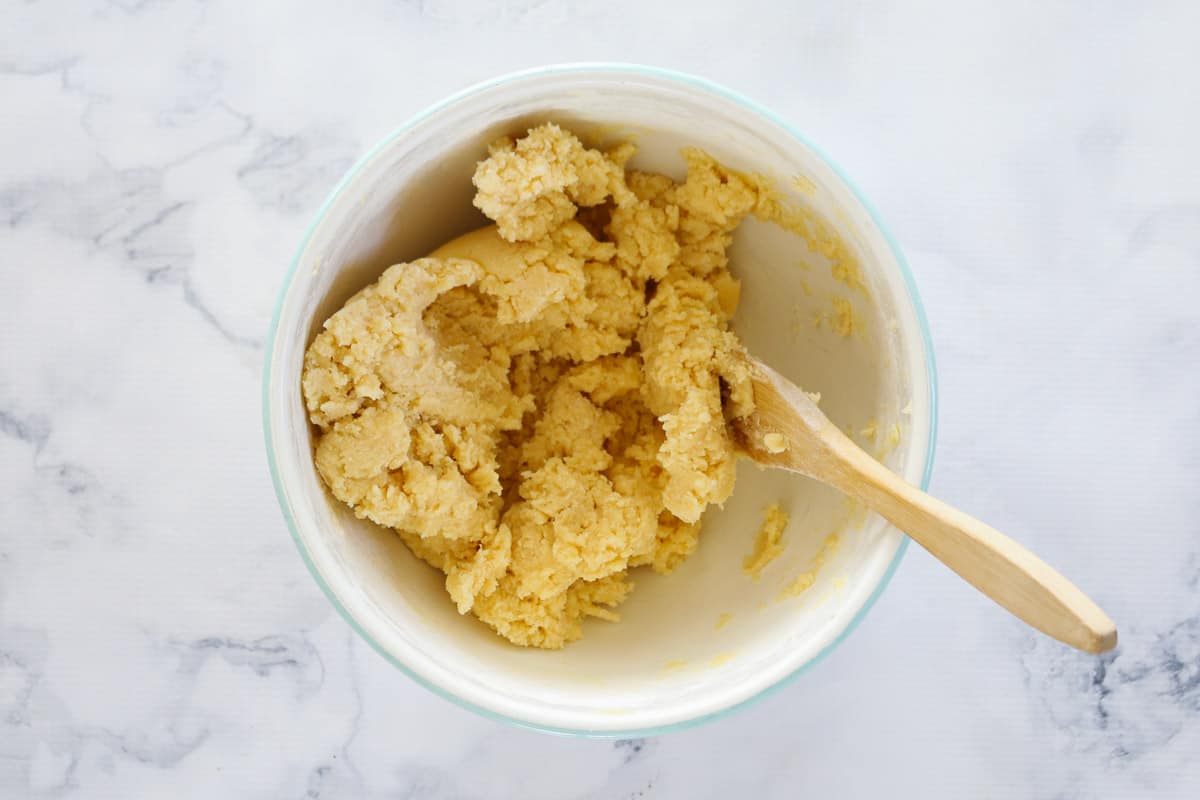
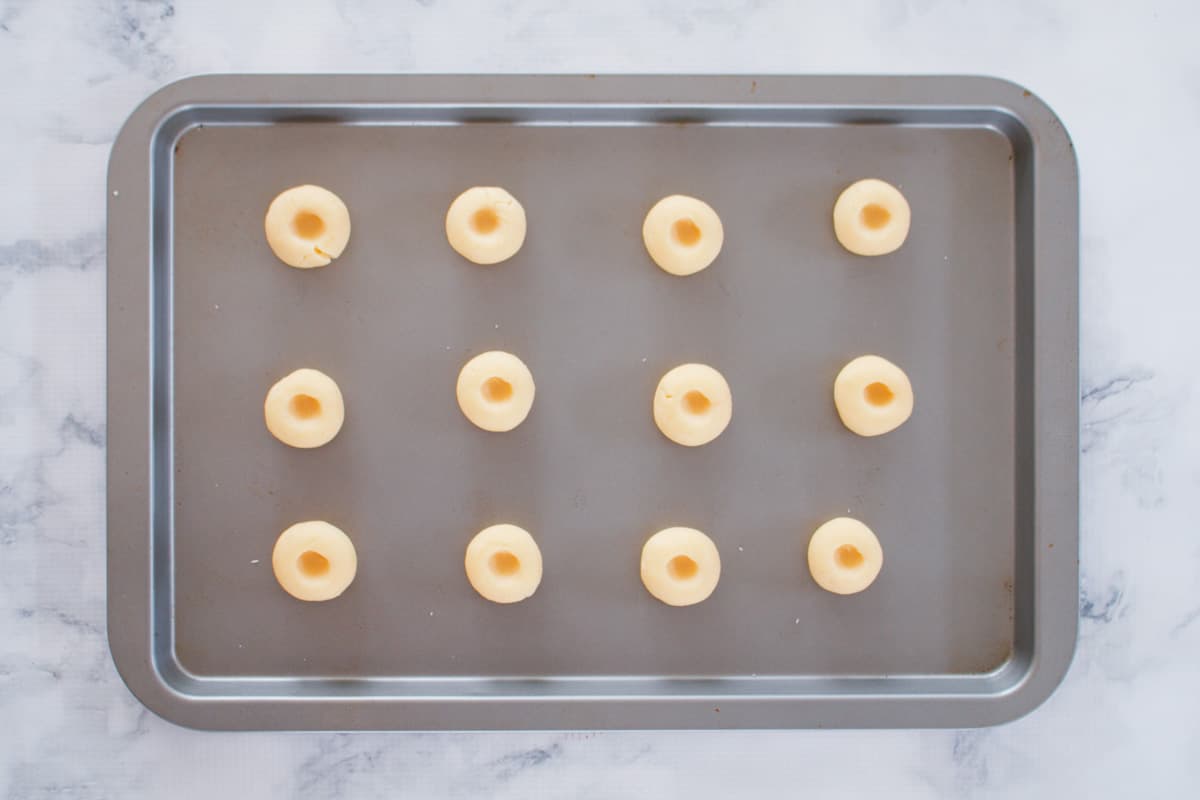
Step 4 – Roll The Dough
Roll the biscuit dough into balls using your hands or a small cookie scoop (approximately 2 teaspoons of mixture per ball).
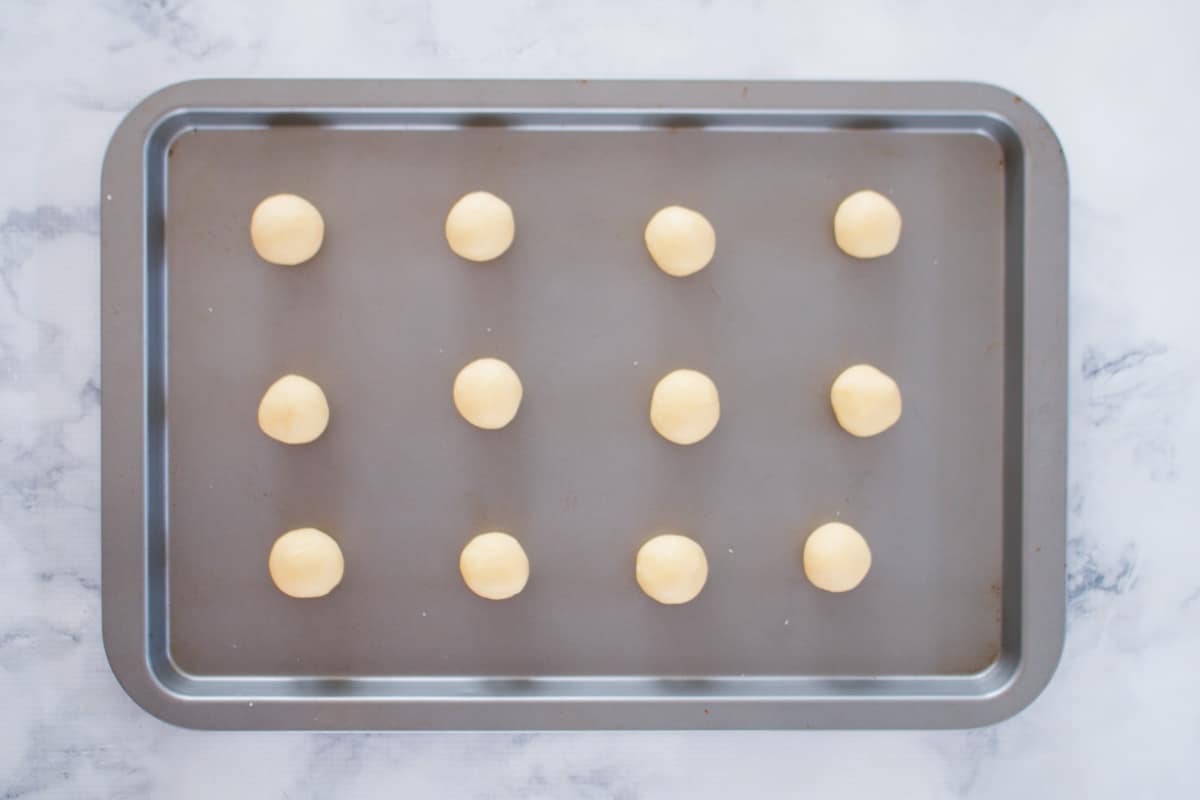
Place onto the prepared baking sheets and use your finger (or the end of a wooden spoon) to create an indent.
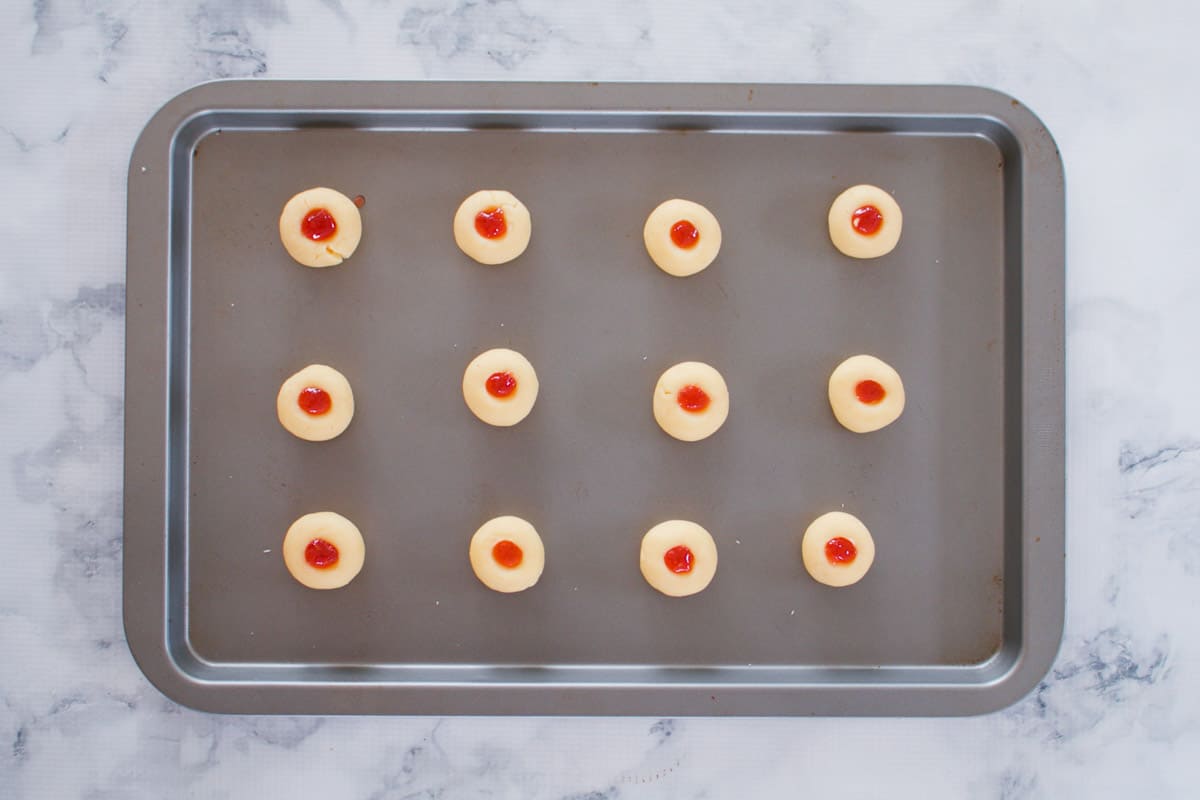
Add a small amount of jam to each indent (TINY!! see my tips below!)
Step 5 – Chill The Biscuits – ESSENTIAL!
Chill the biscuits in the fridge for 30 minutes (see my tips below).
Step 6 – Bake
Bake the jam drops until very lightly golden brown.

Expert Tips
How To Stop Jam Drops From Spreading
One of the most common issues when making jam drops is that they spread too much. Here are 3 simple ways to avoid over-spreading and get the best results!
- carefully measure your baking powder – only ½ teaspoon is required. The baking powder is the rising agent in this recipe, so it’s important not to use too much!
- use just 2 teaspoons of mixture per jam drop. It might look like your jam drop mixture balls are tiny, but they will flatten and spread once baked. Do NOT use too much jam!
- the most important tip to avoid spreading is to chill the biscuits before baking! This allows the fat in the butter to solidify, which means that it will slowly melt when baked. If you don’t chill the biscuits, they will almost certainly over-spread.
Rolling The Biscuits
This is a 3-step process:
- Roll balls using 2 teaspoons of mixture and place onto flat baking trays. Place the balls at least 5 cm-6 cm apart to allow for spreading.
- Use the tip of your little finger to create an indent in the middle of each ball. The indent should go approximately one-third to one-half of the way through the ball. Don’t flatten the ball (it will flatten and spread when baking).
- Use just a tiny amount of jam (and I can’t stress TINY anymore!) in each indent. The jam should almost come to the top of the indent but should not be completely to the top, or the jam will run when baked.
Baking The Biscuits
Jam drops take just 10 minutes to bake:
- Rotate the trays partway through cooking.
- The cookies are cooked when they are just lightly golden.
- Allow the cookies to cool on the trays for 10 minutes before transferring to a wire rack to cool completely.
Storing The Biscuits
Jam drops can be stored in an airtight container at room temperature for up to 1 week. Alternatively, they can be frozen for up to 3 months.

FAQs
Yes! You can use any jam you like… from storebought jam in your favourite flavour to homemade jam.
Yes! I have included both the conventional method for making jam drops and the Thermomix jam drops recipe in the recipe card below.
Yes, they are! Here in Australia, we use the term jam drops, whereas in the US, they are referred to as thumbprint cookies.
Jam drops taste like a buttery shortbread cookie filled with sweet jam.
If you love old-fashioned jam drops, then I think you’ll enjoy these recipes too!
WANT EVEN MORE DELICIOUS RECIPES? Subscribe to my newsletter or follow along on Facebook or Instagram. And if you love baking, then please come and join my Facebook cooking club group or subscribe to my YouTube channel.

Jam Drops
Our old fashioned jam drops are the most delicious melt-in-your mouth thumbprint cookies filled with sweet jam! Made from just 6 ingredients with less than 10 minutes preparation time!
Servings: 40 serves
Calories: 76kcal
Prevent your screen from going dark
Instructions
-
Preheat oven to 170 degrees celsius (fan-forced). Grease and line two baking trays with baking paper.
-
Beat the sugar and softened butter with electric beaters or a stand mixer until light and fluffy.If using a Thermomix: Cream the butter and sugar for 20 seconds, Speed 4. Scrape down the sides of the bowl and repeat for a further 20 seconds, Speed 4.
-
Add the egg and continue to mix until combined.If using a Thermomix: Add egg and mix for 10 seconds, Speed 4.
-
Sift in the plain flour and baking powder. Stir gently to combine.If using a Thermomix: Add flour and baking powder and mix for 20 seconds, Speed 5.
-
Roll the mixture into small balls (2 teaspoons of mixture per ball).
-
Place the cookie balls onto the baking trays and use the tip of your little finger to create an indent in the middle that goes apprximately one-third to one-half of the way down).
-
Place a very small (TINY!) amount of jam into each indent.
-
Place the trays into the fridge and chill for 30 minutes (ESSENTIAL!).
-
Bake the cookies for approximately 10 minutes or until just lightly golden.
-
Leave the cookies on the baking trays for 10 minutes and then transfer to a wire rack to cool completely.
Notes
Ingredient Notes:
- butter – you can use either salted or unsalted butter for this recipe. Soften the butter to room temperature before using.
- caster sugar – this is also known as superfine sugar and is a fine white sugar
- egg – I recommend using a large egg (approximately 60g)
- plain flour – this is also known as all-purpose flour
- baking powder – this acts as the rising agent in this recipe
- jam – you can use absolutely any kind of jam you like! Strawberry, raspberry, apricot or blueberry are all popular options.
Recipe Tips:
How To Stop Jam Drops From Spreading
- carefully measure your baking powder – only ½ teaspoon is required. The baking powder is the rising agent in this recipe so it’s important not to use too much!
- use just 2 teaspoons of mixture per jam drop. It might look like your jam drop mixture balls are tiny, but they will flatten and spread once baked.
- the most important tip to avoid spreading is to chill the biscuits before baking! This allows the fat in the butter to solidify, which means that it will slowly melt when baked. If you don’t chill the biscuits, they will almost certainly over-spread.
Rolling The Biscuits
- Roll balls using 2 teaspoons of mixture and place onto flat baking trays. Place the balls at least 5cm-6cm apart to allow for spreading.
- Use the tip of your little finger to create an indent in the middle of each ball. The indent should go approximately one-third to one-half of the way through the ball.Don’t flatten the ball (it will flatten and spread when baking).
- Use just a tiny amount of jam (and I can’t stress TINY anymore!) in each indent. The jam should almost come to the top of the indent but should not be completely to the top or the jam will run when baked.
Baking The Biscuits
- Rotate the trays partway through cooking.
- The cookies are cooked when they are just lightly golden.
- Allow the cookies to cool on the trays for 10 minutes before transferring to a wire rack to cool completely.
Storing The Biscuits
Jam drops can be stored in an airtight container at room temperature for up to 1 week. Alternatively they can be frozen for up to 3 months.
Nutrition
Calories: 76kcal | Carbohydrates: 10g | Protein: 1g | Fat: 4g | Saturated Fat: 2g | Cholesterol: 14mg | Sodium: 34mg | Potassium: 16mg | Fiber: 1g | Sugar: 5g | Vitamin A: 120IU | Calcium: 5mg | Iron: 0.3mg