Homemade Pretzel Rolls
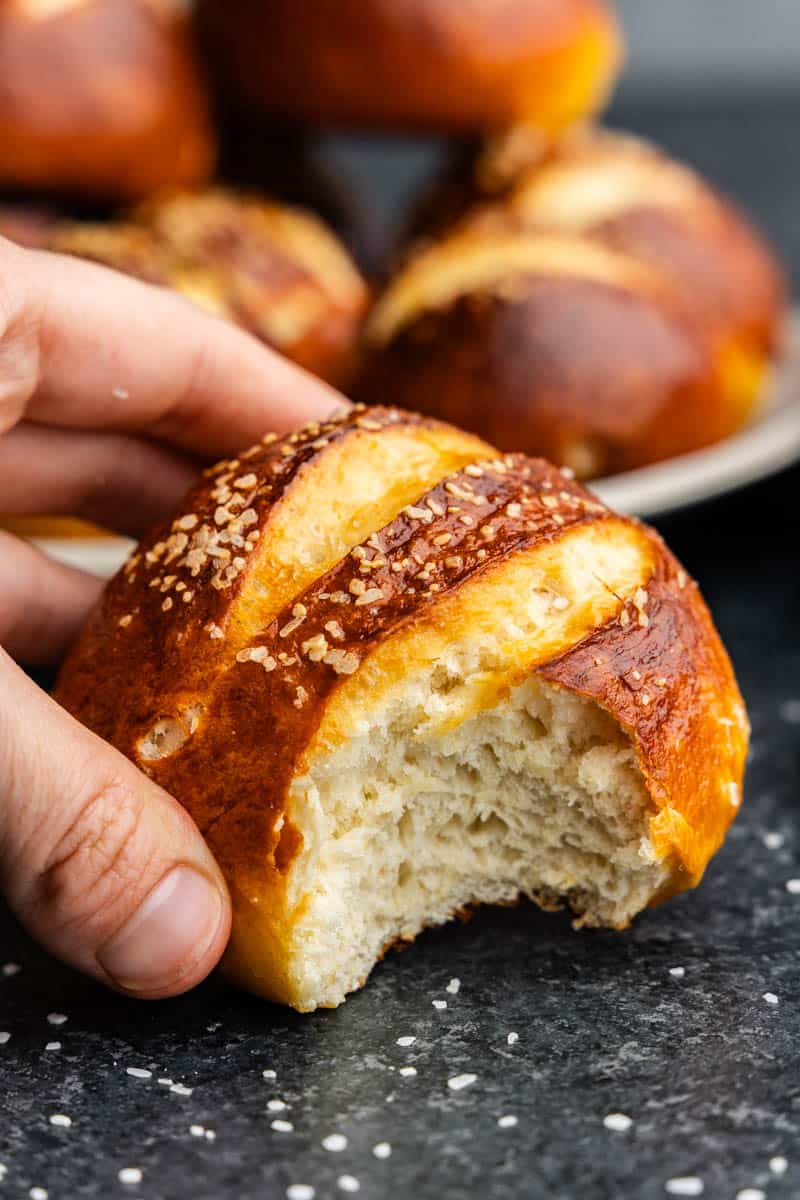
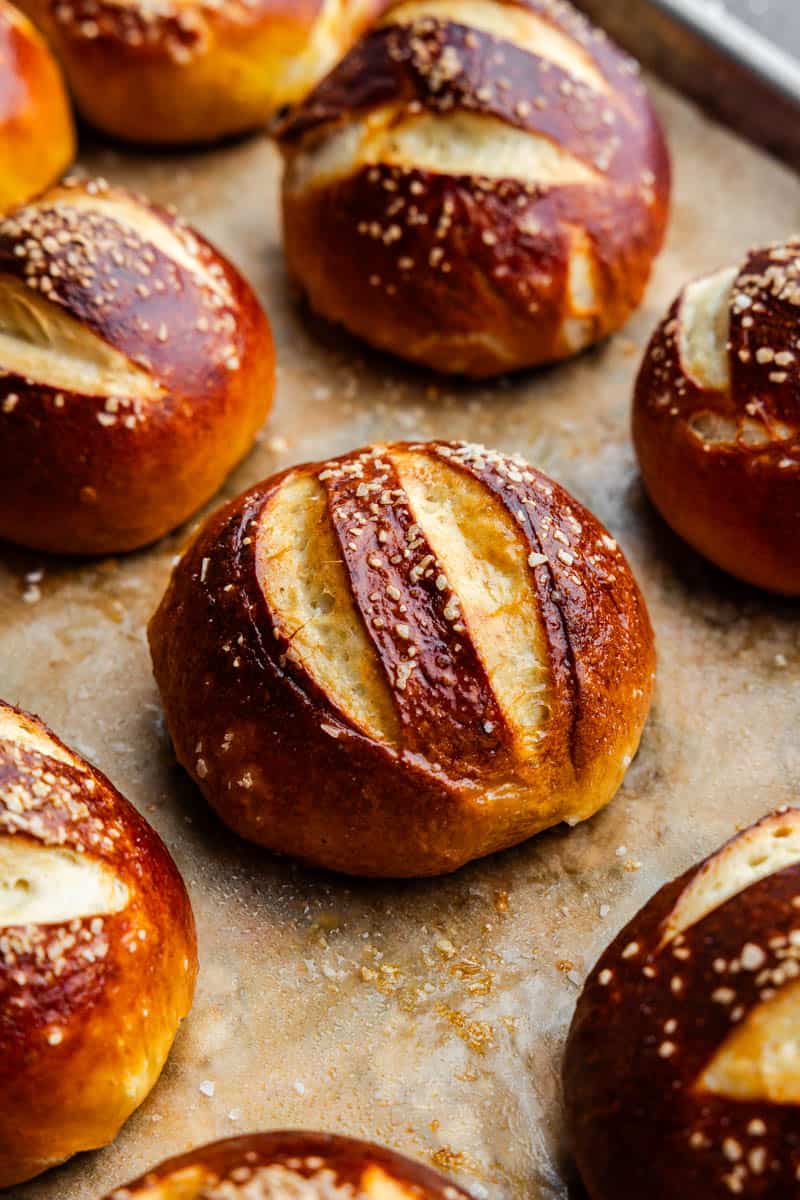
Who can resist the chewy, salty goodness of a soft pretzel? With these homemade pretzel rolls, you get all that delicious pretzel flavor and texture, but in a roll form! It’s perfect to serve as a dinner roll or use for sliders, burgers, and sandwiches. The rolls have that flaky, chewy, golden-brown exterior and a soft crumb inside with the classic pretzel chewiness. If you thought those store-bought pretzel rolls were good, you are about to be in heaven.
Pretzel lovers should also check out our famous soft pretzel recipe as well as our bacon-cheddar pretzel bites.
Why Our Recipe
- The perfect salty, crispy, flaky exterior with a soft and chewy crumb inside.
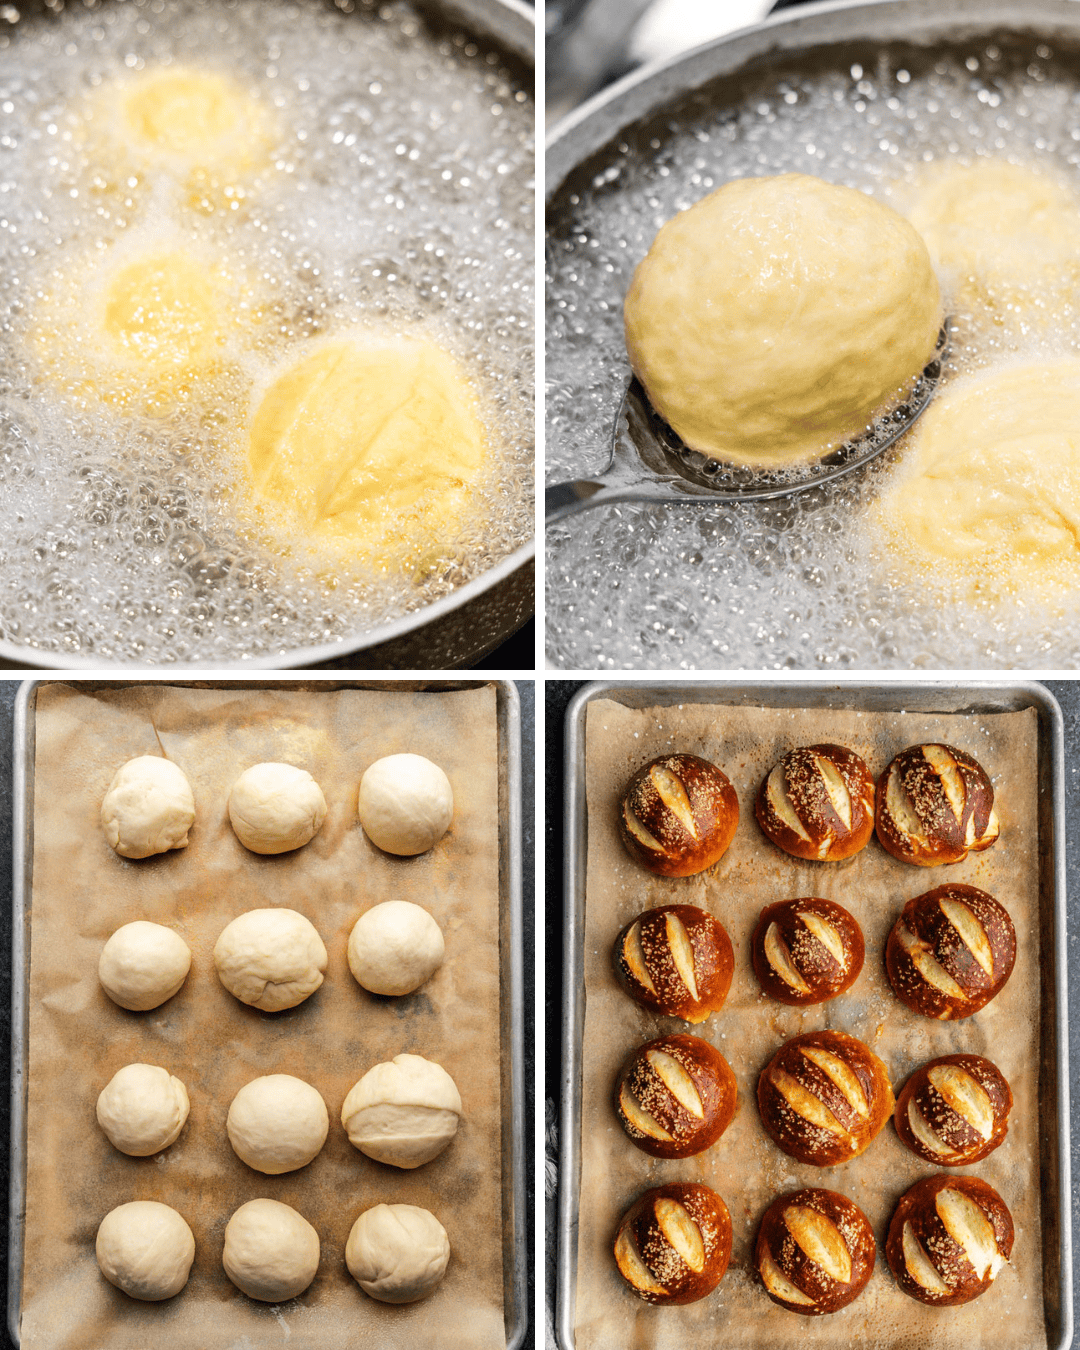
- A quick boil in baking soda water gives that signature deep brown crust and pretzel texture.
- Approachable enough for beginners while still bringing bakery-quality results.

Unlike a standard dinner roll, the dough gets a quick boil in baking soda water right before baking. This step is what gives them that signature deep brown crust and chewy texture. They taste like something straight from a bakery yet this recipe is simple enough for beginners to easily make at home.
Ingredient Notes

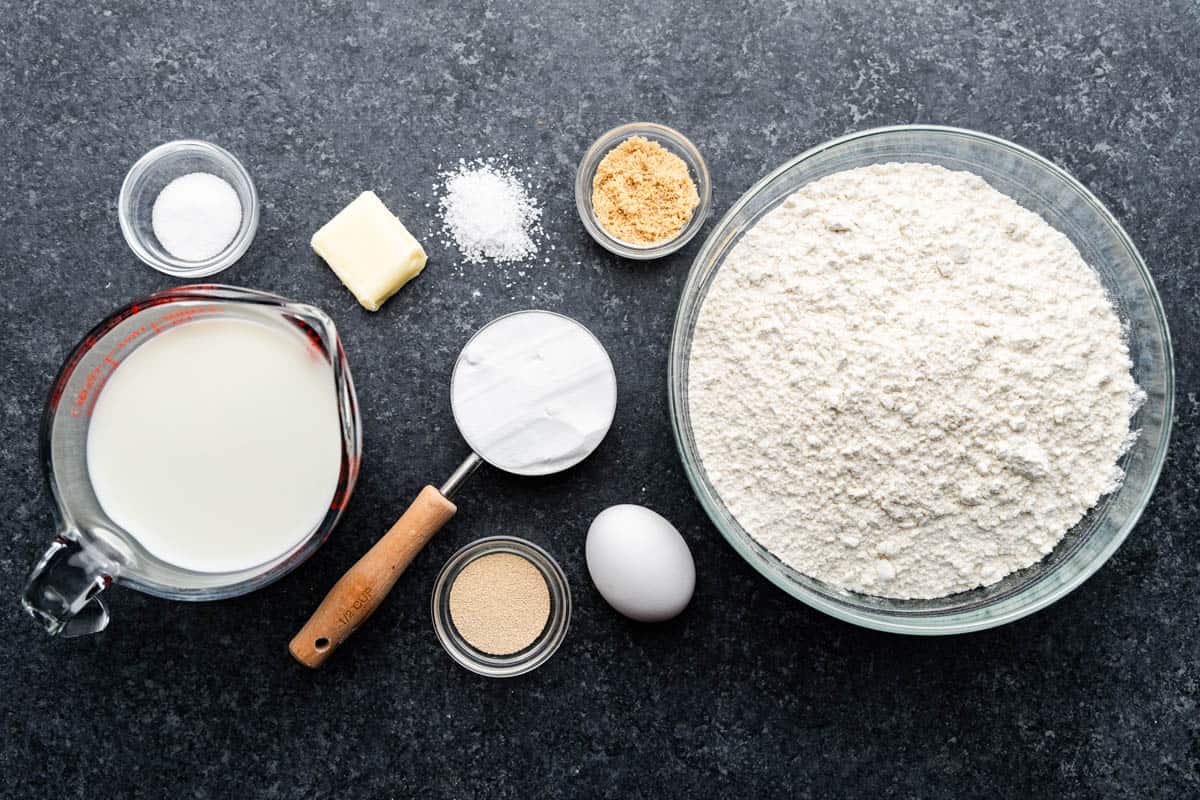
- Brown Sugar: The sugar feeds the yeast and helps the crust brown. The small amount of molasses adds a little flavor as well.
- Instant Dry Yeast: You can use active dry yeast in the same amount. You’ll just need to add 10 to 15 minutes to the rising time.
- Milk: Use whole, 2%, or 1%. It should be warmed to 100-110°F which we do in the microwave. The milk should be warm to the touch, like bath water.
- All-purpose Flour: Bread flour can also be used for an even chewier roll.
- Baking Soda: The baking soda is essential for the boiling step that gives these rolls their deep brown, chewy crust. No substitutions here—it’s the secret to that pretzel magic!
- Coarse Salt: You’ll often find it labeled as kosher salt, coarse salt, or pretzel salt. If you don’t have coarse salt, you can use flaky sea salt, but avoid fine table salt, as it won’t be quite the same and your rolls will just end up seeming salty.
No Stand Mixer? No Problem!
Making pretzel rolls by hand is easier than you might think, and you’ll still get that perfect chewy texture. Start by combining your ingredients in a large mixing bowl, stirring with a sturdy spoon (a wooden spoon works great) until the dough becomes too thick to stir.
When the dough gets too tough to mix, it’s time to knead by hand. Lightly flour a clean surface, then transfer your dough onto it. Using the heels of your hands, press the dough away from you, then fold it back over itself. Rotate the dough a quarter turn and repeat the process. Continue kneading for about 5-7 minutes until the dough is smooth and elastic. It should feel tacky, but not sticky. Hand kneading helps develop the gluten, giving your pretzel rolls that deliciously soft and chewy texture. It may take a little elbow grease, but the end result is worth it!

The Science Behind Boiling
There’s science involved in pretzel-making and it’s all about boiling the dough before baking. When you boil the dough in a baking soda solution, it sets off a chemical reaction on the surface of the dough. The baking soda is alkaline, which changes the pH of the dough’s exterior, helping it form that signature deep brown crust when baked. This is why pretzels—and these pretzel rolls—have a darker, more caramelized appearance than regular bread.
Boiling also gelatinizes the starches on the surface of the dough, creating a chewy exterior that contrasts perfectly with the soft crumb inside. This same technique is used to make bagels as well. This is how you get that signature chew.

Serving Suggestions
These rolls are perfect just the way they are to serve as a dinner roll alongside just about any type of dinner, whether it’s a soup or stew or even a fancy Thanksgiving feast. They are also perfect for turning into sandwiches loading them with pulled pork or just using leftover ham or deli meat.
You can adjust the size of your rolls to turn them into burger buns or use them as-is for sliders. Warm these rolls up and serve them with cheese dip, mustard, or a creamy spinach artichoke dip. And don’t forget breakfast! These rolls make for excellent breakfast sandwiches when filled with eggs, cheese, and your favorite breakfast meats.
Storage & Freezing Instructions
Store completely cooled in an airtight container or resealable plastic bag at room temperature for up to 3 days.
To freeze, allow the rolls to cool completely, then wrap each one tightly in plastic wrap. Place the wrapped rolls in a freezer-safe bag or airtight container. Freeze for up to 3 months. When you’re ready to enjoy them, let the rolls thaw at room temperature or overnight in the refrigerator.
Reheat in a 350°F oven for 10 minutes or until warmed through. You can also microwave them for 10 to 15 seconds until warm, though the oven method will help retain their chewy exterior. If reheating from frozen, thaw first before reheating in the oven.
More delicious rolls…
Watch the video below where Rachel will walk you through every step of this recipe. Sometimes it helps to have a visual, and we’ve always got you covered with our cooking show. You can find the complete collection of recipes on YouTube, our Facebook Page, or right here on our website with their corresponding recipes.

