The ULTIMATE Raspberry Baked Cheesecake Recipe!
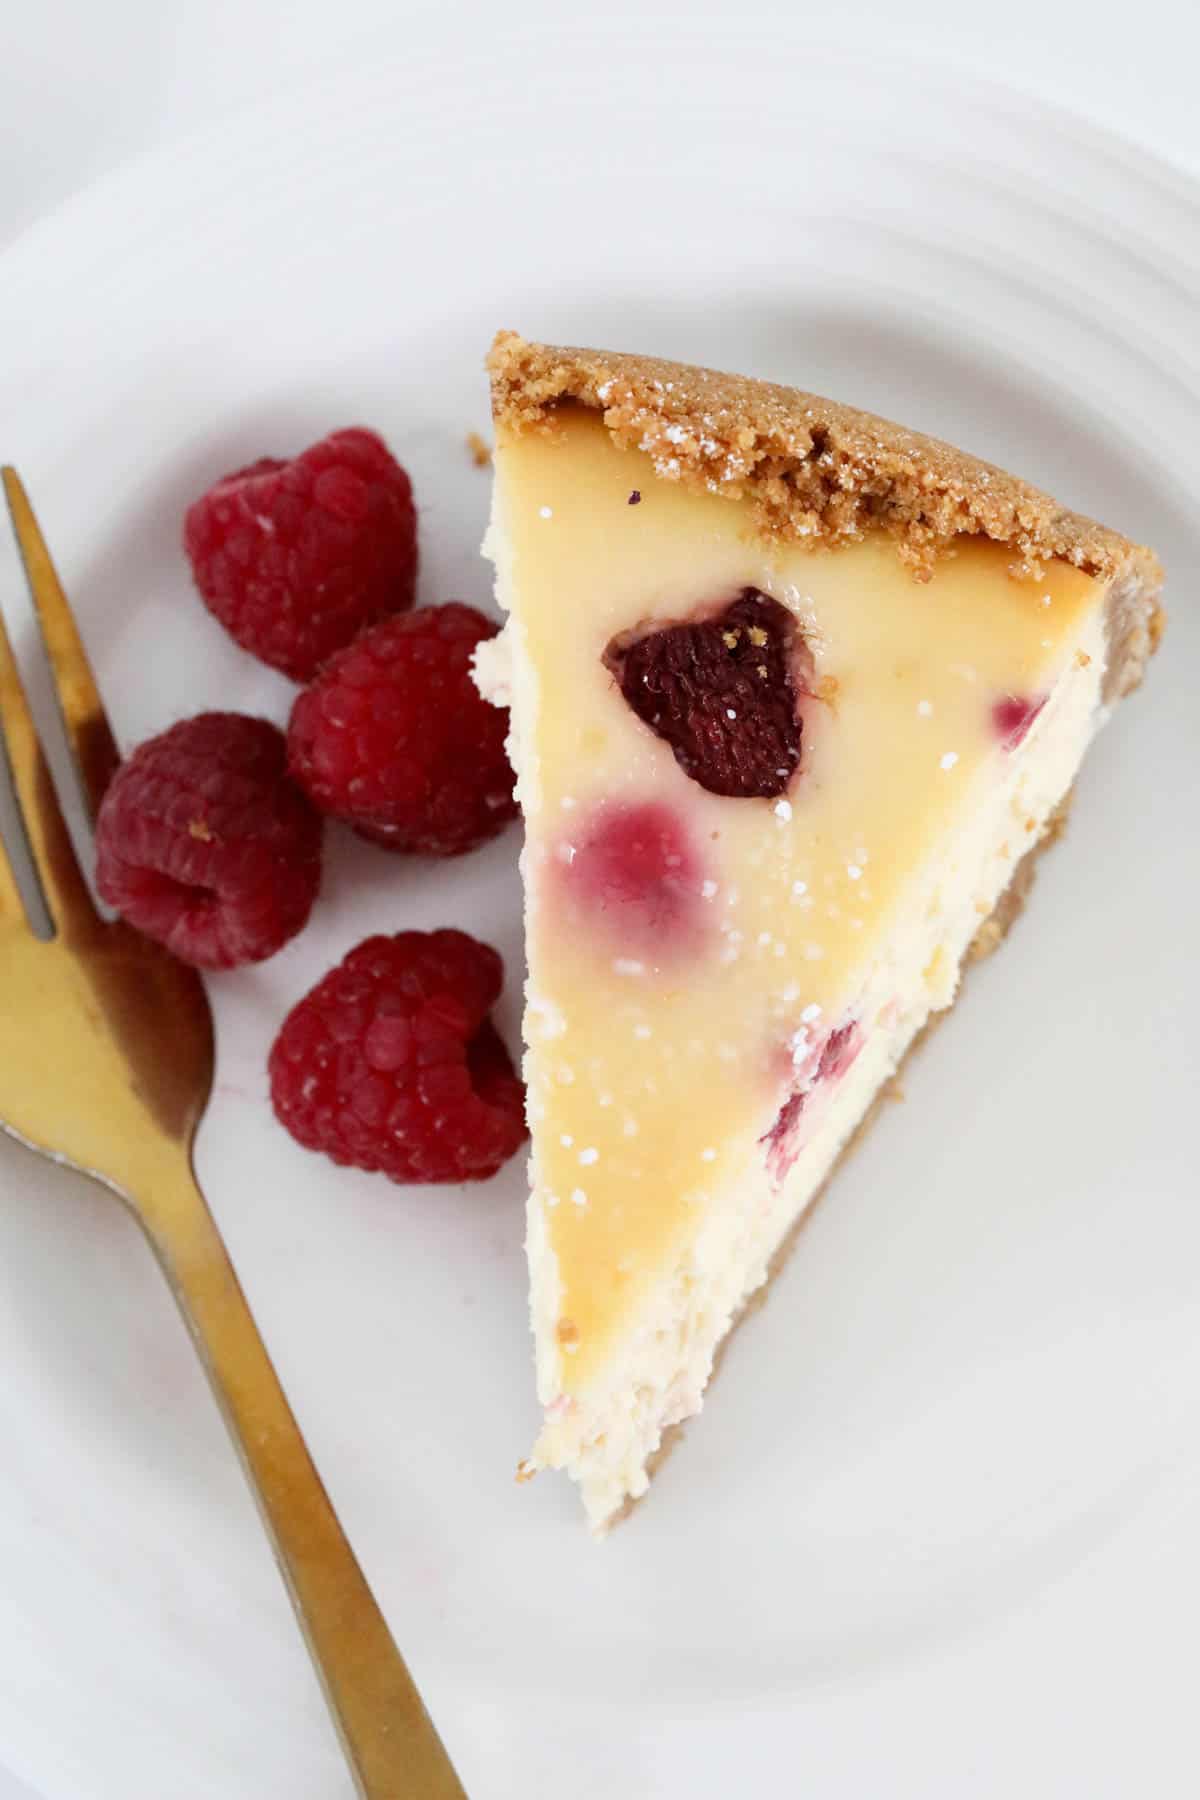
This restaurant quality, rich and creamy Raspberry Baked Cheesecake recipe is the ultimate show-stopper of a dessert for any special occasion!
With expert tips to ensure a perfectly delicate baked cheesecake with fresh summer raspberries – an indulgent and crowd-pleasing dessert!
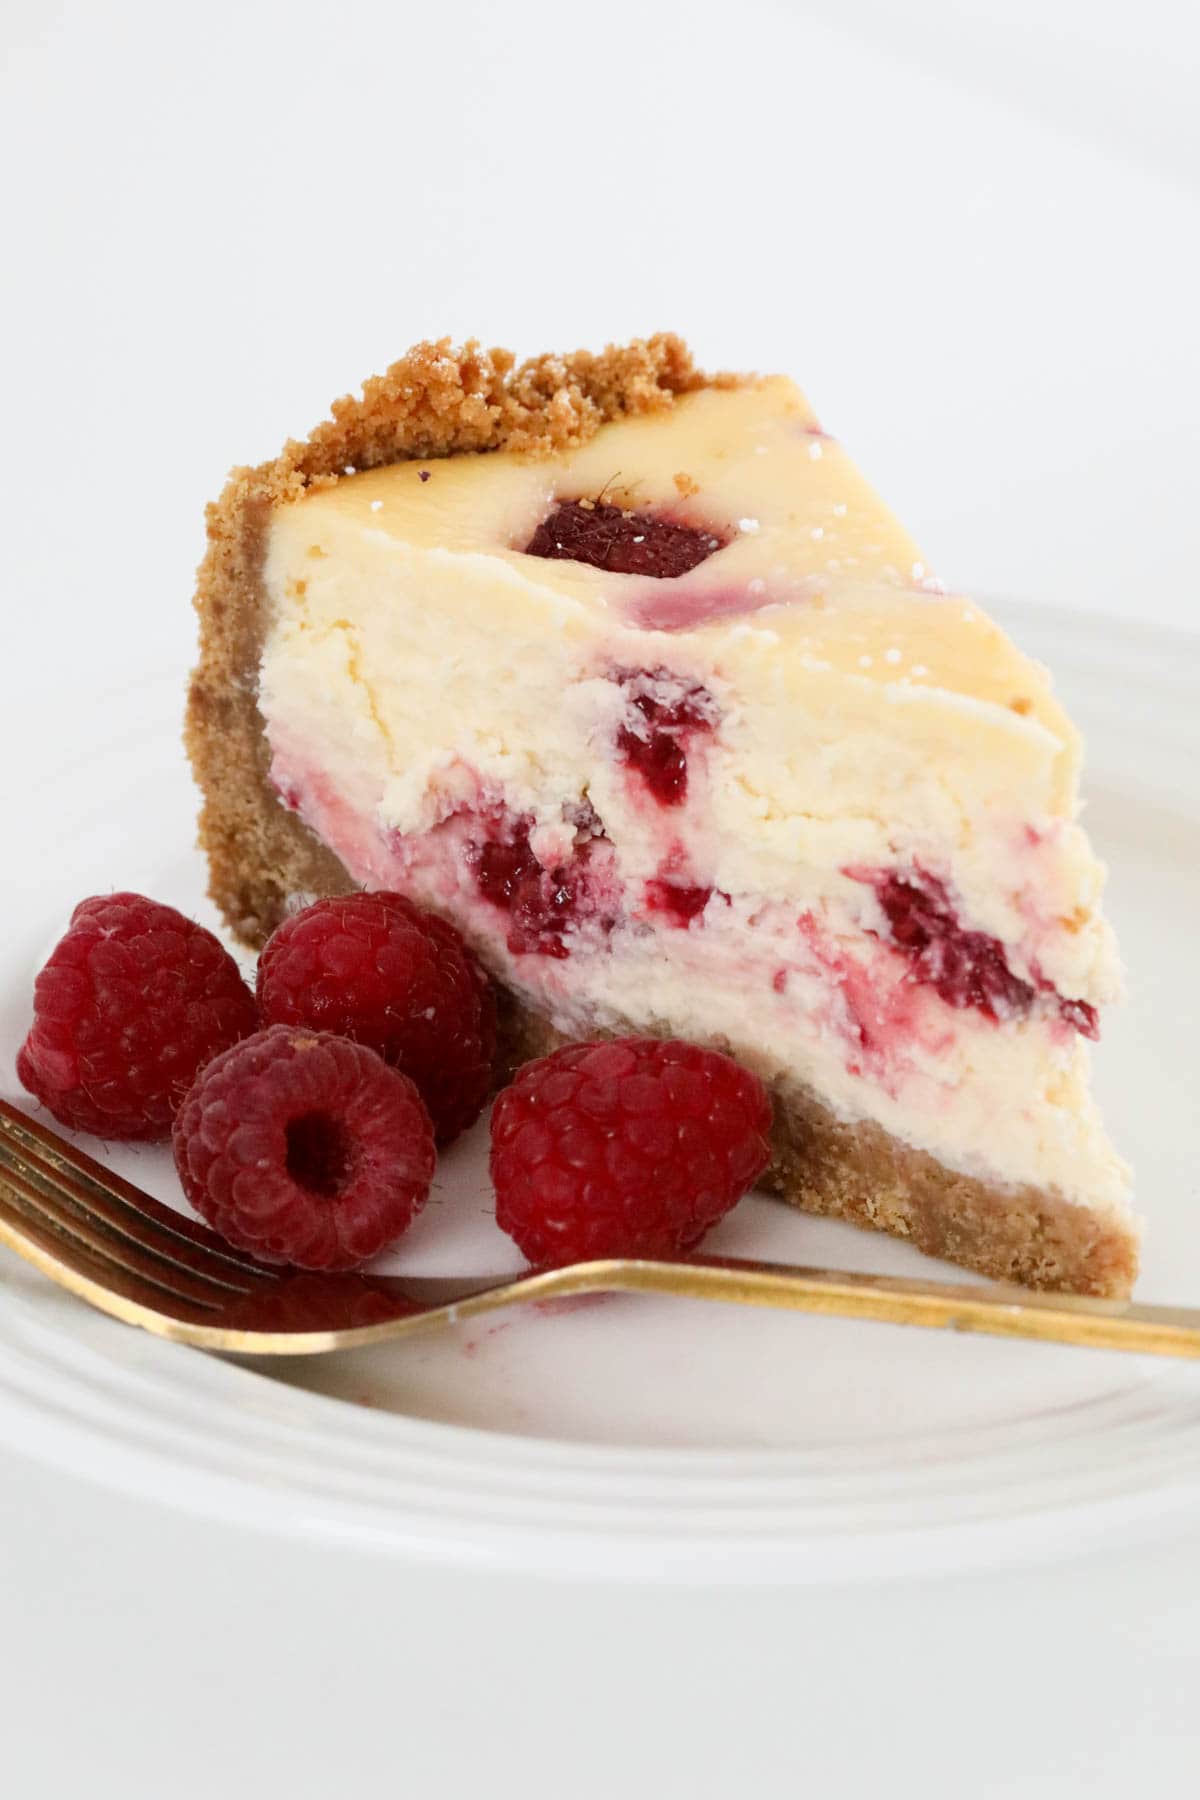

As you know, I LOVE a good cheesecake, whether it’s baked or just chilled, but the texture of a baked cheescake is really something else!
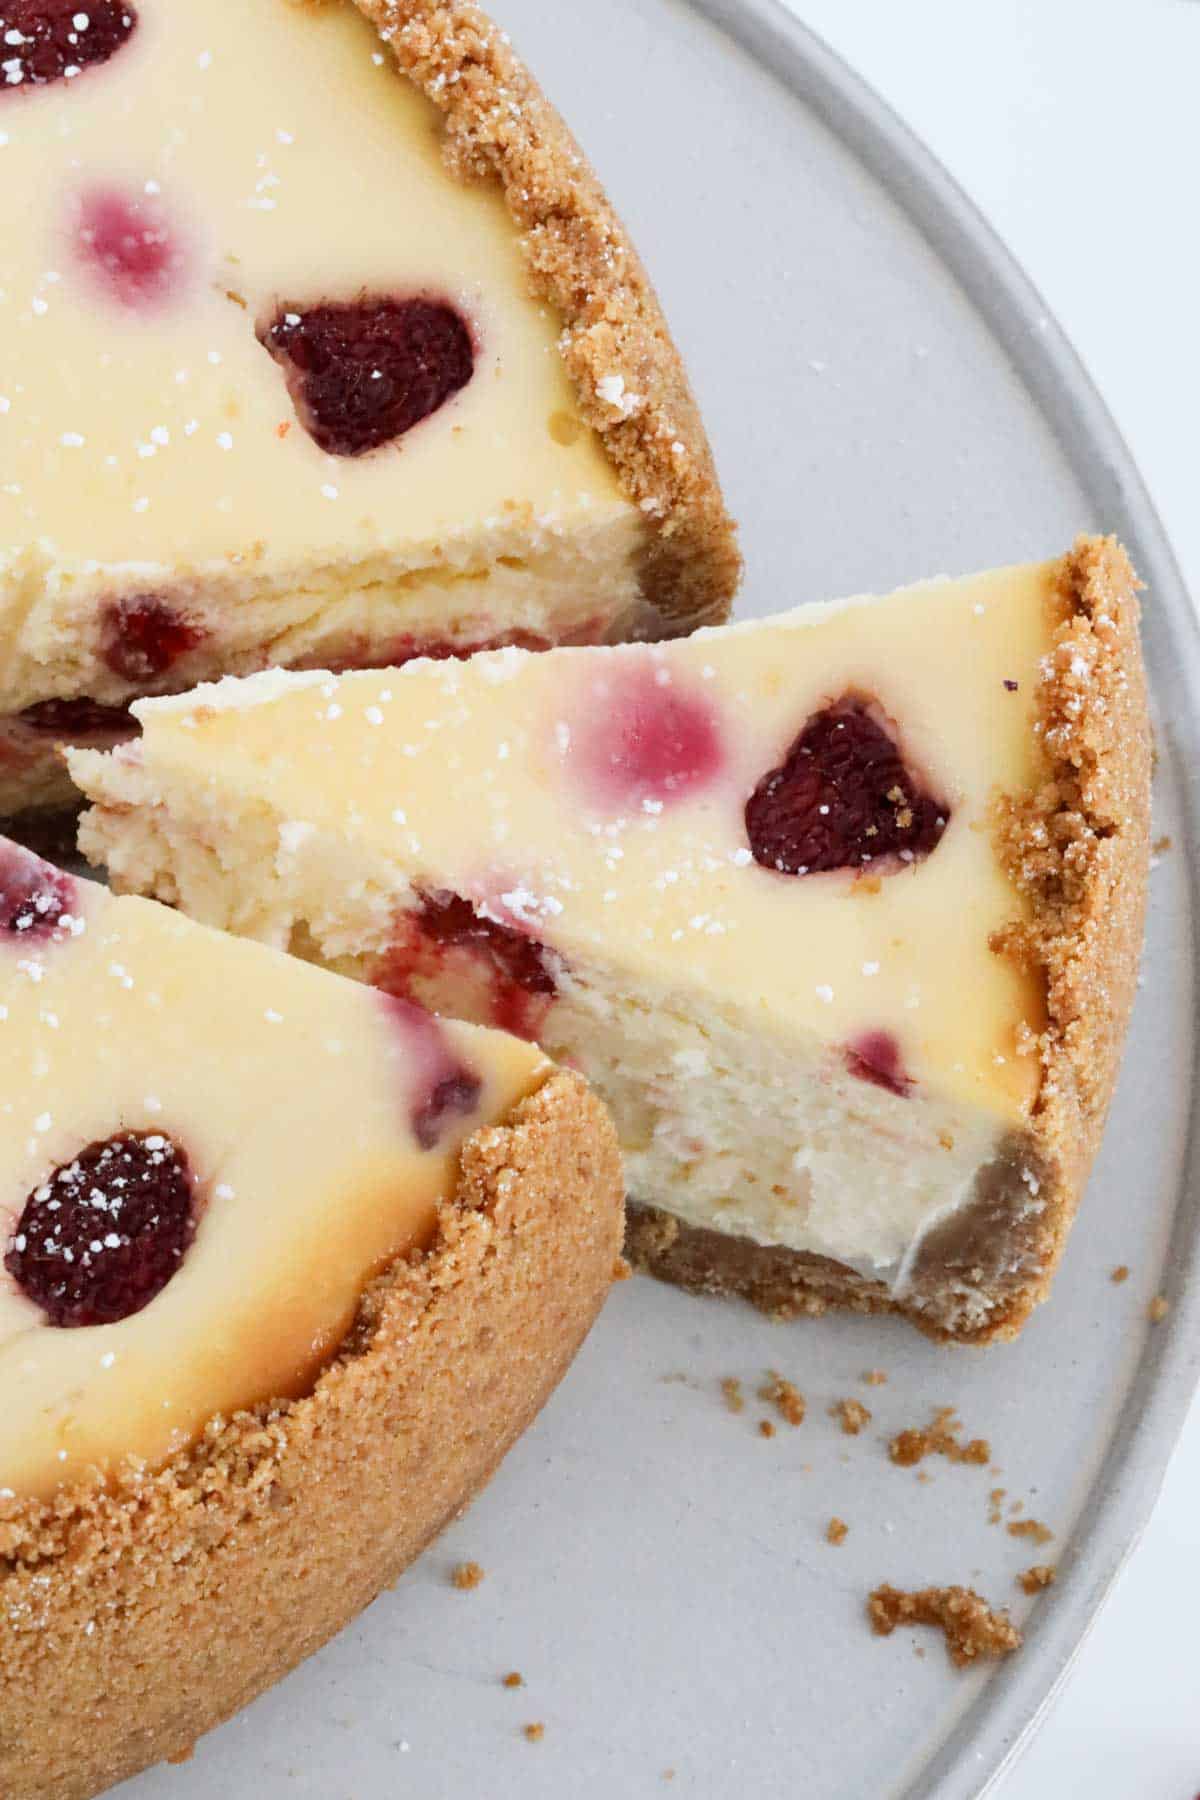
The filling is light, creamy and luscious over a crunchy biscuit base, and best served at room temperature to really enhance the delicate flavours.
The classic New York Baked Cheesecake is iconic in itself, and this raspberry baked cheesecake is similar, yet adds an extra sparkle by having fresh raspberries folded throughout!
Try my Ultimate Baked Lemon Cheesecake too, for a creamy and tangy cheesecake that’s forever crowd-pleasing.

Why You’re Going To Love This Recipe
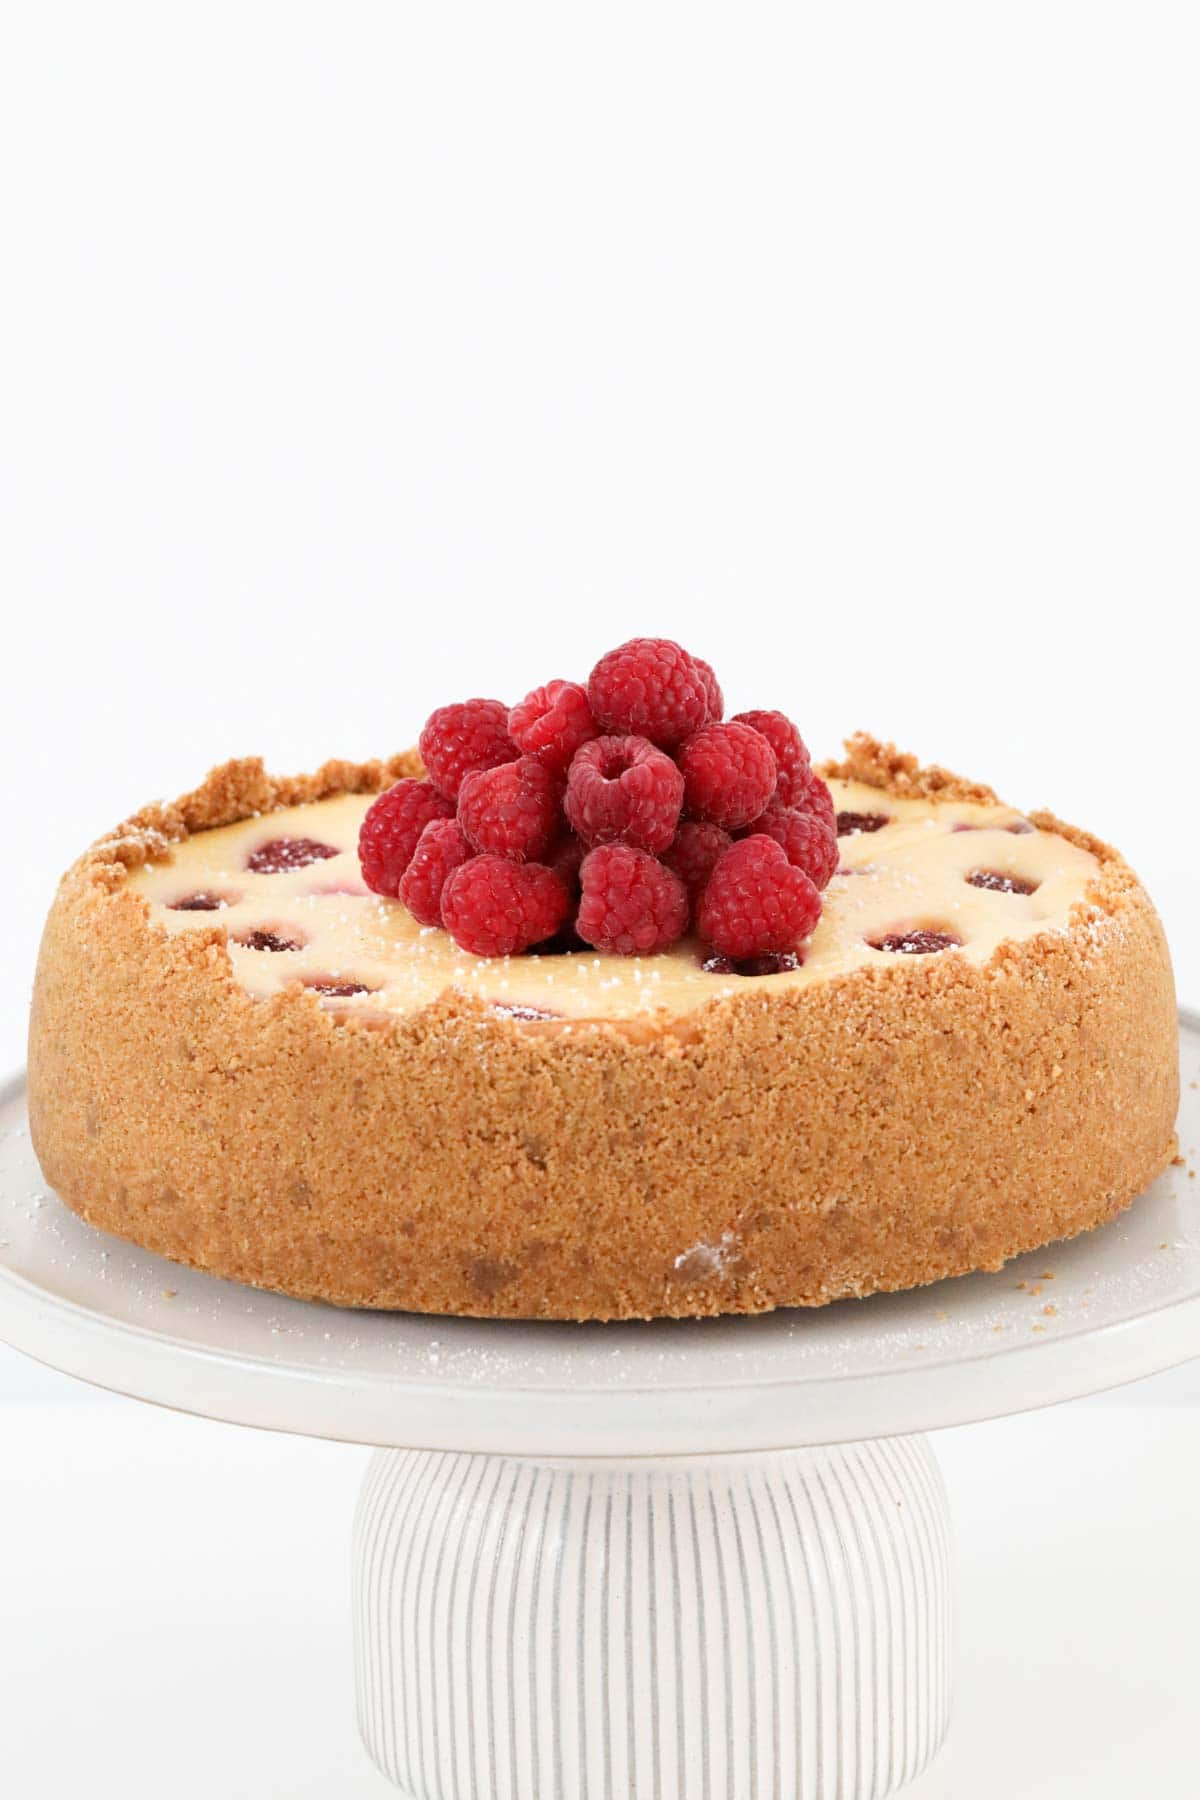
Similar to the classic New York baked cheesecake, this raspberry cheesecake adds an extra touch of summer with fresh berries.
- Ever popular – a baked cheesecake is the ultimate dessert, guaranteed to please!
- Serves a crowd – baked cheesecakes are supremely rich and creamy, so a small serve makes this cheesecake great for a crowd (although they’re likely to come back for seconds…)
- Celebration dessert – a restaurant quality dessert that is perfect for a celebration, a birthday or any special occasion.
- Foolproof recipe – my raspberry baked cheesecake comes with expert tips and tricks to avoid a sunken or cracked cheesecake, and guarantee a winner dessert. By following the Expert Tips, this recipe is suitable even for beginners!
- Conventional and Thermomix – I have included instructions for both methods in the recipe card below.

What You Need
The ingredients are all standard fridge and pantry staples, just with the addition of fresh raspberries for this stunning dessert.
Note: Scroll to the recipe card at the bottom for the ingredients quantities and full detailed method.
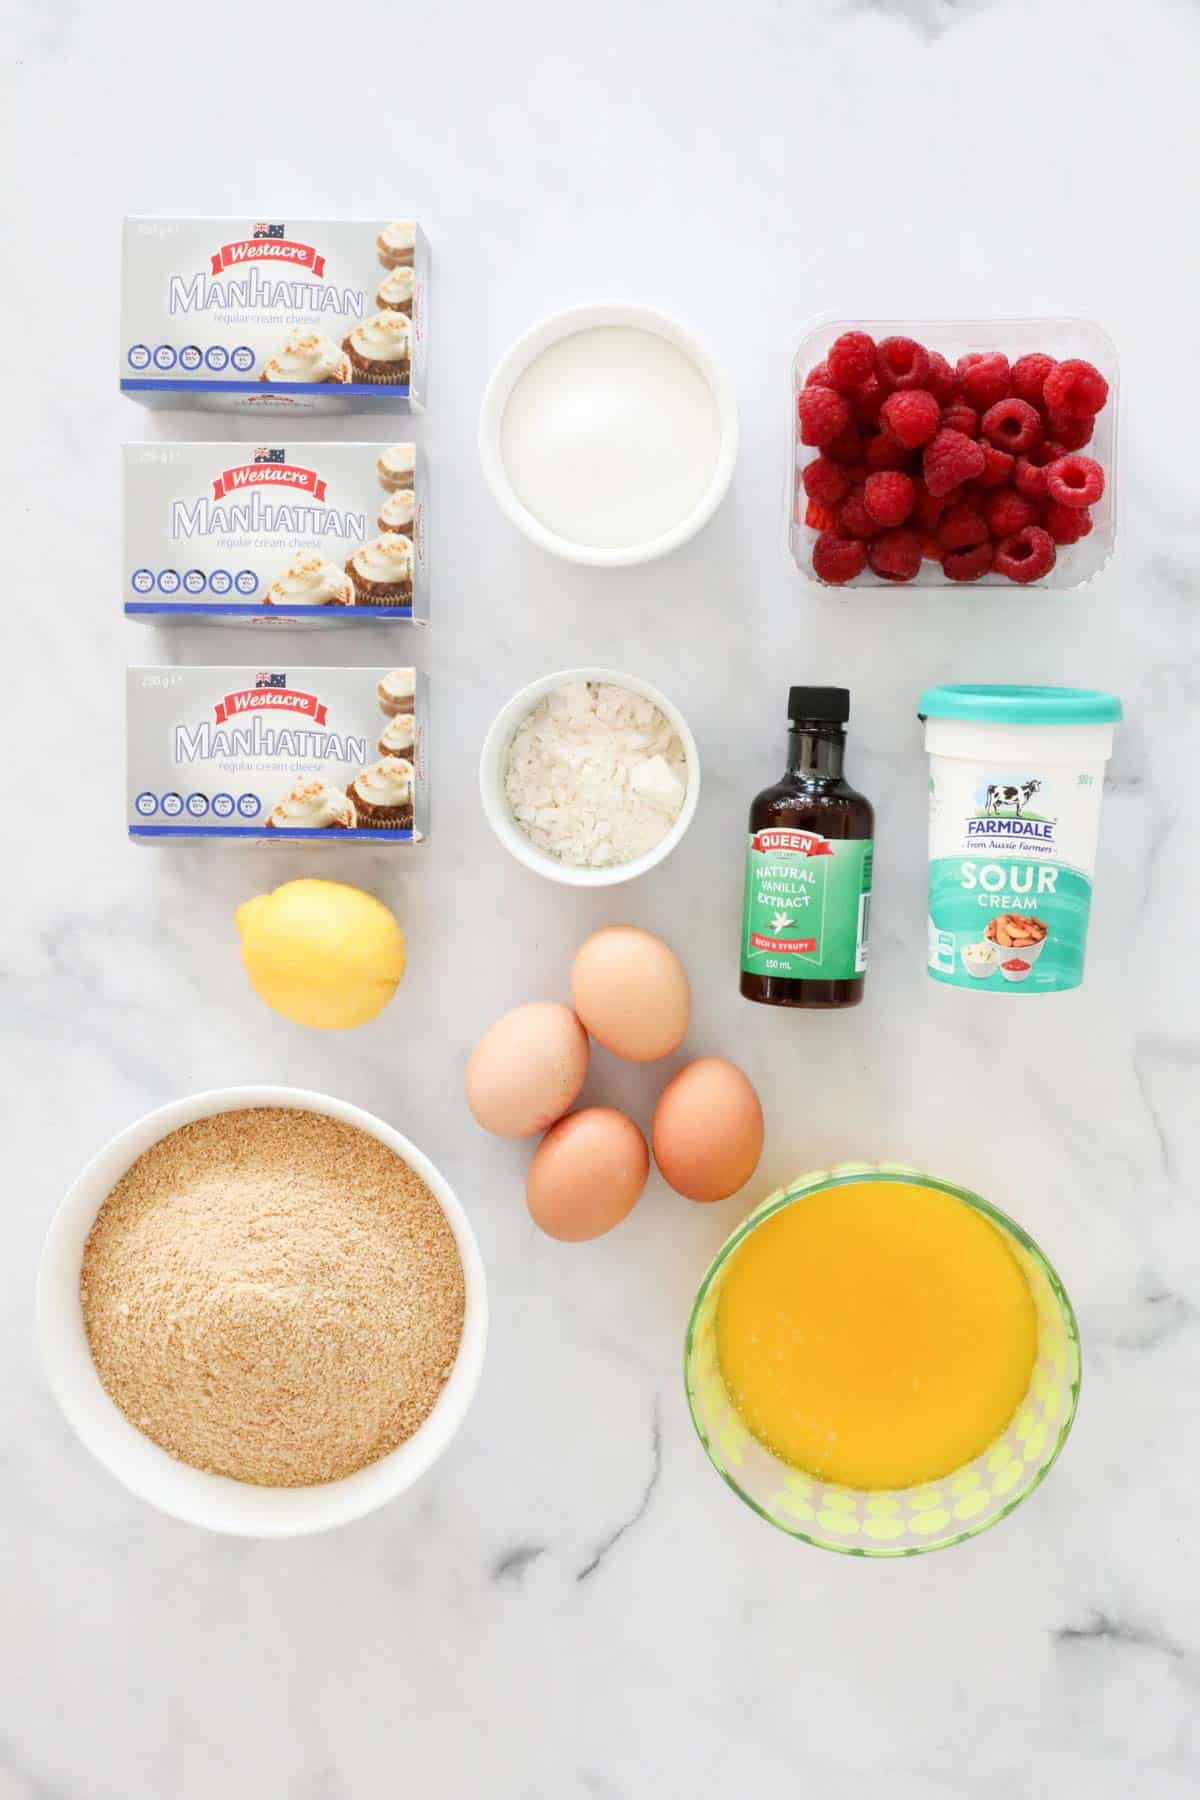

- Plain sweet biscuits – crushed, such as Arnott’s Nice or Marie Biscuits or Graham Crackers
- Butter – melted. I recommend using unsalted butter in this recipe.
- Cream cheese – make sure this is at room temperature for easily combining with other ingredients. Choose full-fat cream cheese for the richest texture and best results.
- Caster sugar – also called superfine sugar.
- Vanilla extract – or pure vanilla essence. Choose a quality brand such as Queen’s.
- Lemon zest – finely grated.
- Lemon juice – fresh or store bought.
- Plain flour – also known as all purpose flour.
- Eggs – large (approx 60g), have your eggs at room temperature.
- Sour cream – full-fat, have the sour cream at room temperature too.
- Fresh raspberries – with extra to decorate.
- Icing sugar – sifted (optional).

Equipment Required
Make this raspberry baked cheesecake the day before required, all that’s left to do is to decorate just prior to serving!
- Springform pan – approx 23 cm, greased and lined with baking paper.
- Food processor or Thermomix – to crush the biscuits. If you don’t have either, you can simply crush the biscuits using a rolling pin.
- Hand-held beaters, stand mixer or Thermomix – for combining the mixture.
- Oven – this raspberry cheesecake cooks low and slow. In fact, once it’s baked, it stays in the oven for another 2 hours to gently cool!

Step By Step Instructions
A baked cheesecake requires a little time and patience… but the end result is so worth the effort! This raspberry baked cheesecake will be too hard to resist.
Note: Scroll to the recipe card at the bottom for the ingredients quantities and full detailed method.
Step 1 – Make The Biscuit Base
Preheat the oven to 140 degrees celsius (fan forced).
Grease and line the base and sides of a 23cm springform pan with non-stick baking paper (see Expert Tips below).
Finely crush the biscuits in a food processor or Thermomix, and place crumbs into a large bowl.
Add the melted butter and mix thoroughly until well combined with the crumbs.
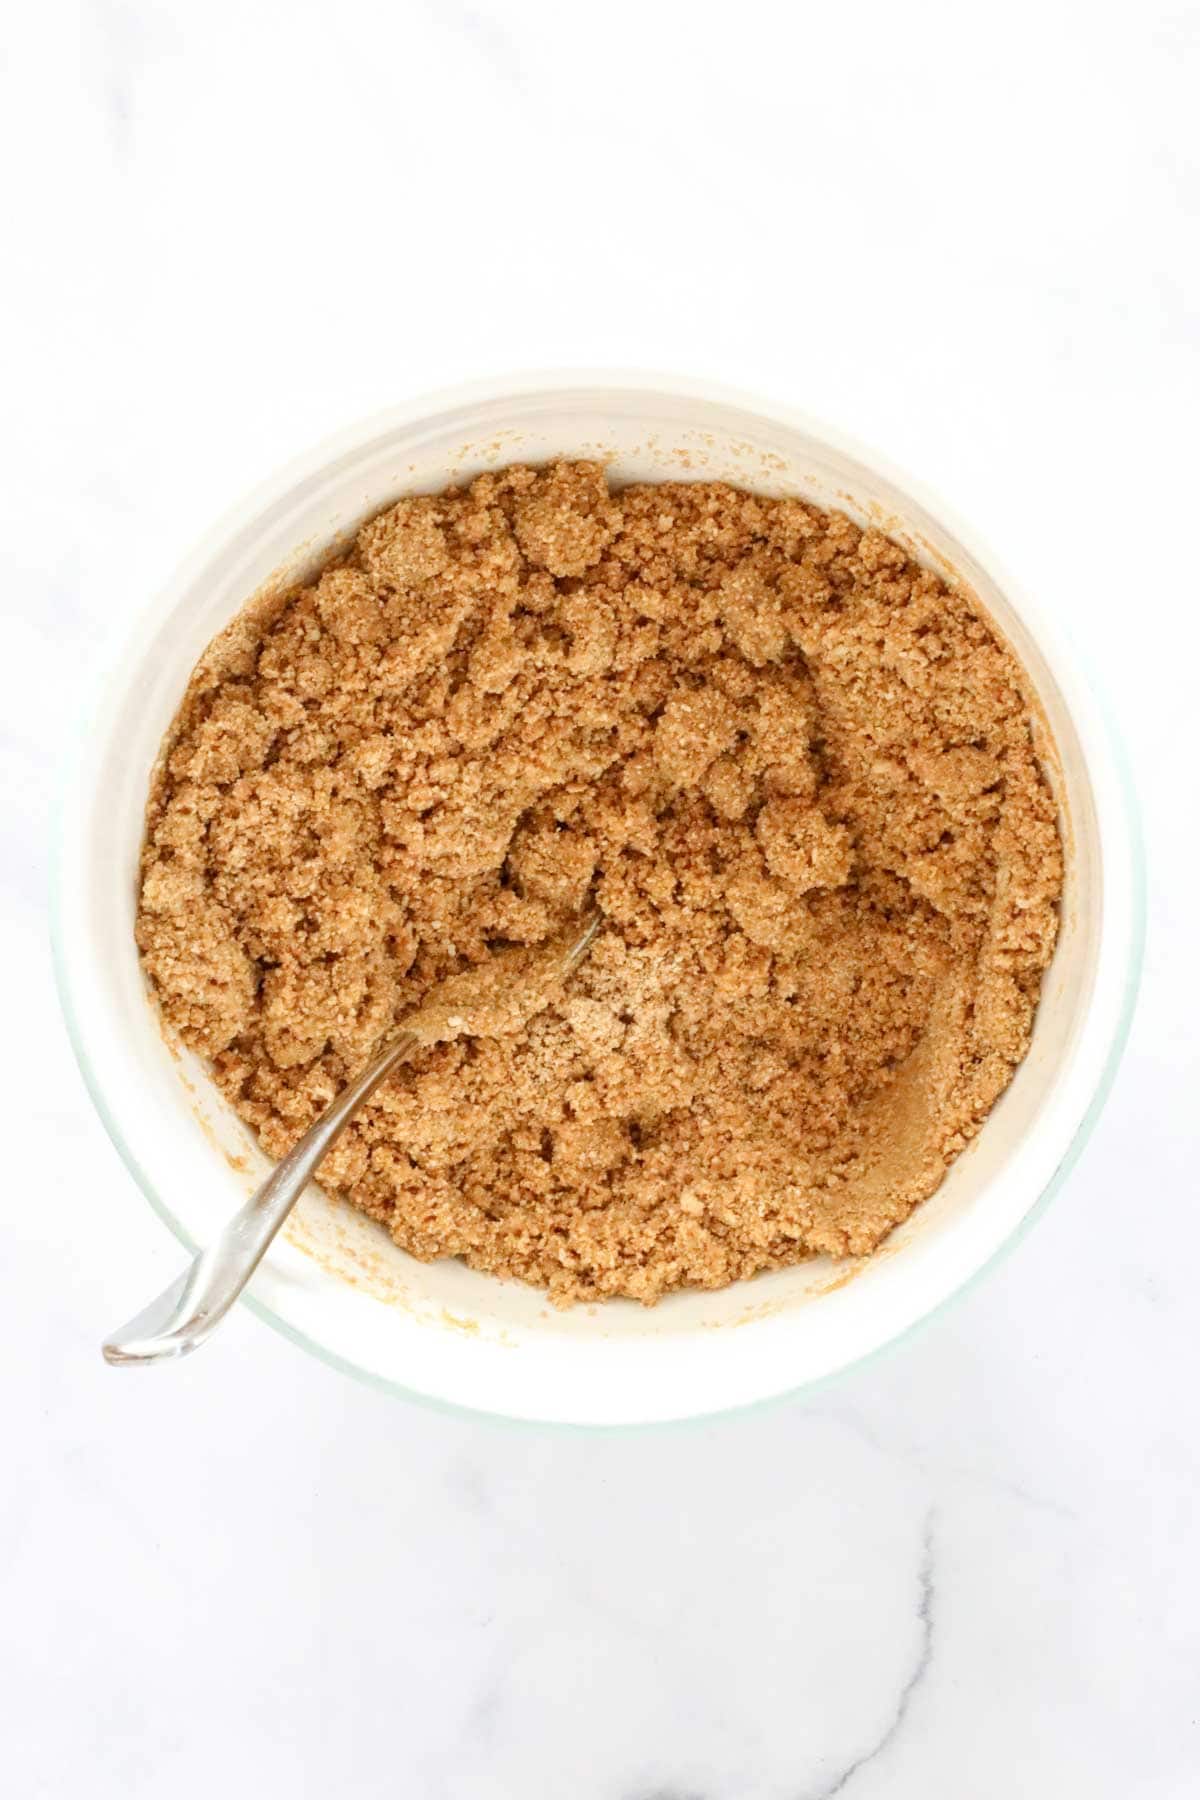

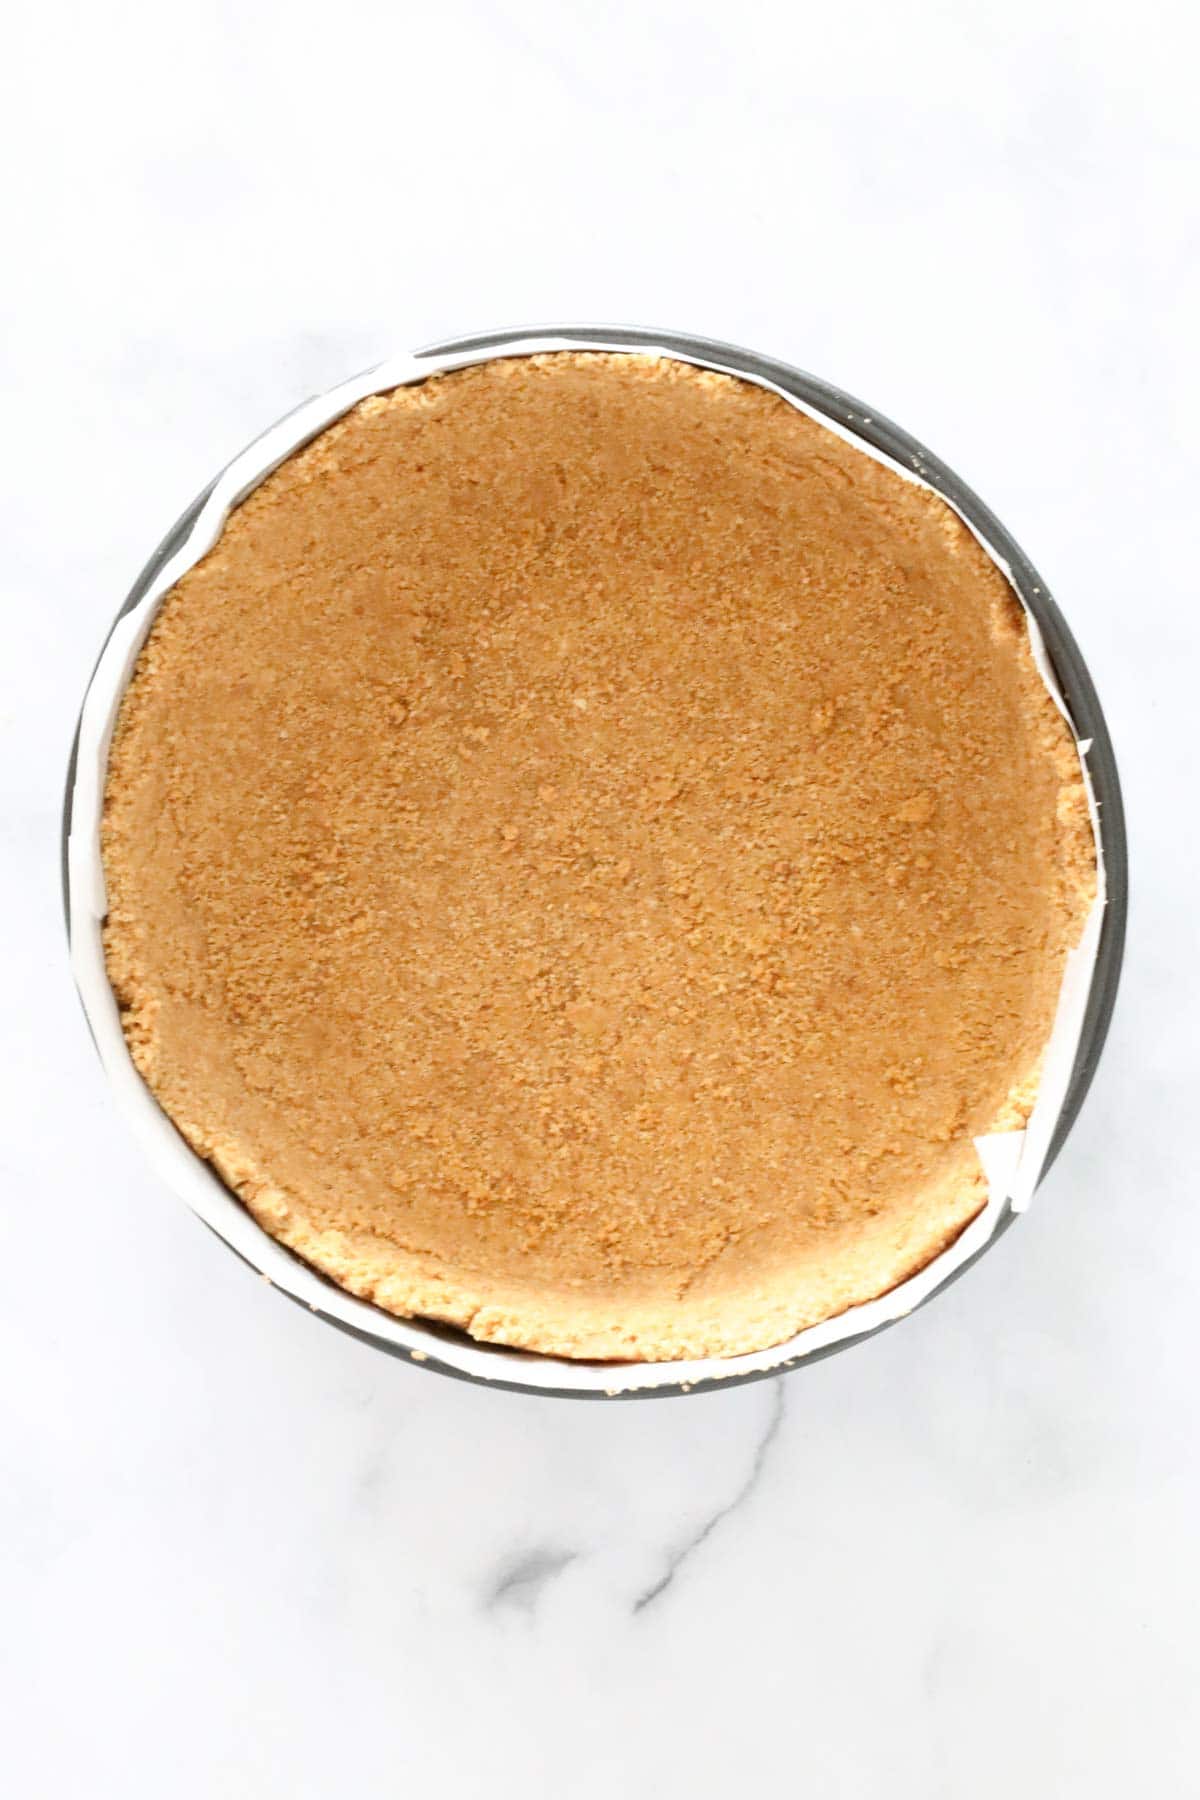
Spoon half the biscuit crumbs onto the base of the prepared tin and use a glass to press the mixture down firmly and evenly.
Press the remaining half of the mixture firmly up the sides of the pan using the back of a spoon (leave a small 1cm gap near the top).
Chill the biscuit base in the fridge for 30 minutes whilst you make the filling.

Step 2 – Mix The Cheesecake Filling
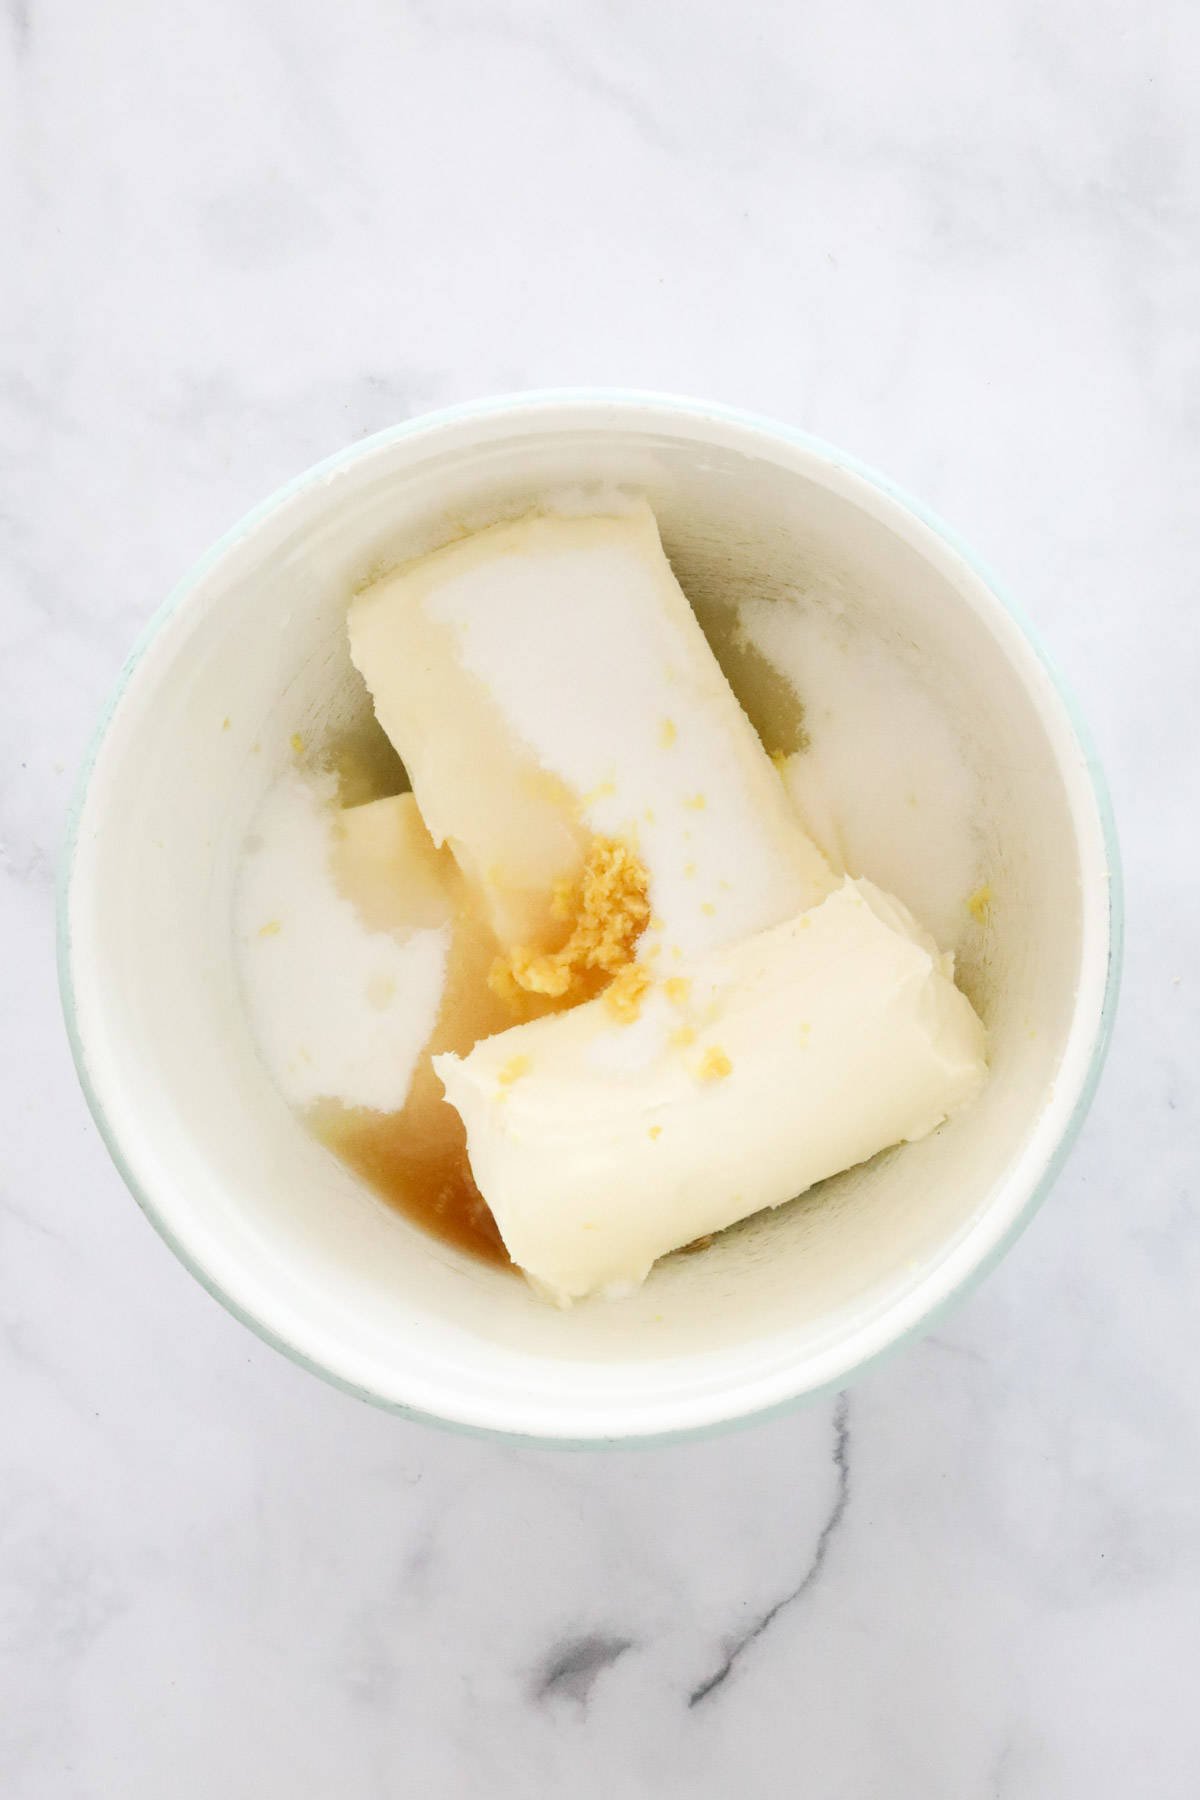
Place the cream cheese, caster sugar, vanilla extract, lemon zest and juice into a large bowl. Beat until just combined.

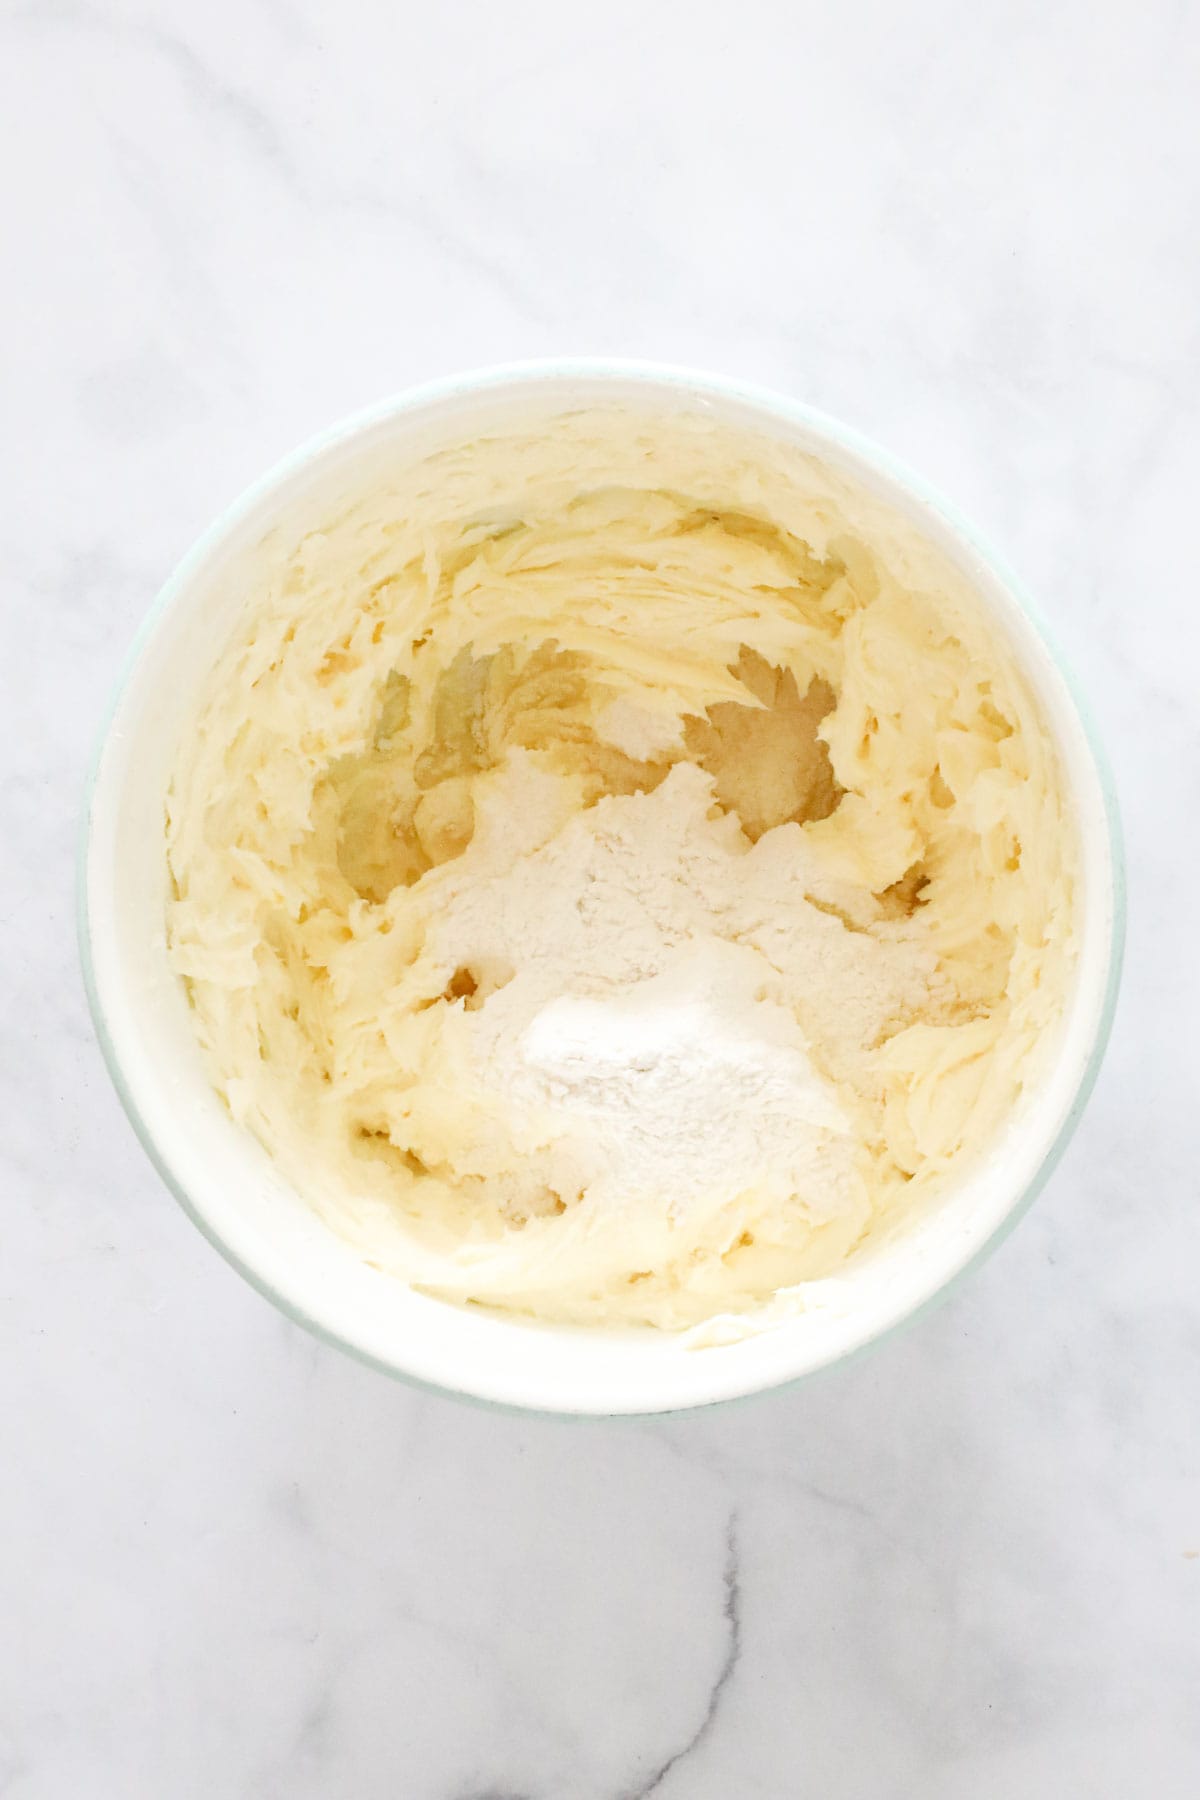
Add the flour to the mix and gently beat this in.

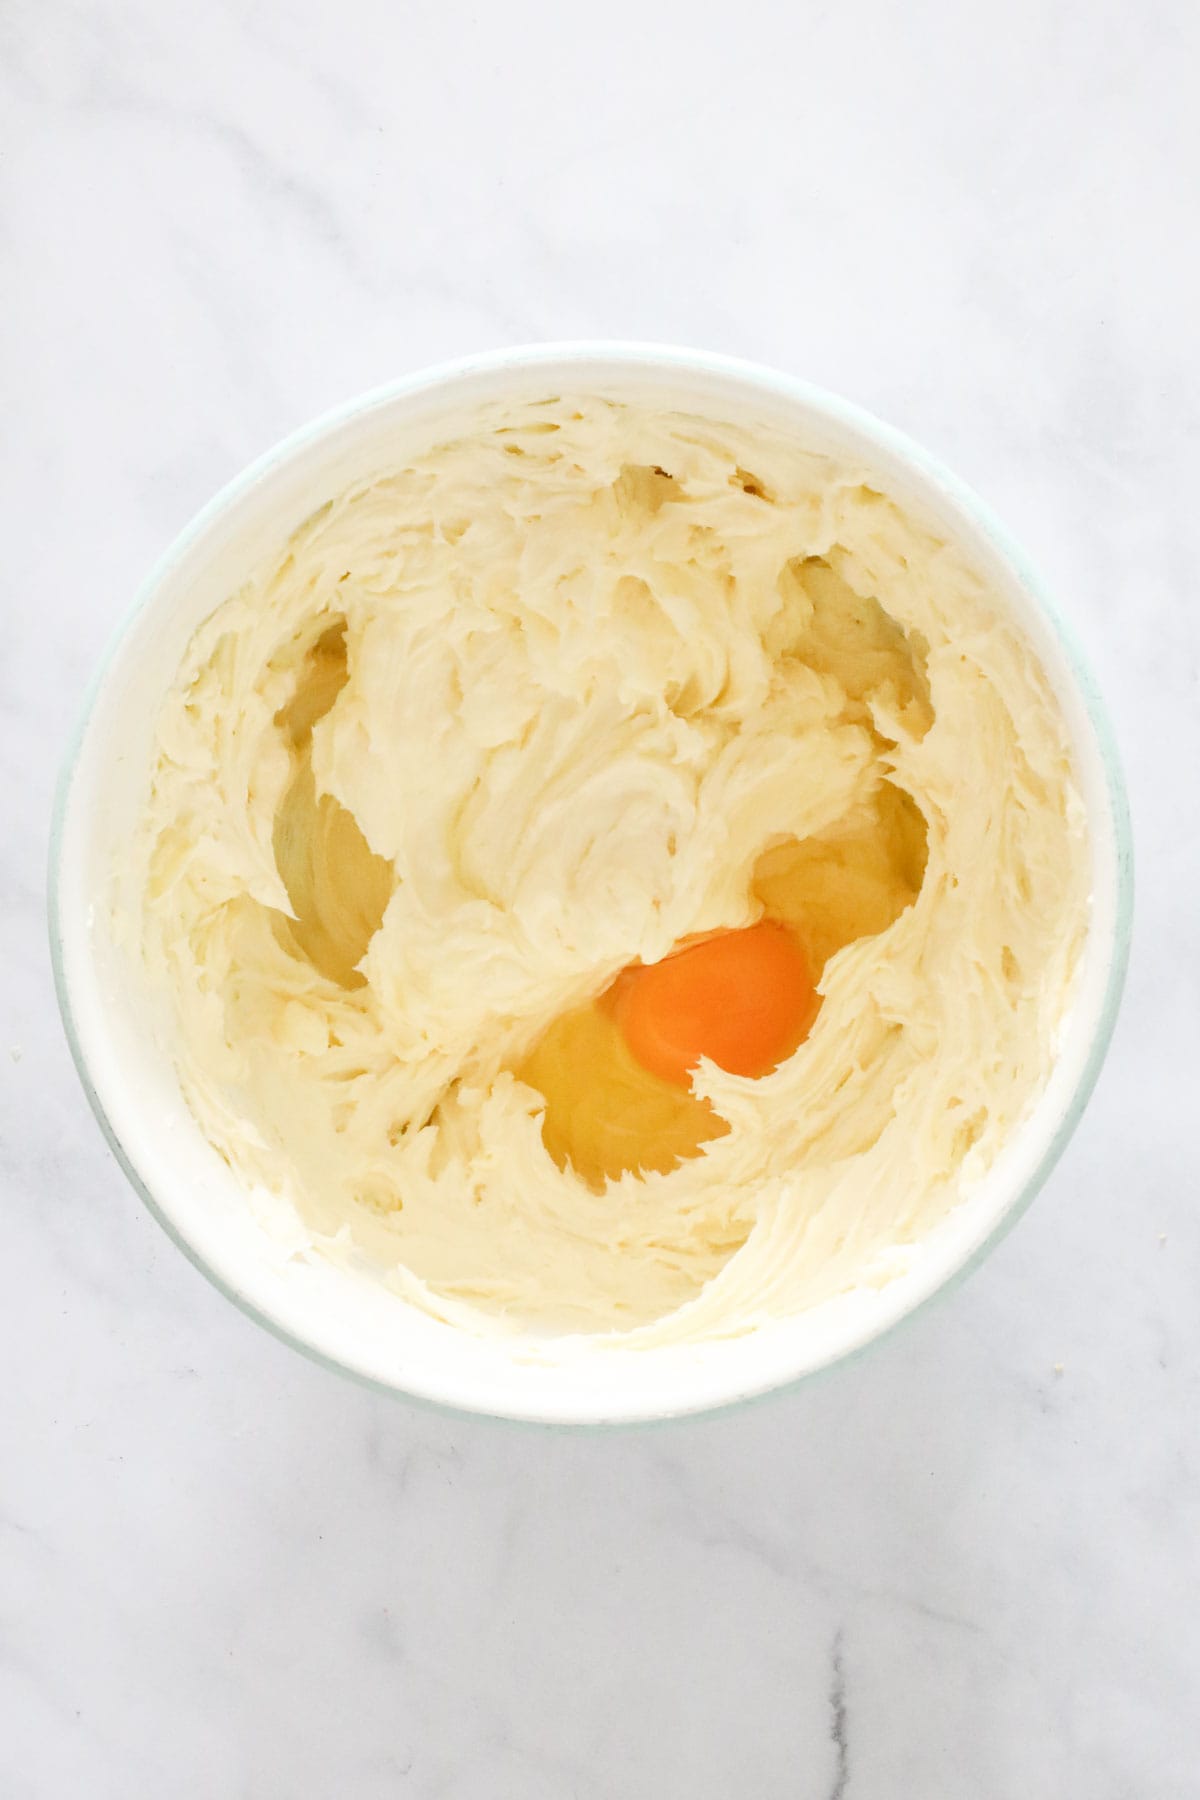
Add the eggs one at a time and once again, beat until just combined.
Stir the sour cream through the mix.

Step 3 – Add The Raspberries
Very gently fold half of the fresh raspberries through (reserve the other half for decorating).
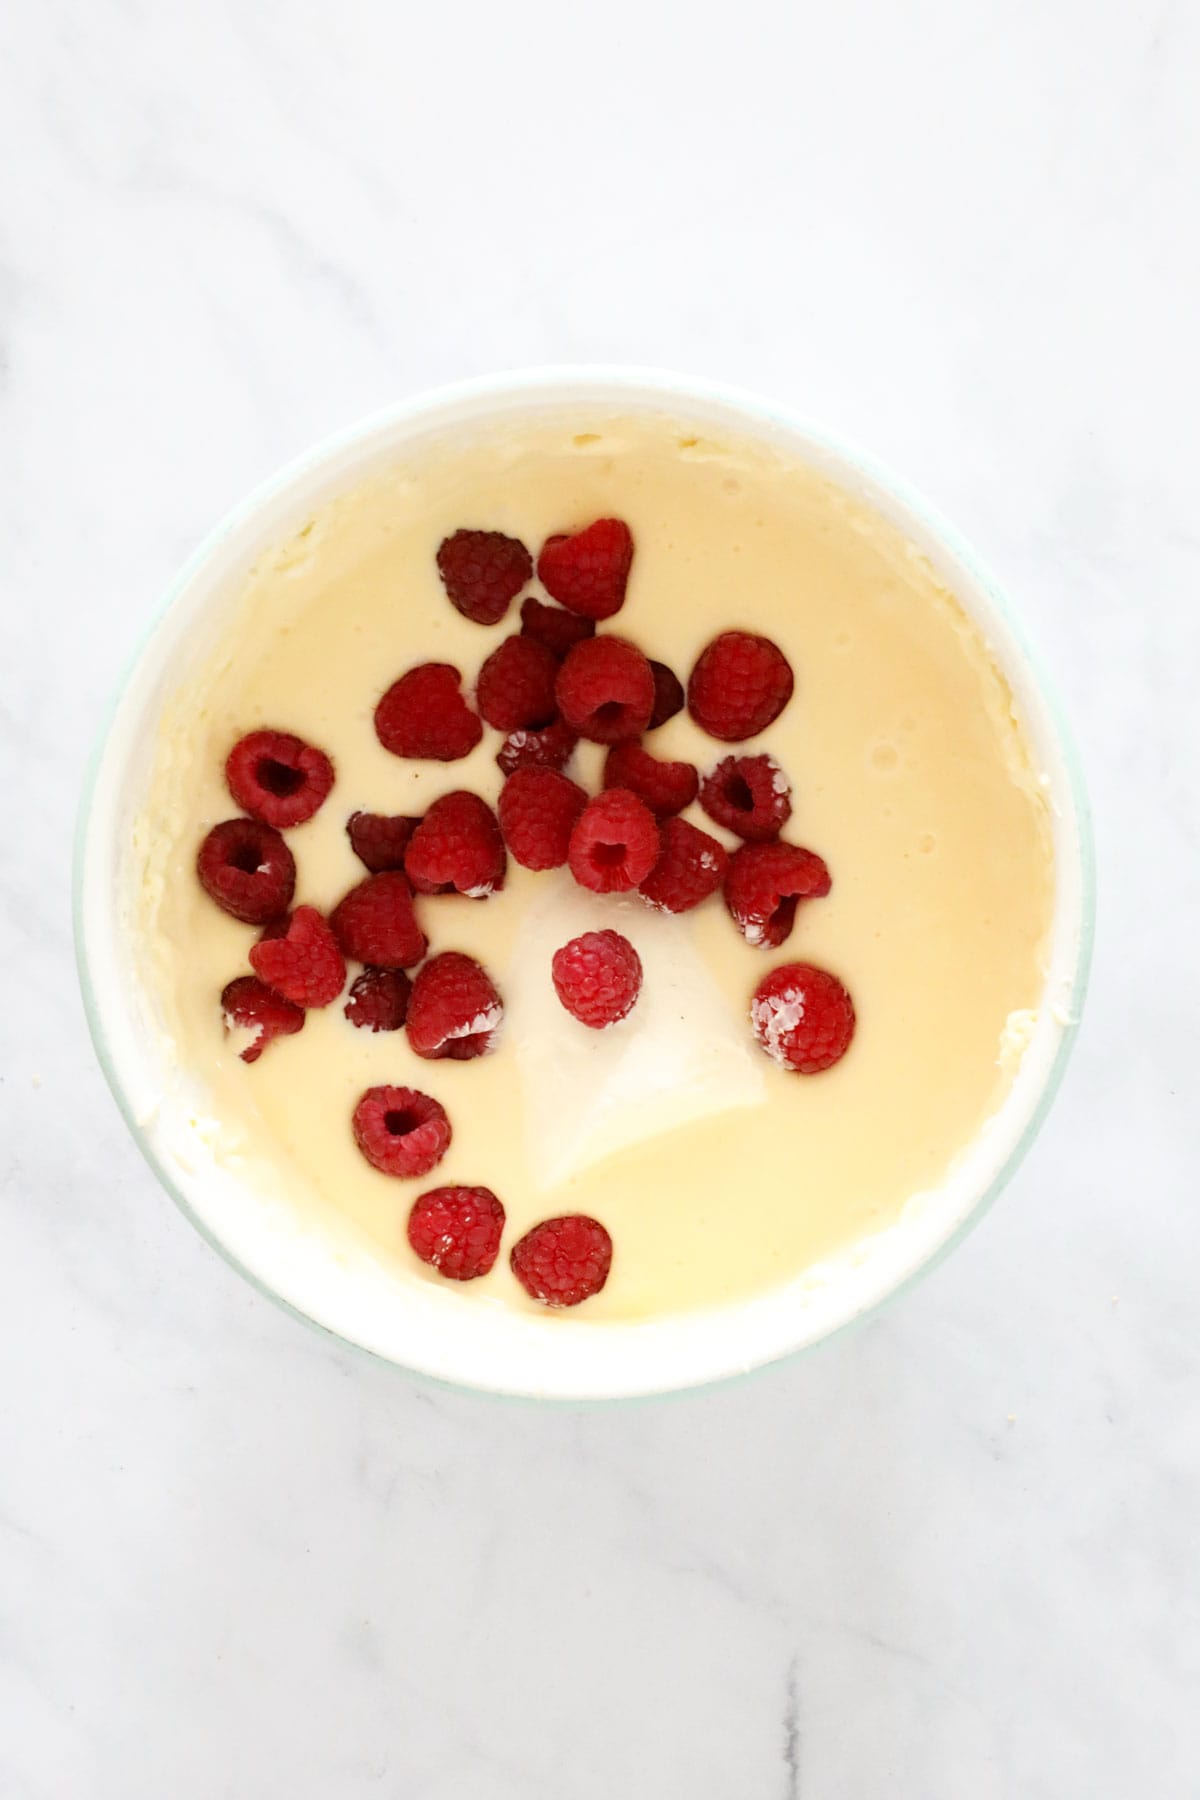

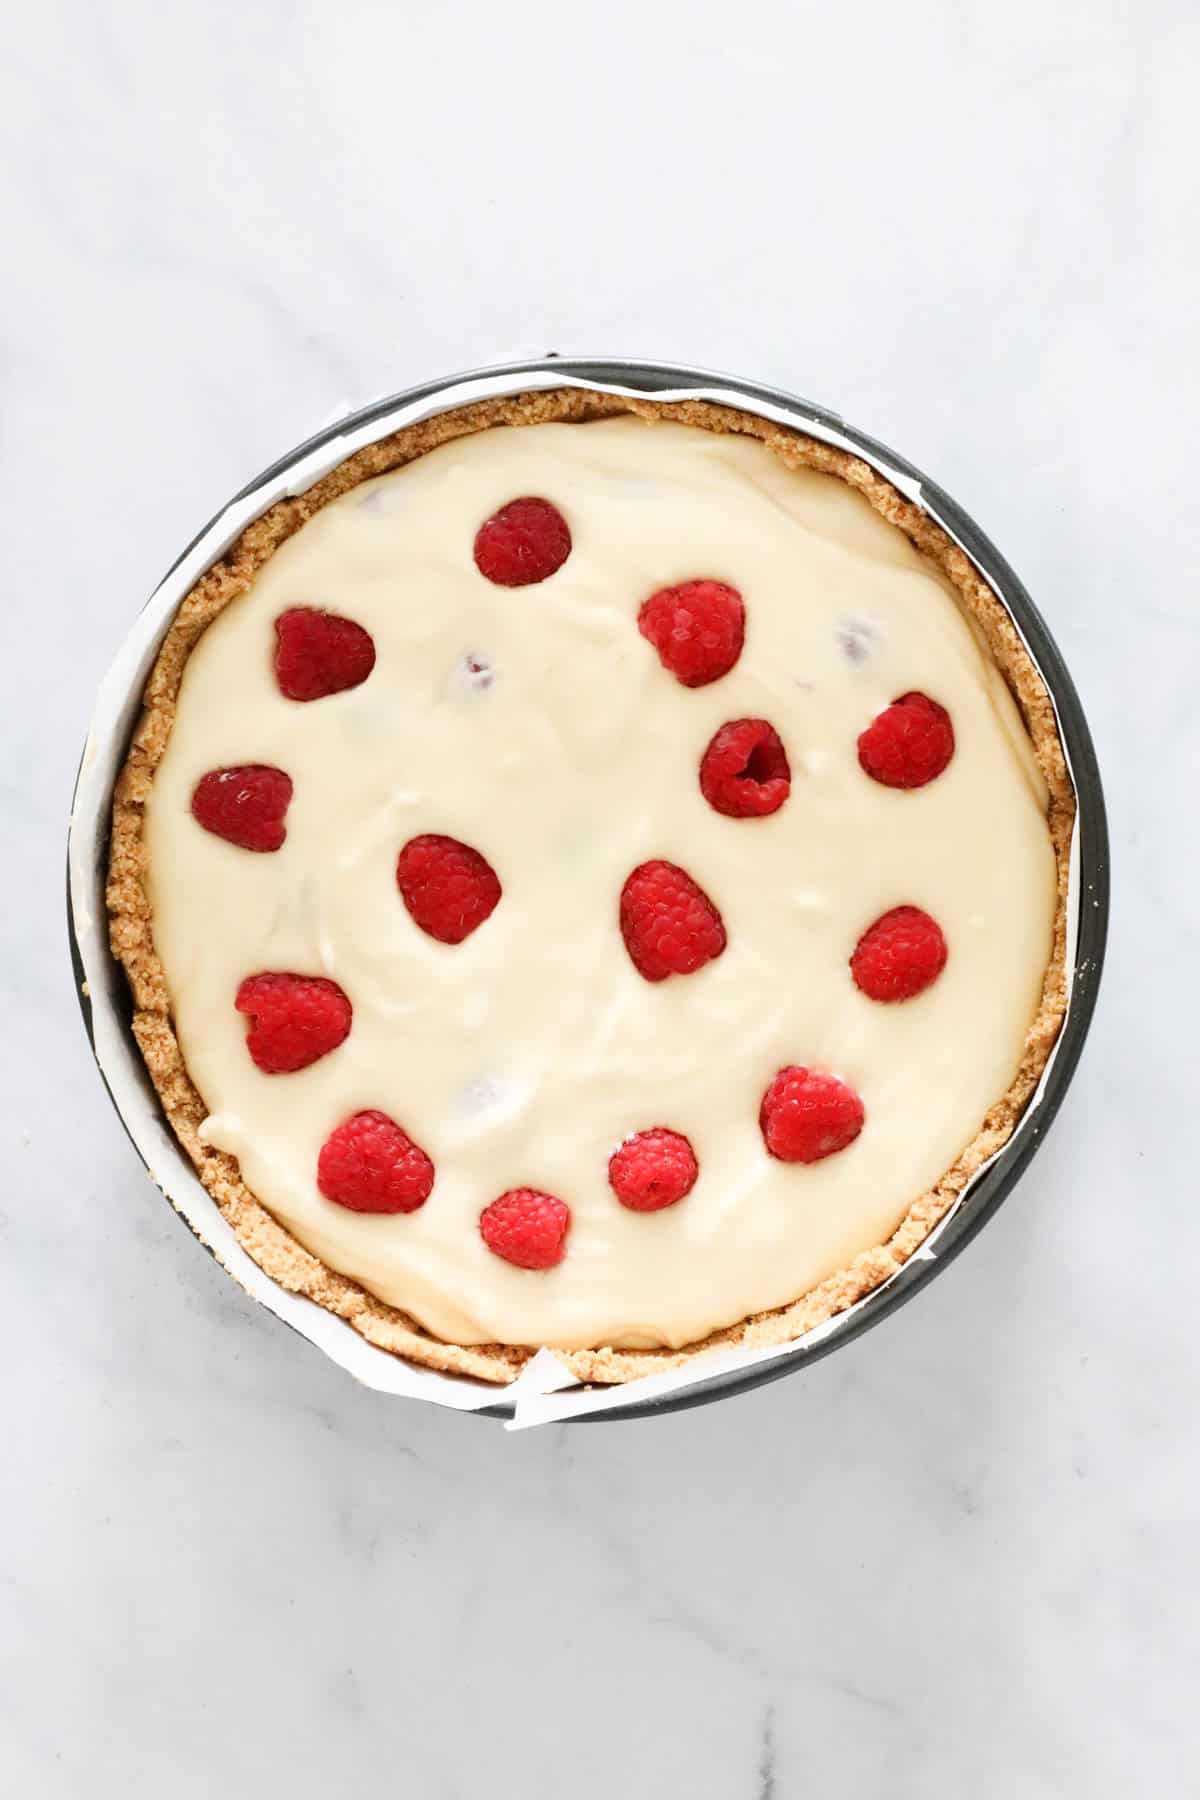
Carefully pour the cheesecake mixture into the base of the lined springform tin, and press extra fresh raspberries on top.

Step 4 – Bake
Place the tin onto a baking tray and bake for 1 ¼ hours or until the centre is just set.
Note: Placing a tray of water in the oven on the lowest shelf and the cheesecake on the middle shelf can help prevent the cheesecake from cracking (optional).
Do not open the oven during the cooking time or the cheesecake will crack and sink (see Expert Tips below).
Once baked, turn the oven off, leave the door closed and allow the cheesecake to rest in the oven for 2 hours.
Place the cheesecake onto the bench until it has completely cooled.
Once cooled, place the baked cheesecake in the fridge for a minimum of 4 hours (preferably overnight), carefully remove the cheesecake from the baking tin and remove the baking paper.
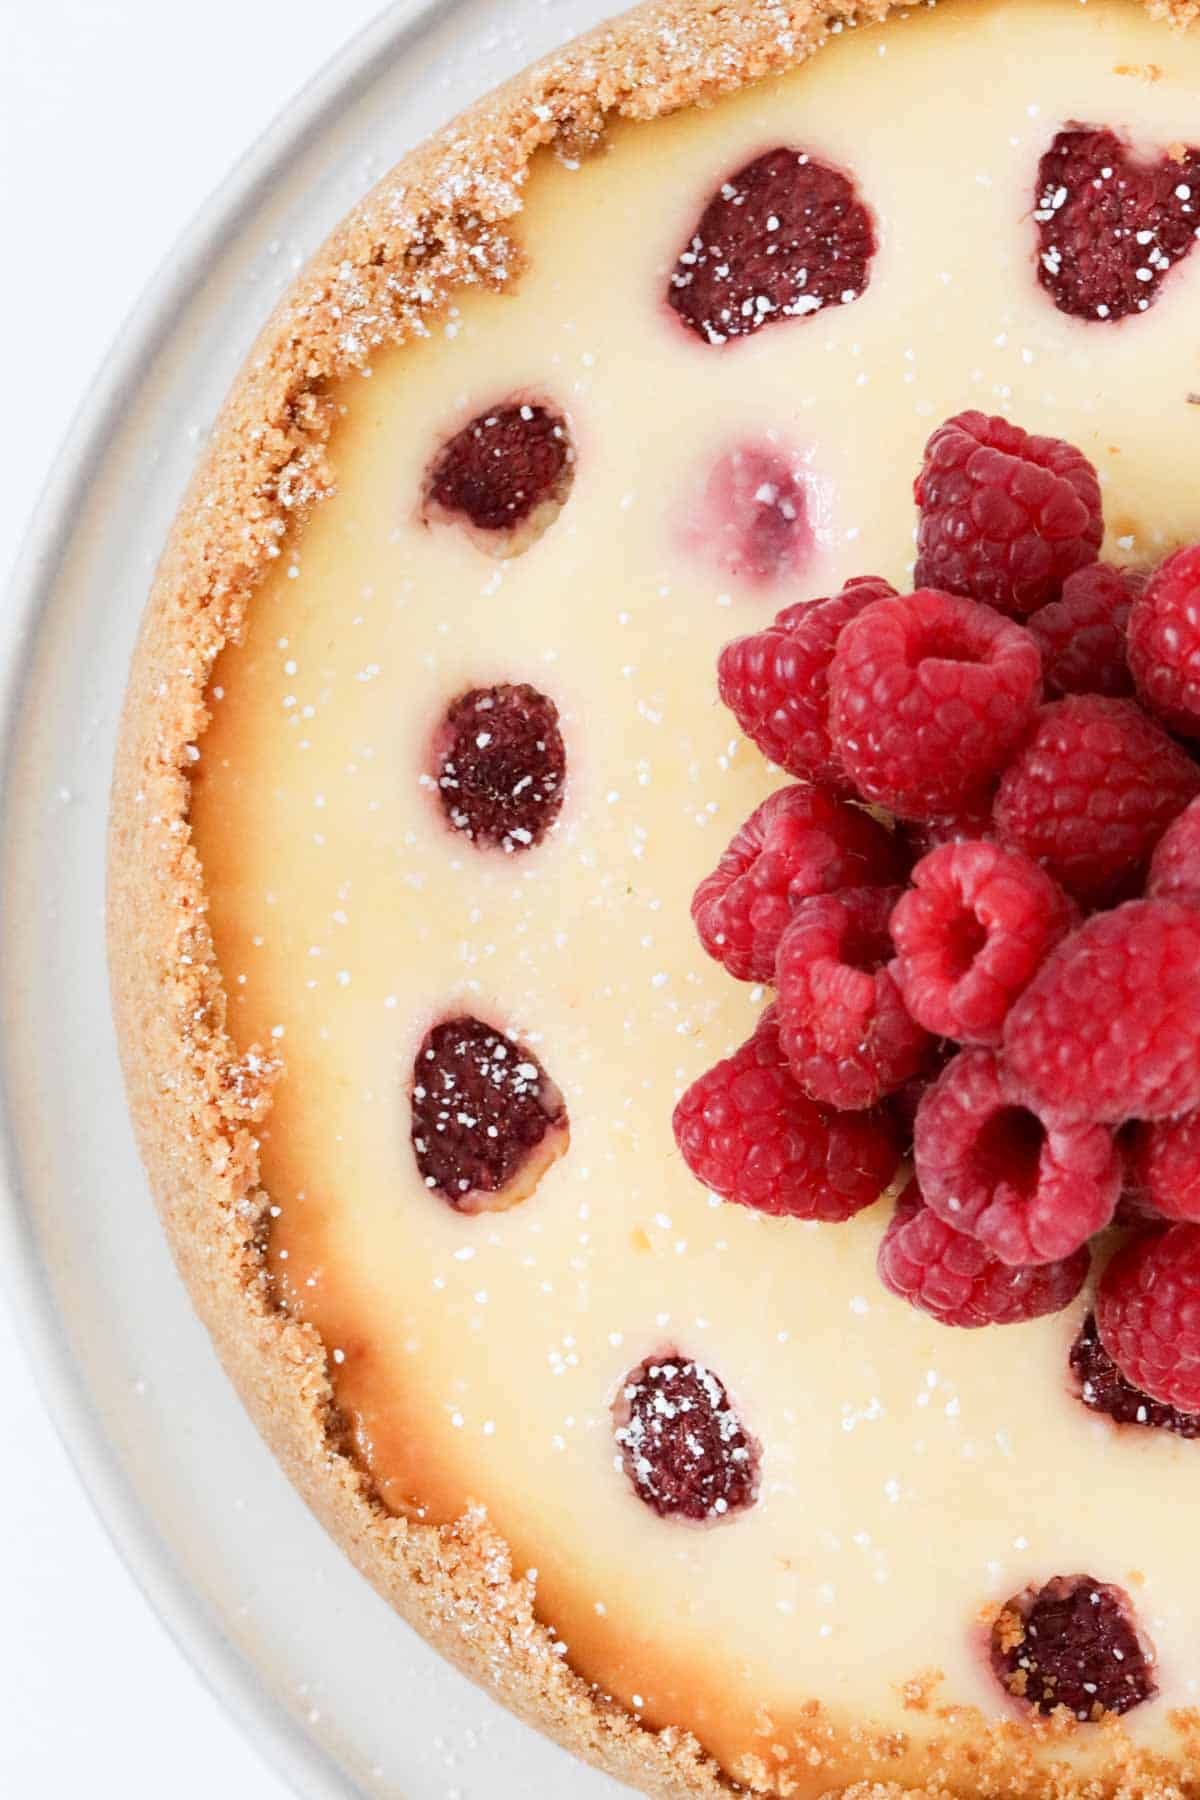
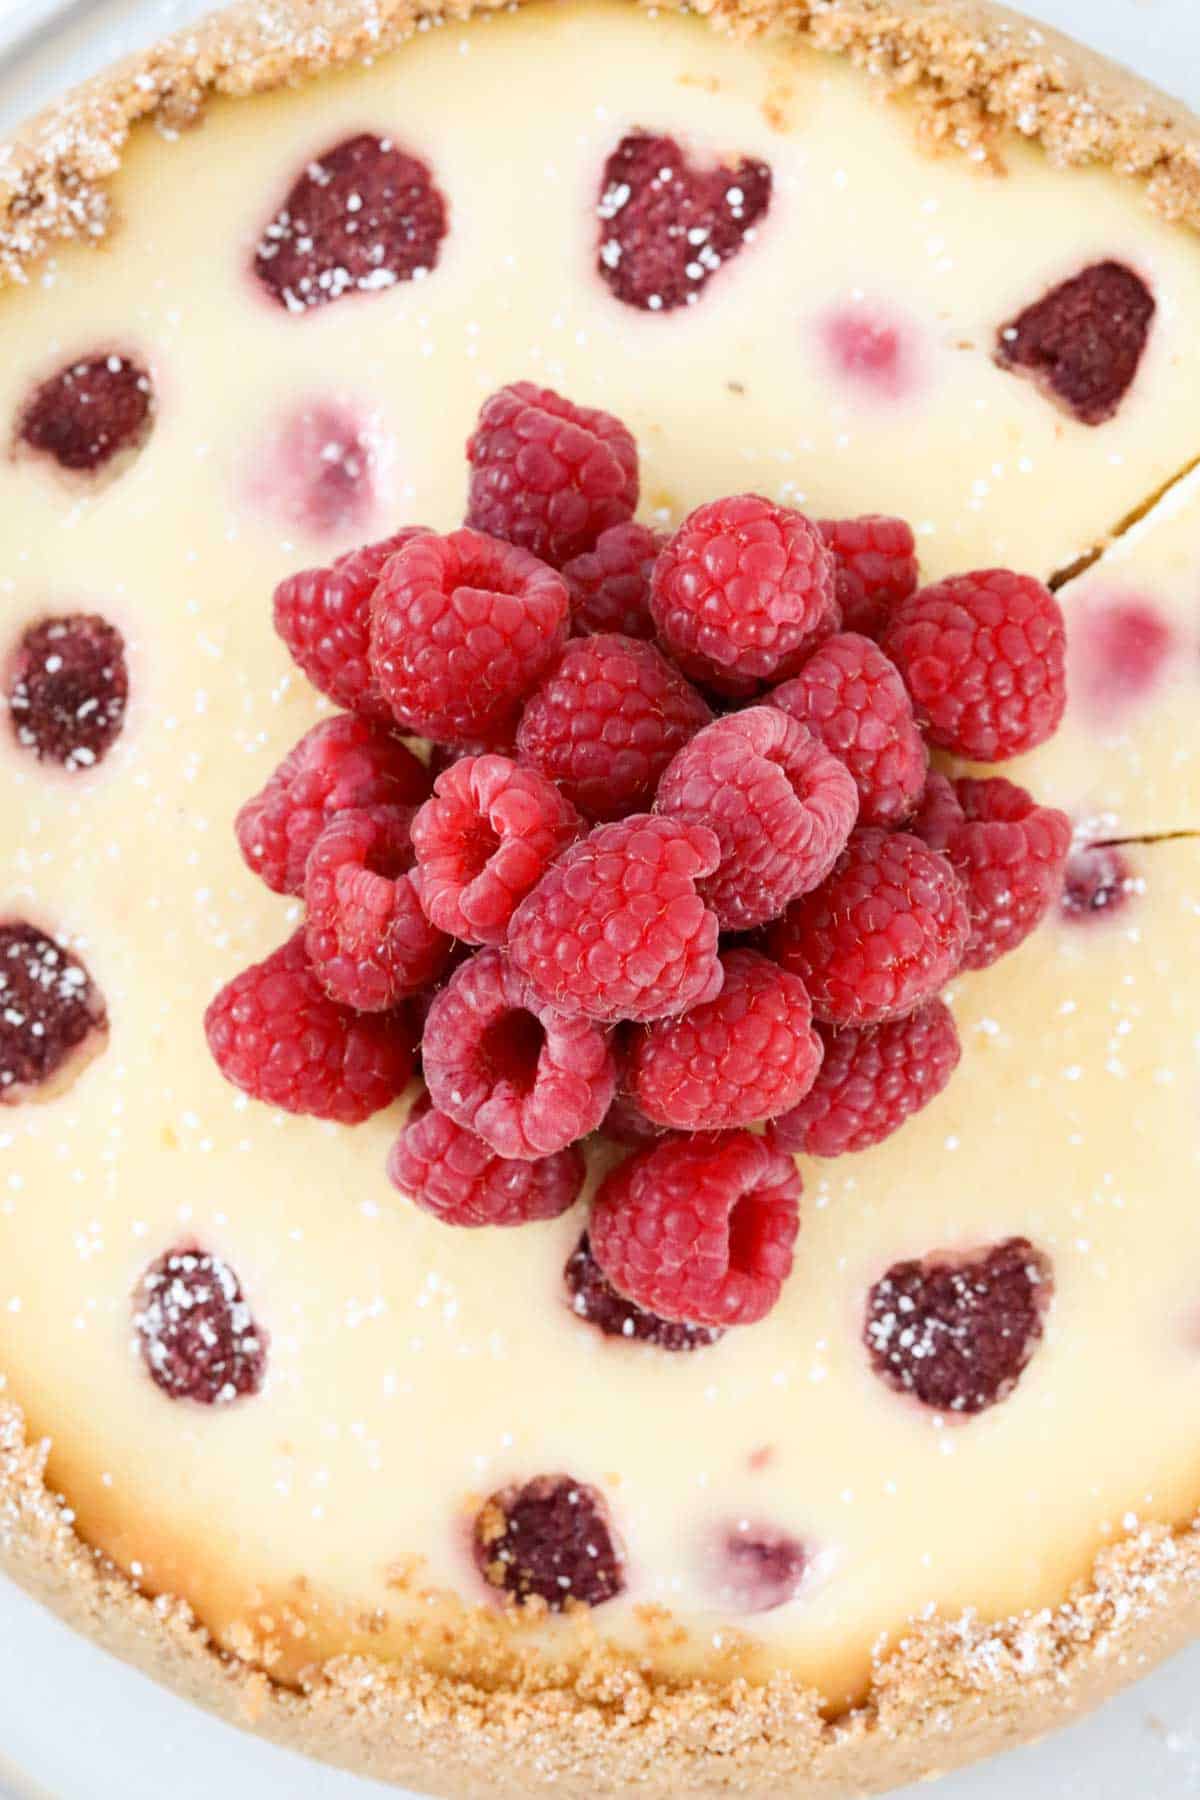
Allow the raspberry cheesecake to come to room temperature for 1 hour prior to serving. Top with extra fresh raspberries and sift over a little icing sugar (optional).
Expert Tips For The Perfect Baked Cheesecake
To ensure the perfectly baked cheesecake, it’s important to have patience!
Here’s a few special tips to avoid a cracked or sunken cheesecake, and ensure the most heavenly, luscious baked raspberry cheesecake!
Ingredients Tips
- Types of cookies/biscuits to use – you can use any type of plain sweet cookies for the base (like Graham Crackers if you’re in the US, Arnott’s Nice or Marie biscuits if you’re in Australia or digestive biscuits).
- Use full-fat ingredients – for the ultimate rich and creamy texture, use full-fat cream cheese and sour cream. Light versions just won’t give the same results unfortunately!
- Use room temperature ingredients – for best results make sure all of your ingredients are at room temperature before mixing (cream cheese, eggs and sour cream). This helps the ingredients to combine more easily, and starts the baking process as soon as the cheesecake is placed in the oven.
Preparing The Springform Pan
- Grease and line a springform pan – the best way to prepare your springform pan is by removing the bottom tray, greasing it, placing a sheet of baking paper over the top and then securing it with the clasps. This makes moving the cheesecake onto a serving dish much easier. Ensure that you also grease and line the sides of the pan with baking paper too.
- Place the springform tin onto a baking tray – this will avoid any spills when cooking. Because the cheesecake is baked in a springform pan, some of the butter from the cookie base may escape through the small cracks – your baking tray will catch any drips!
Making The Cheesecake
- Preparing the base and sides– use a round, flat glass to press the mixture down as firmly as you can on the base of the springform pan. Use the back of a spoon to press the crumbs on to the sides. Chill the base in the fridge for at least 30 minutes.
- Don’t over-beat the mixture – over-beating will cause the cheesecake to crack when cooking. Mix with hand-held beaters or a stand-mixer on a medium/low speed. You don’t want to get too much air into your cheesecake mixture as it’s meant to be dense and firm when baked, so mix ingredients until just combined.
Baking The Cheesecake
- Add a pan of water to the oven when baking – you can place a tray of water in the oven on the lowest shelf and place the cheesecake on the middle shelf (optional). The added moisture will also help to prevent your cheesecake from cracking.
- Bake the cheesecake low and slow – make sure your oven isn’t too hot – an oven that is too hot may cause the cheesecake to crack. Keep in mind that oven temperatures can vary, so if you think yours runs a little hot, turn it down slightly before baking.
- Do NOT open the oven – opening the door when the cheesecake is cooking will change the temperature and can cause the cheesecake to sink and crack.
- Leave the cheesecake in the oven after baking – once the cooking time has finished, still do NOT open the oven door! Leave the door closed (with the oven turned off) for at least 2 hours, again, this helps to prevent the cheesecake from cracking.
- How to know if the cheesecake is cooked (without opening the oven door) – it’s very important NOT to open the oven door during and after cooking which means that you can’t physically check that the cheesecake is cooked. Firstly, trust that if you follow the recipe (and your oven temperature is correct), 1 hour and 15 minutes is enough to cook the cheesecake through. The cheesecake will continue to cook and set as it slowly cools in the oven over the next 2 hours. You don’t want to overcook it!
Chilling, Storing & Serving The Cheesecake
- Chilling the cheesecake – when you remove the cheesecake from the oven (at least 2 hours after the cooking time has finished), leave it on the bench until it has cooled completely, and then place into the fridge (STILL in the baking pan) for a minimum of 4 hours (preferably overnight).
- Storing – wrap cheesecake in plastic wrap and place into an airtight container in the fridge for up to 5 days. It can also be frozen for up to 1 month.
- Serving – baked cheesecakes are best served at room temperature. Remove from the fridge 1 hour before slicing and serving. If decorating, do so immediately prior to serving.
- Serving suggestions – I love to serve this Baked Raspberry Cheesecake with fresh raspberries and dusted with icing sugar, however some other suggestions include a drizzle of lemon curd, a berry coulis, whipped cream, finely grated lemon zest, or fresh mixed berries (strawberries, blackberries, blueberries and raspberries).

FAQs
Having ingredients, such as the cream cheese, sour cream and eggs, all at room temperature helps them to combine more evenly with other ingredients, and also allows the baking process to start immediately when the cheesecake is placed in the preheated oven.
I recommend using fresh raspberries in this raspberry baked cheesecake, as the correct temperature of ingredients and the baking process is so important for the ultimate baked cheesecake result.
However, if raspberries are out of season, and you can only access frozen ones, use them instead!
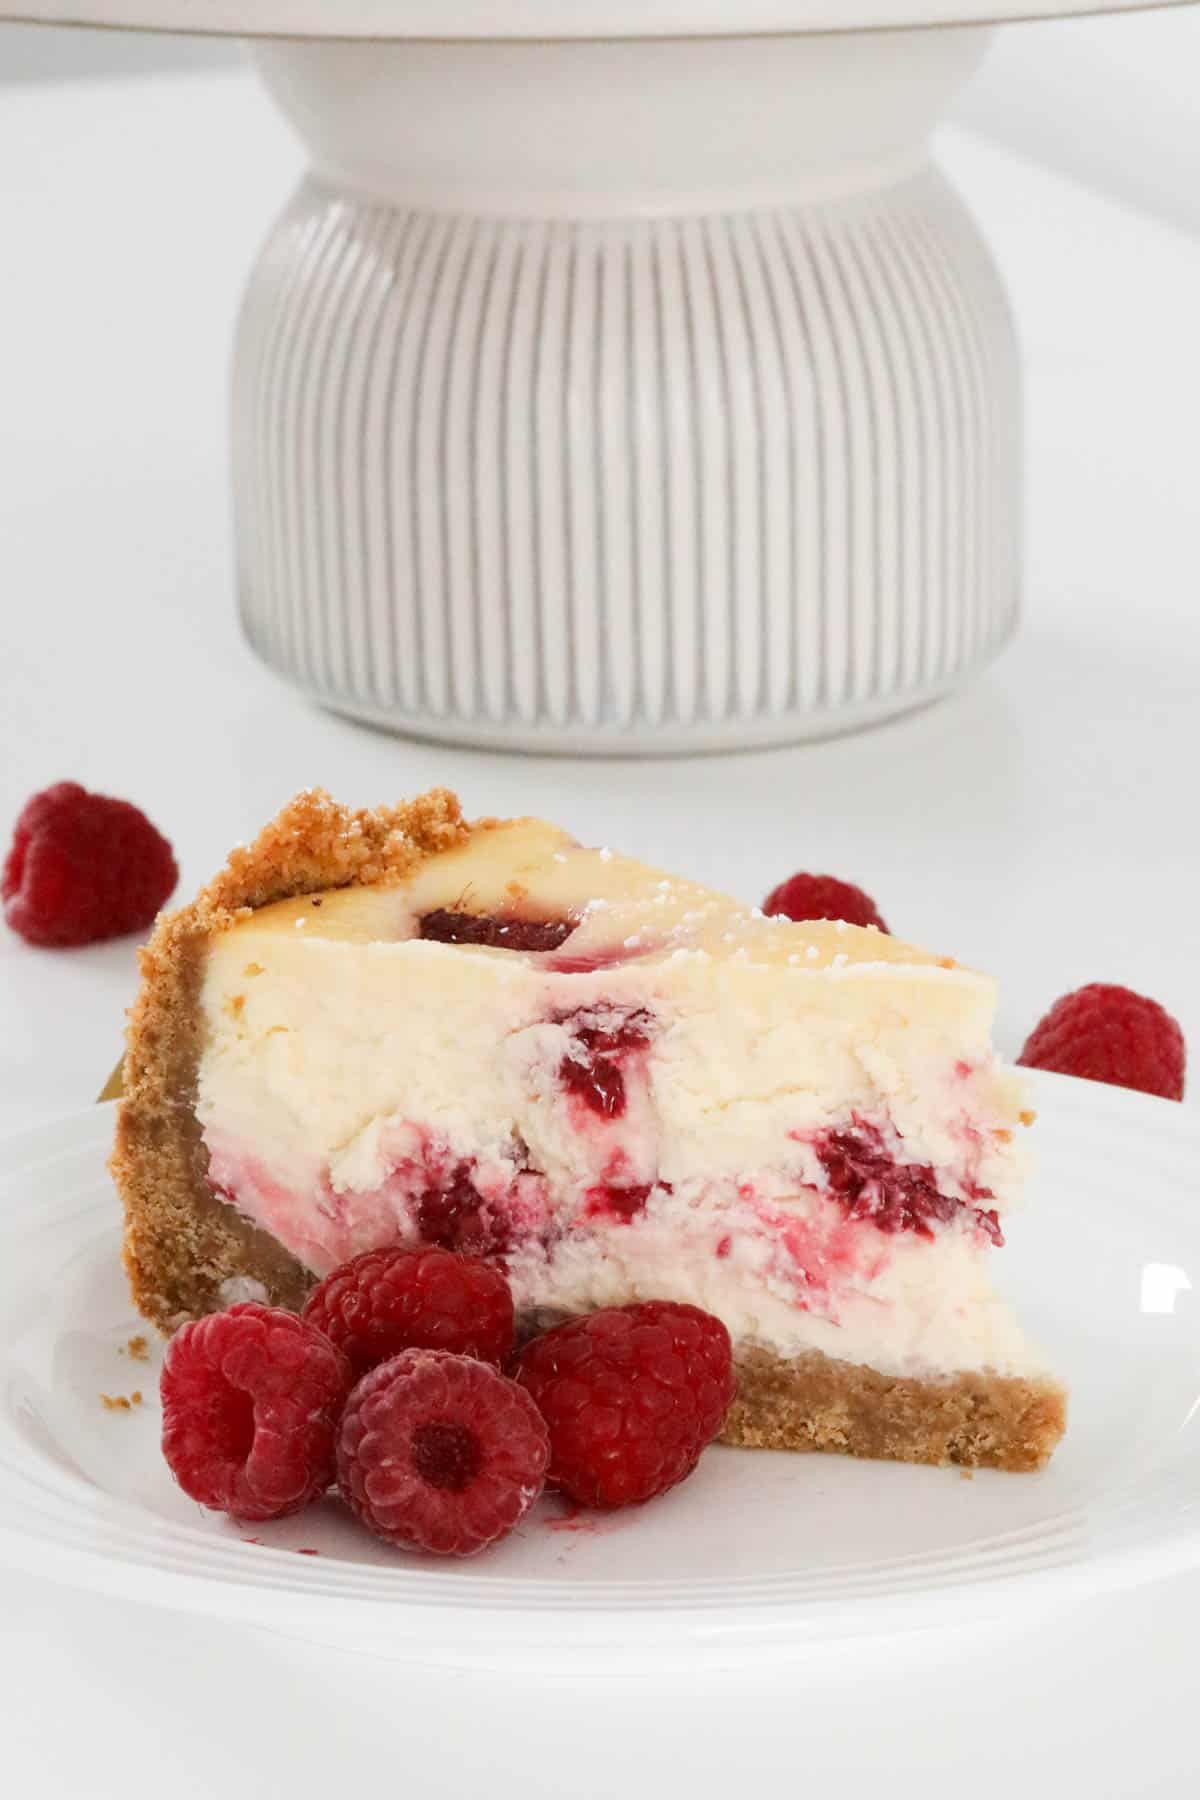

I’m sure you’ll enjoy this delicious Raspberry Baked Cheesecake.
Here’s a few more of my favourite recipes that use sweet raspberries as well.

Raspberry Baked Cheesecake
A restaurant quality rich and creamy Raspberry Baked Cheesecake recipe! The ultimate show-stopping dessert.
Servings: 16 serves
Calories: 498kcal
Prevent your screen from going dark
Instructions
Conventional Method
-
Preheat oven to 140 degrees celsius (fan forced) or 285 degrees fahrenheit. If using a conventional oven, then 160 degrees celsius or 320 degrees fahrenheit.
-
Grease and then line the base and sides of a 23cm springform pan with non-stick baking paper (see recipe tips below).
-
Finely crush the biscuits in a food processor and then place into a large bowl.
-
Add the melted butter and mix thoroughly until well combined.
-
Spoon half of the biscuit crumbs onto the base of the prepared tin. Use a glass to press the mixture down evenly (you will also need to use a spoon to press the edges down firmly).
-
Press the remaining half of the mixture firmly up the sides of the pan (leaving a small 1cm gap near the top).
-
Chill in the fridge for 30 minutes.
-
Beat the cream cheese, sugar, vanilla, lemon juice and lemon rind with electric beaters until just combined (don’t over-beat).
-
Gently beat in the flour followed by the eggs (1 at a time). Beat until just combined.
-
Stir through the sour cream until combined.Gently fold half of the fresh raspberries through (reserve the other half for decorating).
-
Gently pour the cheesecake mixture into the base of the tin.Press a couple of extra fresh raspberries on top.
-
Place the the tin onto a baking tray and bake for 1 ¼ hours or until just set in the centre. Do NOT open the oven during the cooking time or the cheesecake will crack and sink (see recipe tips below).
-
Turn the oven off and leave the cheesecake in the oven with the door closed for 2 hours.
-
Place the cheesecake onto the bench until completely cooled before placing into the fridge (still in the baking tin).
-
After a minimum of 4 hours in the fridge (preferably overnight), carefully remove the cheesecake from the baking tin and remove the baking paper.
-
Allow to come to room temperature for 1 hour before serving and then top with remaining fresh raspberries and sift over the icing sugar (optional).
Thermomix Method
-
Preheat oven to 140 degrees celsius (fan forced) or 285 degrees fahrenheit. If using a conventional oven, then 160 degrees celsius or 320 degrees fahrenheit.
-
Grease and then line the base and sides of a 23cm springform pan with non-stick baking paper (see recipe tips below).
-
Place the butter (chopped) into the Thermomix bowl and melt for 3 minutes, 80 degrees, Speed 2 (or until melted).
-
Add the biscuits and mix for 10 seconds on Speed 8, or until completely combined.
-
Spoon half of the biscuit crumbs onto the base of the prepared tin. Use a glass to press the mixture down evenly (you will also need to use a spoon to press the edges down firmly).
-
Press the remaining half of the mixture firmly up the sides of the pan (leaving a small 1cm gap near the top).
-
Chill in the fridge for 30 minutes.
-
In a clean and dry Thermomix bowl, set the Thermomix to 37 degrees, 25 minutes, Speed 3. Note: it will NOT take 25 minutes, but by setting the timer for this long will keep it at the right temperature while you add in the other ingredients). With the blades turning, place the cream cheese into the Thermomix bowl and mix until well combined.
-
Slowly add in the caster sugar, followed by the flour and eggs and mix until just combined.
-
Place the butterfly attachment into the bowl (with the cream cheese mixture in it). Still on Speed 3 slowly add in the grated lemon rind, lemon juice, vanilla extract and sour cream. Scrape down the sides of the bowl and mix until completely smooth (don’t over mix).Gently fold half of the fresh raspberries through with the spatula (reserve the other half for decorating).
-
Gently pour the cheesecake mixture into the base of the tin.Press a couple of extra fresh raspberries on top.
-
Place the the tin onto a baking tray and bake for 1 ¼ hours or until just set in the centre. Do NOT open the oven during the cooking time or the cheesecake will crack and sink (see recipe tips below).
-
Turn the oven off and leave the cheesecake in the oven with the door closed for 2 hours.
-
Place the cheesecake onto the bench until completely cooled before placing into the fridge (still in the baking tin).
-
After a minimum of 4 hours in the fridge (preferably overnight), carefully remove the cheesecake from the baking tin and remove the baking paper.
-
Allow to come to room temperature for 1 hour before serving and then top with the remaining fresh raspberries and sift over the icing sugar (optional).
Notes
INGREDIENTS:
- Types of cookies/biscuits to use – you can use any type of plain sweet cookies for the base (like Graham Crackers if you’re in the US, Arnott’s Nice or Marie biscuits if you’re in Australia or digestive biscuits).
- Use full-fat ingredients – for the ultimate rich and creamy texture, use full-fat cream cheese and sour cream. Light versions just won’t give the same results unfortunately!
- Use room temperature ingredients – again, for best results, make sure all of your ingredients are at room temperature before mixing (cream cheese, eggs and sour cream). This helps the ingredients to combine more easily, and starts the baking process as soon as the cheesecake is placed in the oven.
- Choose fresh, not frozen, raspberries for this baked cheescake.
BAKING TIPS:
- Grease and line a springform pan – the best way to prepare your springform pan is by removing the bottom tray, greasing it, placing a sheet of baking paper over the top and then securing it with the clasps. This makes moving the cheesecake onto a serving dish much easier. Ensure that you also grease and line the sides of the pan with baking paper too.
- Preparing the base and sides– use a round, flat glass to press the mixture down as firmly as you can on the base of the springform pan. Use the back of a spoon to press the crumbs on to the sides. Chill the base in the fridge for at least 30 minutes.
- Don’t over-beat the mixture – over-beating will cause the cheesecake to crack when cooking. Mix with hand-held beaters or a stand-mixer on medium/low speed. You don’t want to get too much air into your cheesecake mixture as it’s meant to be dense and firm when baked, so mix ingredients until just combined.
- Place the springform tin onto a baking tray – this will avoid any spills when cooking. Because the cheesecake is baked in a springform pan, some of the butter from the cookie base may escape through the small cracks – your baking tray will be there to catch any drips!
- Add a pan of water to the oven when baking – you can place a tray of water in the oven on the lowest shelf and place the cheesecake on the middle shelf (optional). The added moisture also helps to prevent your cheesecake from cracking.
- Bake the cheesecake low and slow – make sure your oven isn’t too hot – an oven that is too hot may cause the cheesecake to crack. Keep in mind that oven temperatures can vary, so if you think yours runs a little hot, turn it down slightly before baking.
- Do NOT open the oven – opening the door when the cheesecake is cooking will change the temperature and can cause the cheesecake to sink and crack.
- Leave the cheesecake in the oven after baking – once the cooking time has finished, still do NOT open the oven door! Leave the door closed (with the oven turned off) for at least 2 hours, again, this will help to prevent the cheesecake from cracking.
- How to know if the cheesecake is cooked (without opening the oven door) – it’s very important NOT to open the oven door during and after cooking which means that you can’t physically check that the cheesecake is cooked. Firstly, trust that if you follow the recipe (and your oven temperature is correct), 1 hour and 15 minutes is enough to cook the cheesecake through. The cheesecake will continue to cook and set as it slowly cools in the oven over the next 2 hours. You don’t want to overcook it!
- Chilling the cheesecake – when you remove the cheesecake from the oven (at least 2 hours after the cooking time has finished), leave it on the bench until it has cooled completely, and then place into the fridge (STILL in the baking pan) for a minimum of 4 hours (preferably overnight).
- Storing – wrap cheesecake in plastic wrap and place into an airtight container in the fridge for up to 5 days. It can also be frozen for up to 1 month.
- Serving – baked cheesecakes are best served at room temperature. Remove from the fridge 1 hour before slicing and serving. If decorating, do so immediately prior to serving.
- Serving suggestions – I love to serve this Baked Raspberry Cheesecake with fresh raspberries and dusted with icing sugar, however some other suggestions include a drizzle of lemon curd, a berry coulis, whipped cream, finely grated lemon zest, or fresh mixed berries (strawberries, blackberries, blueberries and raspberries).
Nutrition
Calories: 498kcal | Carbohydrates: 33g | Protein: 6g | Fat: 39g | Saturated Fat: 21g | Cholesterol: 140mg | Sodium: 298mg | Potassium: 138mg | Fiber: 1g | Sugar: 21g | Vitamin A: 1220IU | Vitamin C: 1.4mg | Calcium: 84mg | Iron: 1.1mg


