You’re Applying Your Hair Products Wrong
Ever tried a styling cream and felt like it just sat there? Or used an oil before a leave-in, only to find your ends still dry? Same here, until I finally unlocked the science behind hair product layering.
It turns out that the order we apply each product can make or break how well they work together.
Some products are designed to be fully absorbed (like leave-in conditioners), while others form a protective barrier (like oils or creams) that keep moisture in and keep humidity out.
And when you’re using a mix of products for different needs—say, a nourishing oil for hydration, a serum to tame the ends, and mousse to add volume and protect from heat—it can get confusing fast.
Do some products cancel each other out? Should hair be damp or dry for each step?
Each product comes with directions, but they don’t tell you where it fits in a full routine.
So today, we’re breaking down exactly what goes on first, what follows, and why it matters.
“The right order doesn’t just maximize product benefits; it actually protects hair by avoiding buildup that can dull or weigh down your strands.”
As an Amazon Associate, I earn from qualifying purchases.
Quick Guide: How to Layer Your Hair Products
- Pre-Treatments: Apply first to prepare hair and scalp (e.g., scalp scrubs or protein treatments).
- Shampoo: Cleanses thoroughly, setting the base for conditioning.
- Conditioner: Hydrates and smooths; avoid roots if your hair is fine or prone to oiliness. Use after every shampoo, unless you’re using a deep conditioner.
- Deep Conditioner or Hair Mask: Use weekly or as needed for extra hydration and repair, especially for dry or damaged hair.
- Leave-In Treatments: Lock in moisture on damp hair to prevent dryness.
- Serums or Oils: Add shine, smooth frizz, and seal in moisture, usually applied on mid-lengths to ends.
- Styling Products: Last step to add hold, volume, or texture as desired.
Pro Tip: This order builds up from lightest to heaviest textures, allowing your hair to absorb each product and avoid the buildup that happens when barriers go on too soon.
Step-by-Step Breakdown: Your Hair Layering Routine, Perfected
Here’s the complete guide to layering each product in the right order, so your hair can look its absolute best—shiny, soft, and full of life.
Step 1: Pre-Treatment (Optional but Game-Changing)
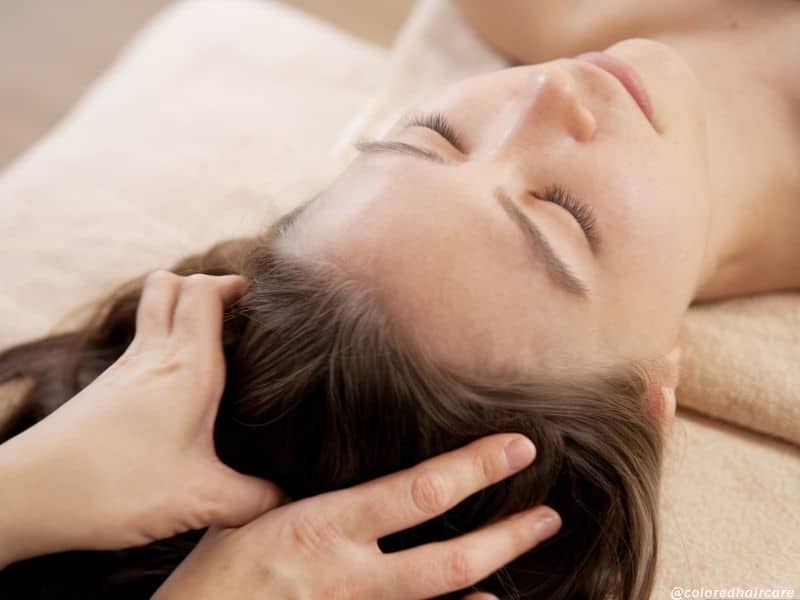

Adding a pre-treatment step is like giving your hair a primer—it softens, preps, and sets the stage for a great wash.
These products can target the scalp, smooth the cuticle, or add strength and elasticity to damaged strands.
Think of them as your foundation step: they help the shampoo and conditioner work more effectively, especially if you have scalp issues, buildup, or damaged ends.
How to Apply:
Pre-treatments can vary from scalp scrubs to deep-conditioning creams.
Start with dry or damp hair (check your product directions) and focus on where your hair needs it most.
Apply a scalp scrub directly to the scalp and massage gently for a few minutes before rinsing.
For pre-shampoo treatments, smooth through mid-lengths to ends and leave on for 10-15 minutes before rinsing.
Our Top Picks:
- Philip Kingsley Elasticizer: This is my go-to treatment when my hair’s feeling dull or dry. I apply it on damp hair and let it sit for a solid 15-20 minutes before washing it out. It’s rich without being heavy, so my hair feels soft and bouncy, not weighed down.
- Briogeo Scalp Revival Charcoal + Coconut Oil Micro-Exfoliating Scrub: I use this scrub when my scalp feels a little itchy or loaded up with product. I rub it in lightly and let it sit for a minute or two before rinsing—the tingly cooling effect is so refreshing.
Expert Insights
“Pre-treatments are key to targeting scalp health and giving hair a reset,” says Dr. Francesca Fusco, dermatologist and scalp health expert. “Using a scalp scrub, for example, once a week can help prevent buildup that leads to dull, limp hair.”
Step 2: Shampoo—Your Clean Slate


Shampoo is where you give your hair a clean start, clearing away oils, dirt, and residue so the rest of your routine can sink in effectively. Think of shampooing as setting the base for hydration and treatments; with a clean scalp, everything else can penetrate better.
Generally, washing two to three times a week works for most hair types, but it really depends on your hair’s needs.
If your scalp gets oily or you’re styling daily, a double cleanse each wash can keep buildup in check, while drier hair types may benefit from fewer washes to preserve natural oils.
How to Apply: Start by wetting your hair thoroughly, then apply a small amount of shampoo to your scalp and roots.
Massage gently for a full minute, then rinse and repeat if you tend to get oily or use lots of products daily.
The first wash cleanses; the second lets the shampoo’s ingredients actually work.
Our Top Picks:
- Living Proof Full Shampoo: This shampoo is a lifesaver if you have fine hair that needs volume but not buildup. I love how it’s light enough for my hair to feel fresh and airy, and it doesn’t strip natural oils, so my scalp stays comfortable. It’s my go-to for volume without weight.
- SheaMoisture Coconut & Hibiscus Curl & Shine Shampoo: A favorite among curly-haired friends who want to add definition and moisture without overloading. This one’s great for curl definition, leaving hair soft and bouncy, plus it smells like a tropical dream.
Expert Insights
“Double-cleansing for hair is actually just as beneficial as it is for skin,” says celebrity stylist Jen Atkin. “The first cleanse lifts dirt, and the second lets active ingredients do their work.”
Step 3: Conditioner—The Ultimate Hydration Moment
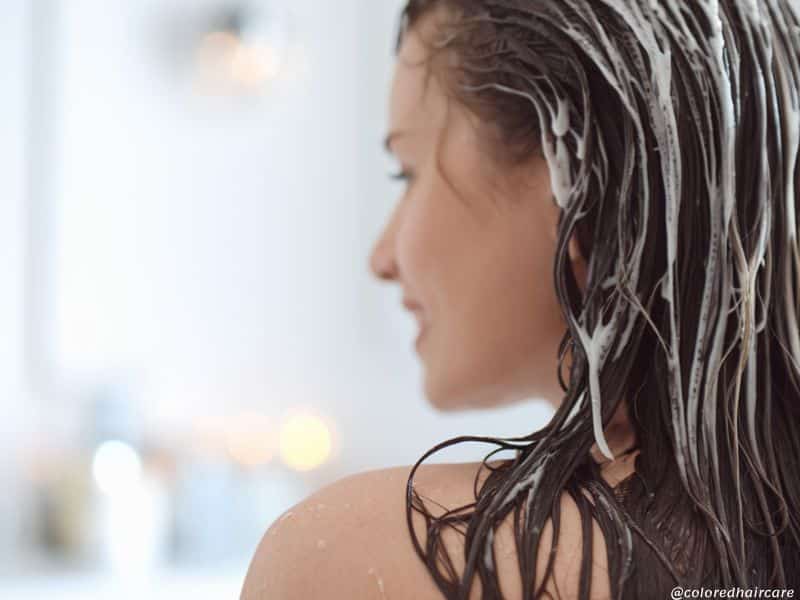

Conditioner is essential for sealing in moisture and detangling, so don’t skip it after each shampoo. The trick is to avoid the roots if your hair is fine or oily-prone.
Think of this as the hydration anchor in your routine, as it smooths and softens the hair’s outer layer, preparing it for styling.
Choose a lightweight formula if you need volume, or go for a richer one if you’re focused on moisture and frizz control.
How to Apply: Squeeze out excess water after shampooing, then apply conditioner to the mid-lengths and ends, steering clear of your scalp unless you’re very dry.
Leave on for a couple of minutes to absorb before rinsing with cool water for extra shine.
Our Top Picks:
- Ouai Fine Hair Conditioner: Ouai is a bit of a new brand I’ve been getting into. This is my pick for days when I want a bit of volume but need conditioning too. It’s lightweight, so my hair has shine and feels soft without going flat. It’s great for fine hair, as it doesn’t weigh it down or leave any residue.
- Aussie Miracle Moist Conditioner: When my hair’s feeling super parched, this one’s a treat! It’s creamy and thick, so I use it sparingly on my ends to prevent tangling and add a ton of moisture. The tropical scent is also a major plus—my whole shower smells amazing.
Expert Insights
“Hydration is crucial, but the type of conditioner matters,” says hairstylist Vernon François. “For fine hair, use lightweight formulas; for coarser textures, look for richer conditioners.”
Step 4: Deep Conditioner or Hair Mask (Weekly or as Needed)
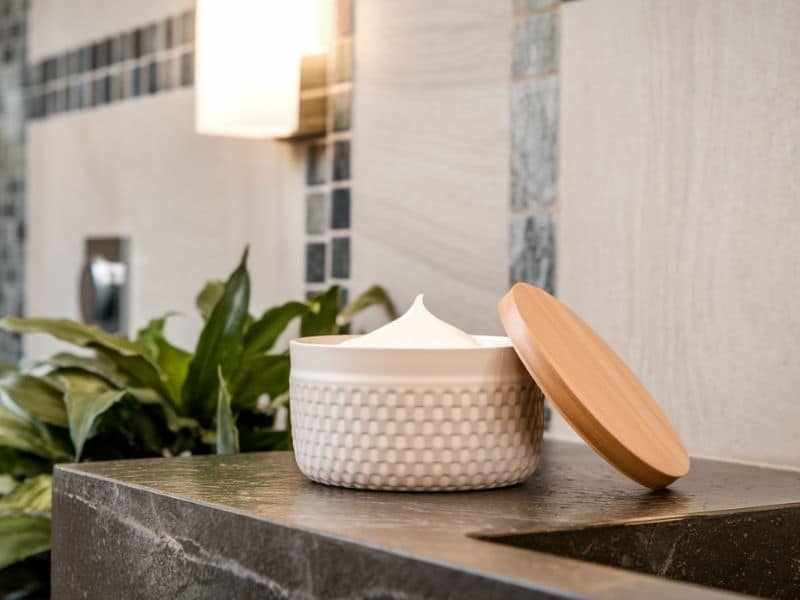

Deep conditioners or hair masks give your hair an extra boost of hydration and repair, ideal for dry, damaged, or chemically treated hair.
These treatments penetrate more deeply than regular conditioners, helping with issues like frizz, split ends, and breakage.
If your hair is thick, curly, or very dry, you might benefit from using a deep conditioner or mask after your regular conditioner for extra softness.
For fine or oily-prone hair, skip your usual conditioner if you’re using a mask, as double-conditioning may weigh your hair down.
How to Apply: After shampooing, gently towel-dry your hair, then apply the deep conditioner or mask to mid-lengths and ends.
Leave it on for 5-15 minutes (or as directed) to fully penetrate.
For even better results, wrap your hair in a warm towel while it sits. Rinse thoroughly before moving on to the next steps.
Aim to use these once a week or every other week, depending on your hair’s needs.
Our Top Picks:
- Olaplex No. 8 Bond Intense Moisture Mask: This mask is a must-have for me now. It made my hair so soft and frizz-free, and the difference was huge when I stopped using it—my hair was awful without it! Now I always make sure to have it in stock.
- Briogeo Don’t Despair, Repair! Deep Conditioning Mask: This is my weekly treat for soft, frizz-free hair! I’ll let it sit for about 10 minutes, and the result is hair that’s super hydrated and smooth without feeling weighed down.
Step 5: Leave-In Treatments—Lock In Moisture
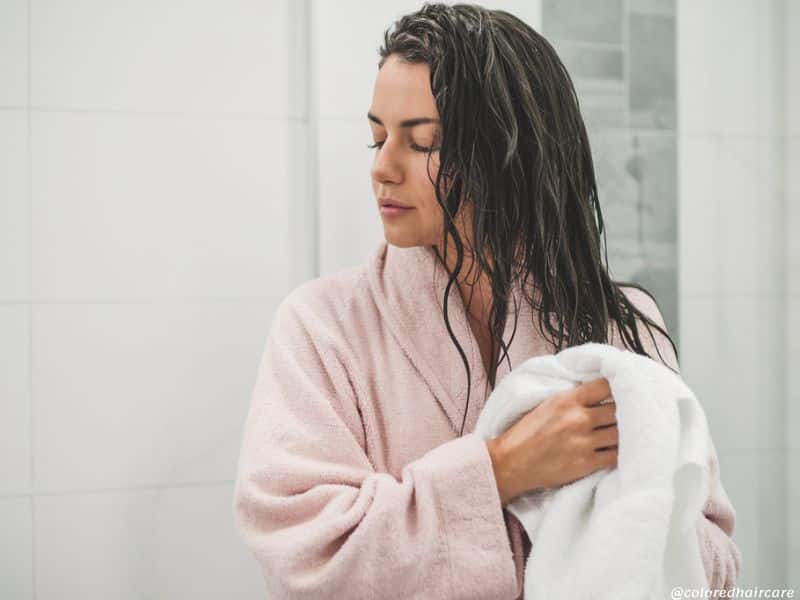

Leave-in treatments seal in the hydration from your conditioner while offering frizz control and heat protection. They’re ideal for preventing dryness and giving your hair a smooth, soft feel all day. Apply to damp hair to help with detangling and to create a strong base for styling.
How to Apply: Towel-dry your hair until it’s damp, not soaking.
Spritz or smooth a small amount of leave-in conditioner from mid-lengths to ends.
Comb it through for even distribution before moving on to styling products.
Our Top Picks:
- It’s a 10 Miracle Leave-In Conditioner: This one’s a classic for a reason—I spray it on right after I towel dry, and it does everything from detangling to adding shine. If I’m going heat-free, this makes air-dried hair look smooth and manageable, but it’s also a great prep if I’m styling.
- Olaplex No. 6 Bond Smoother: When my hair feels a little worse for wear, I smooth a tiny dab of this on my ends, and it does wonders. It’s great for adding moisture and feels like a strength boost, especially if you’ve had a lot of color or heat styling. The best part? No heavy, greasy finish!
Expert Insights
“Leave-ins are a game-changer for damaged or color-treated hair,” says stylist Adir Abergel. “They add moisture and protection all day.”
Step 5: Serum or Oil—Add Gloss and Protect
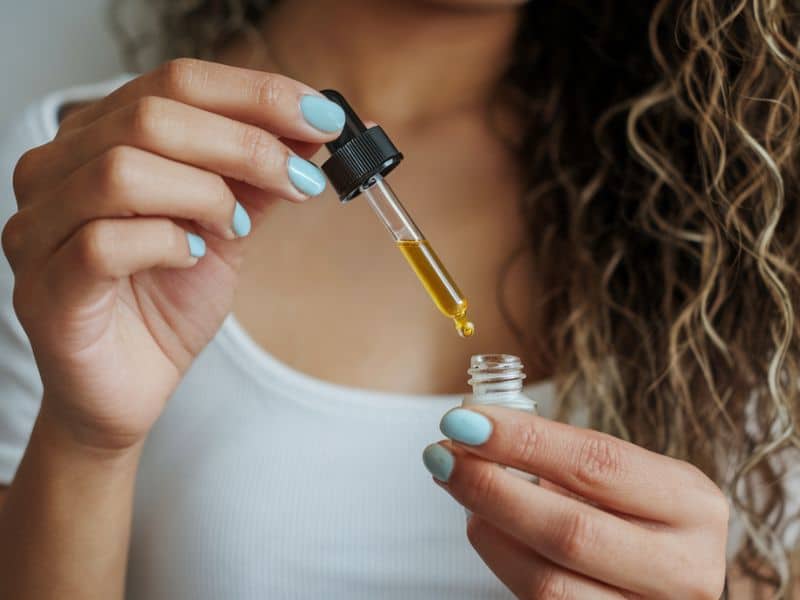

Serums and oils add that finishing shine, smoothness, and extra layer of protection for your ends.
They’re perfect for taming frizz and giving that sleek, polished look, but a little goes a long way, especially if you have fine hair.
The trick is to focus on the ends and mid-lengths.
How to Apply: Start with a pea-sized amount of serum or a couple of drops of oil.
Warm it up between your hands, then gently apply to the mid-lengths and ends.
This step is all about smoothing and adding shine, so focus on areas that need frizz control or extra polish. Avoid the roots to keep your hair looking fresh, not oily.
Our Top Picks:
- Verb Ghost Oil: Perfect for fine hair—I use a drop or two after blow-drying to add a bit of shine without any heaviness. It’s also a great frizz fighter for humid days and doesn’t leave any residue or greasiness.
- Moroccanoil Treatment: This is my must-have for when my hair’s feeling dry or frizzy. I’ll put a couple of drops on damp hair, and if my ends are looking a bit rough later, I’ll smooth some on as a styling touch-up. It’s a teeny bottle but it’s rich and absorbs well, leaving hair with that glossy, silky finish.
Expert Insights
“The key with oils is to start with the smallest amount and add more as needed,” says stylist Jen Atkin. “Too much, and hair can get weighed down.”
Step 6: Styling Products—Lock in the Look
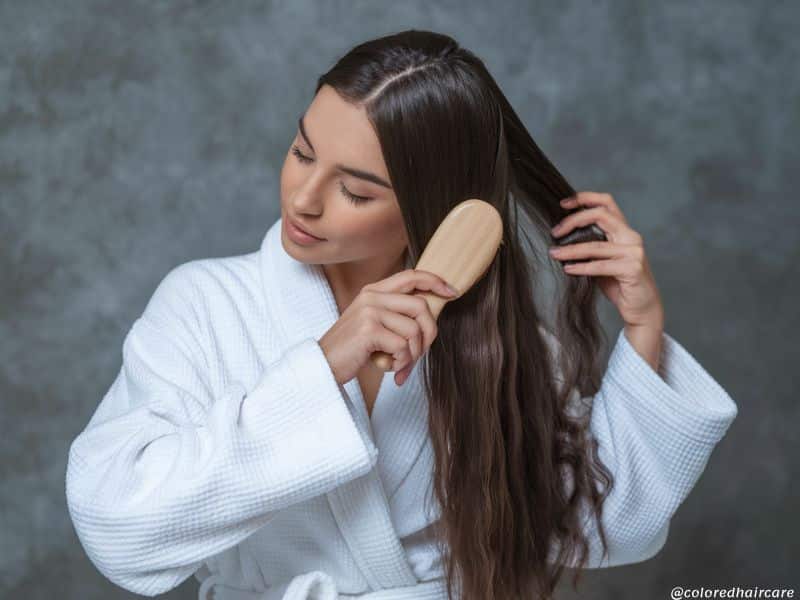

Styling products add the finishing touches to your look, whether it’s volume, hold, or texture.
They’re often applied as the last step to set your style and add any final texture or lift.
If you’re using heat tools, don’t skip a heat protectant here to keep your hair safe from damage.
How to Apply: Apply your styling products last to lock in the look and protect your hair from the elements.
Mousse and volumizing sprays work best on damp hair, while texturizing sprays or gels can be used on dry or damp hair depending on your style goal.
Use a heat protectant if you’re blow-drying, then finish with a mist of setting spray if you need hold.
Our Top Picks:
- Living Proof Full Dry Volume & Texture Spray: I use this on dry hair at the roots when I need extra volume and a bit of texture. It gives this lovely, airy lift that lasts without feeling sticky or crunchy, which is a must for me.
- Bumble and Bumble Curl Defining Cream: If you want bouncy, well-defined curls that are soft, not crunchy, this one’s a dream. It adds hold but keeps curls soft and touchable, making it a favorite for natural curls or waves.
Bonus Tips for Product Lovers
If you’re someone who loves trying different products, keep a few key things in mind:
- Less is More: The fewer products you use, the better. Layering too many can lead to buildup, which weighs down your hair and can make it look dull. Every once in a while, give your hair a break with a minimal routine—just a good shampoo and conditioner.
- Adjust for Seasons: Seasonal changes affect hair texture and moisture levels. Christopher Naselli recommends switching to a hydrating mask in winter to combat dryness. In summer, he suggests a lightweight UV protectant to preserve color and keep hair healthy.
Parting Words
Understanding the right order to apply your hair products isn’t just a fun experiment; it’s how you unlock the full potential of every product you use.
By layering from the lightest, most hydrating products to the heavier, protective ones, you’re giving each one the chance to do its best work without interfering with the others.
And once you have this routine down, your hair will thank you with smooth, healthy, and voluminous results.
Now, go out there and show off that mane!
Found your perfect shade? We’d love to see it! Tag us on Instagram @coloredhaircare or Facebook and share your hair dye success stories. Looking for more hair care tips? Check out How to Look After Colored Hair: 11 Expert Secrets For Long-Lasting Color.


Our Research & Review Process
To ensure our recommendations are as comprehensive and reliable as possible, we’ve undertaken an extensive research effort.
We cite scientific evidence and journals, collect real user reviews and gather impartial perspectives from hair stylists, users, and experts in the field.
Additionally, we conduct hands-on testing by using products and applying hair dyes not only on our own locks but also on real human hair extensions and hair pieces of different hair type, textures and lengths.
This rigorous approach allows us to provide you with insights into which products genuinely live up to their promises.
As always – please consult with a professional hair colorist or stylist for advice on how to color your own hair at home. It’s different for everyone!


